 Search
 Account
 Discord


- Fighting Game 01
- Block – 74
- Wooden Box – 28
- Bush – 90
Brawl Stars Pierced Guide: Introduction
The Brawl Stars Pierced map is one of the more distinctive and exciting arenas that players encounter, providing a blend of various environmental features that require thoughtful strategies and quick reactions. The map is designed to push players to adapt their tactics depending on the layout and flow of the match. At first glance, the map may appear straightforward, but it hides multiple opportunities for clever maneuvers and tactical plays. The mixture of open spaces, narrow lanes, and key areas that demand control challenges players to think critically about their positioning, movement, and timing.
A major aspect of the Brawl Stars Pierced map’s uniqueness is its central control zone, which stands out as a focal point of intense battles. This central area is a large, relatively open space with limited cover, which means it offers an opportunity for brawlers to fight for dominance. The map is also equipped with several chokepoints, narrow paths that act as crucial junctures where combat is often decided. These chokepoints can lead to exciting confrontations and potential ambushes, as both teams attempt to outmaneuver each other through these bottlenecks.
The Brawl Stars Pierced map’s design encourages both offensive and defensive strategies, and it provides ample opportunities for brawlers of all playstyles. Aggressive players can thrive by rushing into the center to contest control or ambushing enemies through narrow passages. Meanwhile, more defensive-minded brawlers can wait for the perfect opportunity to strike from the shadows or provide support for their team by holding key positions. This balance between offense and defense requires careful coordination with teammates and a sharp awareness of when to push forward and when to hold back.
In this guide, we will take a deep dive into the layout and features of the Brawl Stars Pierced map. We will break down the best ways to navigate its varied terrains, from its central area to its chokepoints, and explore how to adapt your brawler’s strengths to take full advantage of these strategic locations. Additionally, we will discuss some advanced tactics and teamwork strategies that can help you gain the upper hand in this dynamic and challenging environment. Whether you’re new to the map or looking to refine your skills, this guide will provide you with all the insights needed to dominate the Pierced map and secure victories.
Brawl Stars Pierced Guide: Map Layout
The Brawl Stars Pierced map features a dynamic layout designed to encourage both strategic thinking and intense combat. The central area of the map is open and exposed, offering minimal cover but acting as the key control point. This open zone becomes a battleground where both teams fight for dominance, making it essential to control for as long as possible. With few natural defenses, this area forces players to rely on positioning, timing, and coordination to secure an advantage. Holding the center can often dictate the pace of the match, so maintaining control here is a primary objective.
Surrounding the central area are narrow chokepoints that funnel movement and offer opportunities to control enemy advances. These chokepoints act as critical junctions where battles can be won or lost. Teams that successfully dominate these narrow paths can restrict enemy movement, limit their options, and force them into vulnerable positions. Players must strategically position themselves to either block these chokepoints or exploit them by ambushing opponents who are trying to push through, turning these areas into key points of control throughout the match.
The edges of the Brawl Stars Pierced map feature a combination of destructible and indestructible walls, adding another layer of complexity. The indestructible walls provide consistent cover and can be used to block enemy sightlines or slow down their advances. However, the destructible walls are dynamic elements, capable of being broken down to change the terrain and open up new routes or attack angles. This ability to alter the map layout mid-game requires players to think on their feet, adapting to the changing environment and deciding when to break walls to create new opportunities or when to leave them intact to secure key positions.
Overall, the terrain and layout of the Brawl Stars Pierced force players to be adaptable, with each match offering new strategic challenges. The balance of open spaces and confined pathways creates a map that rewards both offensive and defensive plays. To succeed, teams must control key areas, utilize the terrain to their advantage, and adjust their strategies as the map changes during the match. Whether breaking down walls, holding chokepoints, or contesting the central area, the map provides a varied and engaging environment where tactical decision-making and teamwork are key.
Brawl Stars Pierced Guide: Brawler Selection
The Brawl Stars Pierced map presents a unique set of challenges that require players to carefully choose brawlers suited to the map’s varied terrain. The layout of the map—with its open central area, narrow chokepoints, and a mix of destructible and indestructible walls—demands brawlers who can both control space and adapt to the fast-paced dynamics of the battlefield. Your brawler selection can be the difference between dominating the map or being constantly outmaneuvered. In this section, we’ll break down the types of brawlers that thrive on the Pierced map, considering the importance of offense, defense, mobility, and map control.
Tanks for Chokepoints and Pushes

Choosing the right brawler for the Brawl Stars Pierced map requires balancing offense and defense, as the map features narrow chokepoints, open spaces, and key control areas. Brawlers who can adapt to these varying terrains and excel in both close combat and ranged engagements are most effective. Tanks like El Primo and Frank are particularly useful, as they can absorb damage and push through tight chokepoints with ease. These brawlers pressure enemies defending narrow lanes and, when supported by teammates, can help secure the central area or break through defenses. Their ability to take hits while advancing makes them key players for controlling the map.
Ranged Brawlers for Open Areas

On the other hand, ranged brawlers who can take advantage of the open central area are also crucial for controlling space and dealing with enemy brawlers from a distance. Penny, with her splash damage, excels in controlling wide areas, making her a great choice for forcing enemies out of position and securing the central zone. Similarly, Poco, with his healing and burst damage potential, can stay behind the front lines and offer utility to his team while also dealing damage when necessary. His ability to heal and support teammates through difficult engagements is a significant asset in the intense battles that often take place in the center of the map.
Brawlers that Break Walls
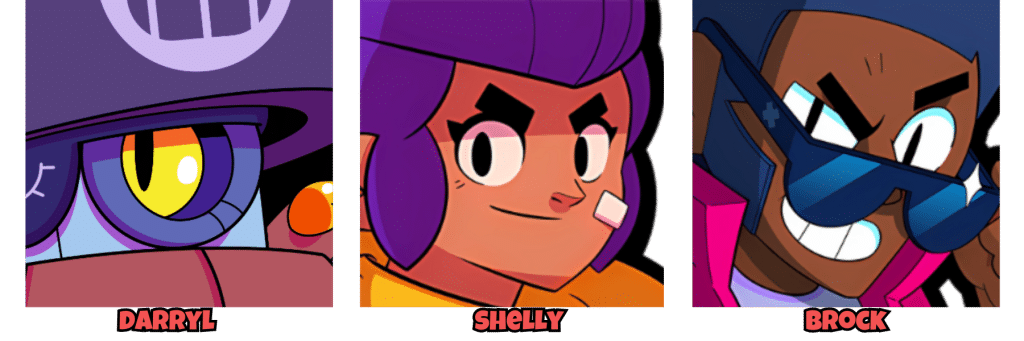
Another important consideration is the ability to break walls, which plays a huge role in changing the flow of the match. Brawlers like Darryl, Shelly, and Brock are particularly strong in this regard, as their attacks can destroy destructible walls, opening up new pathways and forcing the enemy to adjust their positioning. Breaking down these barriers is not only a tactical move but also a game-changer, as it can disrupt an opponent’s carefully planned defenses or provide your team with more flexibility in terms of movement and positioning. Being able to modify the map’s layout allows your team to gain an advantage by creating new routes of attack or forcing your opponents to defend in different areas.
High Mobility Brawlers for Fast-Paced Combat

Finally, high mobility brawlers like Max or Leon are extremely effective on the Brawl Stars Pierced map due to its fast-paced nature. These brawlers can take advantage of the tight lanes and open areas, darting in and out of engagements, catching enemies off guard, and quickly exploiting weaknesses. Their speed and ability to reposition quickly allow them to take control of key areas with hit-and-run tactics, making them hard to pin down. They also have the advantage of avoiding being trapped in chokepoints, as they can easily slip past enemy defenses and seize opportunities before the opponent can react.
Ultimately, the Brawl Stars Pierced map favors brawlers that can excel in both offense and defense, and the best team compositions will depend on utilizing the terrain to your advantage. Whether pushing through chokepoints with tanks, controlling open spaces with ranged brawlers, breaking walls with strategic moves, or exploiting the speed of mobile brawlers, selecting the right mix for your team will significantly affect your ability to control the match.
Brawl Stars Pierced Guide: Best Game Modes
The Brawl Stars Pierced map’s design, with its open central area, narrow chokepoints, and destructible and indestructible walls, lends itself well to a variety of Brawl Stars game modes. However, certain modes make the most of the map’s unique layout and strategic features. Here are the best game modes for Pierced:
Heist

In Heist, the combination of open spaces and chokepoints makes the map an exciting battleground for both offense and defense. The central area of the map is often contested, as both teams try to secure control while attempting to break through enemy defenses. Tanks, like El Primo or Frank, are especially useful in pushing through narrow lanes and defending the safe. At the same time, ranged brawlers, such as Penny, can capitalize on the wide open areas to deal damage from a distance. The destructible walls also create opportunities to open new attack routes, making it a dynamic and fast-paced mode where the map’s layout can change quickly.
Bounty

Bounty thrives on the Brawl Stars Pierced map due to its combination of open spaces and narrow paths that encourage both long-range combat and ambush strategies. The chokepoints create opportunities for teams to control key areas and trap enemies, while the open areas allow for brawlers with long-range abilities, like Brock or Penny, to maintain pressure from a distance. Additionally, the map’s destructible walls allow teams to adjust their tactics mid-match, opening up new lines of sight or cutting off enemies trying to escape. This game mode benefits from strong positioning and controlling the central area, where most of the action typically happens.
Gem Grab

In Gem Grab, the central area becomes the key battleground for collecting gems while fending off opponents. Brawl Stars Pierced offers a challenging environment for Gem Grab because the chokepoints force both teams into tight engagements around the central gem mine. Tanks like El Primo can push through the narrow paths to pressure the enemy while collecting gems, while ranged brawlers can provide support and control the open areas. The destructible walls can be used to block enemies trying to steal gems or retreat, adding another layer of strategy to the game mode. Holding the central gem area is critical for success, making teamwork and map control essential.
Showdown (Solo and Duo)

Showdown, whether solo or duo, benefits from the Brawl Stars Pierced map’s mix of open spaces and confined pathways, which create interesting combat situations. The central area offers intense battles for control, while the narrow lanes give brawlers opportunities for ambushes or escaping when necessary. In Solo Showdown, high mobility brawlers like Leon or Max can exploit the open areas for quick hits and repositioning, while in Duo Showdown, teams can use the map’s features to create traps or hold chokepoints to limit the movement of their opponents. The ability to break walls gives brawlers more flexibility to adapt and find new ways to challenge other players.
Hot Zone

In Hot Zone, the Brawl Stars Pierced map’s design is particularly effective due to the need for teams to control specific zones on the map. The central area and chokepoints become key locations that teams must fight to control. Tanks are great for contesting the Hot Zone areas, while ranged brawlers can help maintain control from a distance. The destructible walls also add a strategic element, as teams can break them to open new sightlines or create barriers to block enemy movements. Holding the Hot Zone becomes more challenging as the map changes throughout the match, so adapting your strategy to the evolving environment is crucial.
The Brawl Stars Pierced map’s design makes it a versatile and exciting arena for several game modes in Brawl Stars. Modes like Heist, Bounty, Gem Grab, Showdown, and Hot Zone all benefit from the map’s combination of open spaces, chokepoints, and destructible walls. Teams that can control key areas, adapt to changing conditions, and make the best use of their brawler selection will excel on this map. Whether it’s for intense battles in Heist or strategic positioning in Gem Grab, Pierced provides a challenging and dynamic experience for players in all game modes.
Brawl Stars Pierced Guide: Tips and Tricks
The Brawl Stars Pierced map offers plenty of strategic opportunities, especially when players understand how to use its terrain to their advantage. With its mix of narrow chokepoints, open central areas, and destructible walls, mastering map control and timing can be the key to winning. Here are some essential tips for navigating the Pierced map effectively.
Walls and Bushes
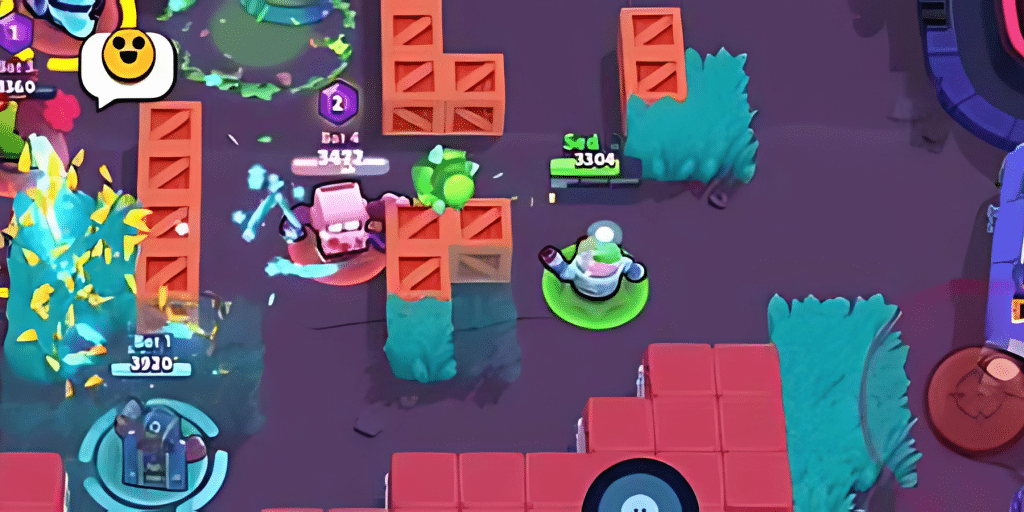
The walls and bushes on Brawl Stars Pierced can provide crucial cover, particularly in the central gem area. Thrower brawlers, like Barley or Darryl, excel here because they can attack over walls, controlling chokepoints while staying hidden. Sharpshooters, like Penny or Brock, are effective at long-range combat but may struggle if walls remain intact. If you’re a sharpshooter, breaking down walls (using brawlers like Brock or Shelly) opens up new sightlines and attack opportunities. Use the bushes for cover and ambush enemies when possible.
Fall Back When Your Team Has 10 Gems
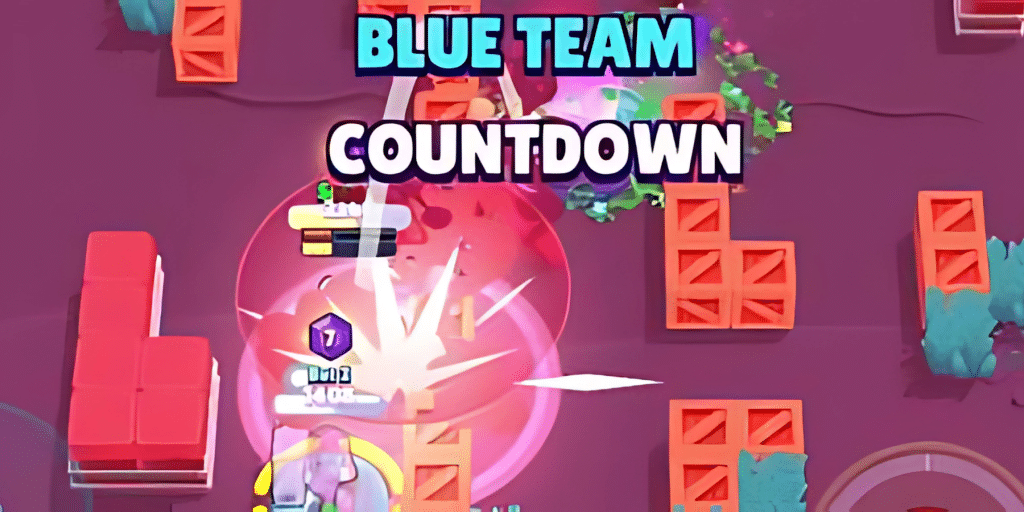
When your team reaches 10 gems in Gem Grab, switch to a defensive strategy. Head back to your side of the map and protect the player holding the gems. The 15-second countdown will begin, so position yourself to block enemy approaches and support your teammate. Use walls and bushes to guard the gem holder and stop enemies from stealing the gems. The goal is to hold the gems until the timer runs out, so teamwork and positioning are key.
Go on the Offensive When Enemies Have 10 Gems
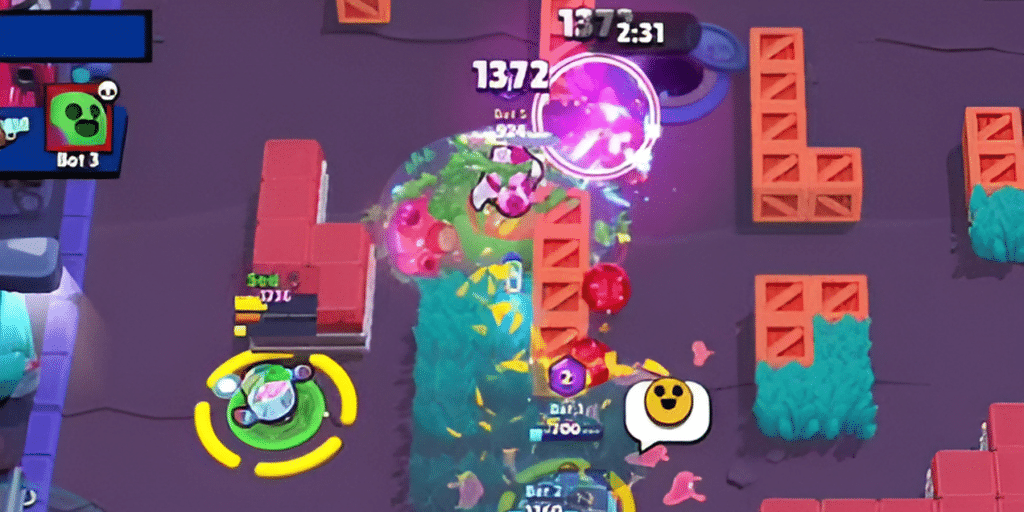
If the enemy has 10 gems, take an aggressive approach. Find the enemy carrying the gems and eliminate them to reset the countdown. Once you’ve taken the gems, retreat to safety and regroup with your team. Use the map’s features—like chokepoints and destructible walls—to block enemy movement and protect the gem holder. Whether you’re the one with the gems or supporting your teammate, communication and positioning are essential for stealing the win.
The Brawl Stars Pierced map rewards strategic thinking and good teamwork. Use the walls and bushes for cover, protect the gems when needed, and stay aggressive when it’s time to steal them back. By adapting to the map’s layout and coordinating with your team, you’ll increase your chances of controlling the match and securing victory.
Brawl Stars Pierced Guide: Conclusion
Mastering the Brawl Stars Pierced map is all about adaptability and teamwork. This map’s unique combination of narrow chokepoints, open spaces, and destructible walls demands a strategic approach that evolves throughout the match. Whether you’re trying to control the central gem area, taking advantage of the map’s tight lanes, or utilizing high-damage brawlers to break down walls, success relies on how well you understand and react to the changing dynamics of the battlefield. The map often requires you to quickly adjust your positioning, especially when the enemy team takes control of key areas or tries to steal gems.
Good communication with your teammates is crucial to success on the Brawl Stars Pierced map. Whether you’re coordinating an offensive push, retreating with gems in hand, or preparing to defend against a late-game comeback, staying in sync with your team can make all the difference. Choosing the right brawlers for the job and knowing when to play aggressively or defensively will help you gain the upper hand. By mastering the map’s layout, making the most of its terrain, and reacting swiftly to each situation, you’ll boost your chances of leading your team to victory.

