 Search
 Account
 Discord


- Mortuary
Brawl Stars The Prey is a community-created map featured in the Hunters event. This map challenges players with its unique blend of open areas and tightly packed walls, encouraging both long-range skirmishes and close-quarters duels. Its layout promotes fast-paced action, where players must quickly switch between aggressive pushes and defensive retreats. With multiple choke points, narrow corridors, and small cover spots, The Prey rewards players who can control space, react quickly to threats, and capitalize on enemy positioning mistakes.
Brawl Stars The Prey Guide: Map Layout
Brawl Stars The Prey’s layout offers a mix of open fighting areas, tight corridors, and bush-covered ambush spots, making it suitable for both long-range sharpshooters and close-range brawlers. With spawn points arranged in a circular ring around the center, players are thrown into fast-paced combat where map control, positioning, and awareness are key to surviving and securing eliminations.
| Ring-Shaped Spawn Layout |
|---|
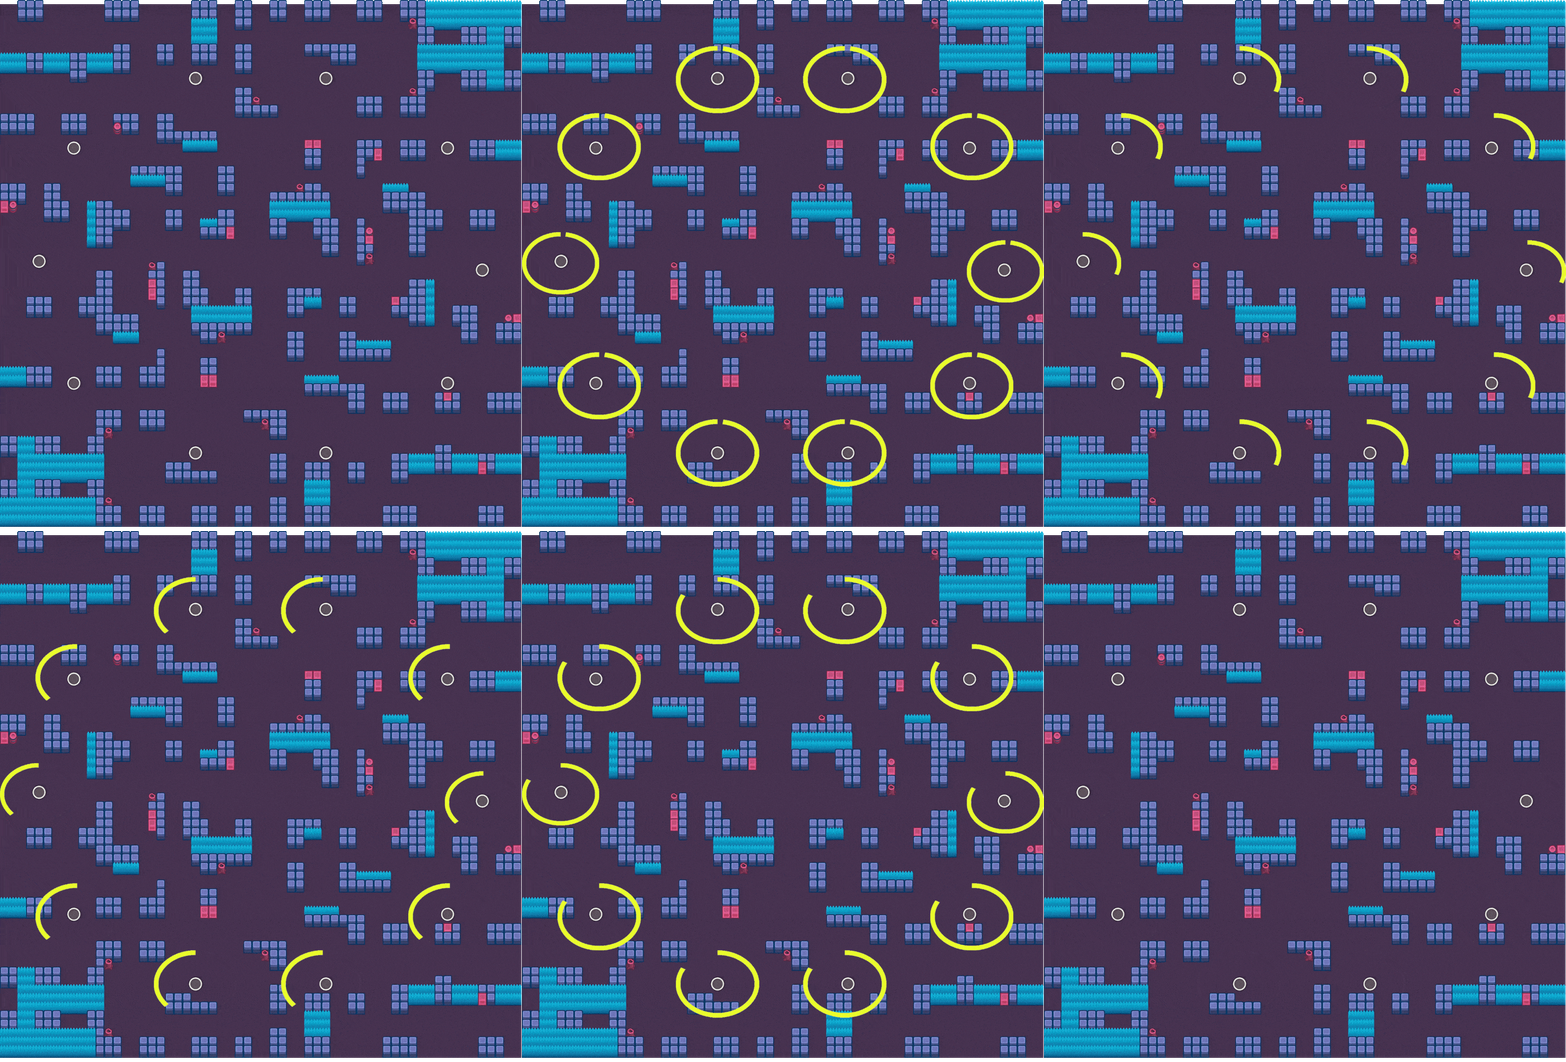 Players spawn in a circular ring formation around the center of the Brawl Stars The Prey map. This setup encourages immediate action and forces players to quickly choose between aggressively rushing the center or holding their ground near their spawn zone. |
| Scattered Wall Clusters with Bushes |
|---|
 Throughout the Brawl Stars The Prey map, there are multiple wall clusters of different shapes and sizes, each with bushes positioned next to them. These spots provide valuable cover and ambush opportunities, making map awareness crucial for survival. |
| Bush-Dense Corners |
|---|
 The top-right and bottom-left corners feature large patches of bushes, ideal for stealthy approaches or hiding to heal and ambush enemies. These areas often become hot zones for close-range combat and surprise attacks. |
Brawl Stars The Prey Guide: Best Brawlers
| Brawlers | Role | Strength |
|---|---|---|
 Leon | Assassin or Ambusher | Leon thrives in the bushy corners, using his Super for sneaky plays and surprise attacks on unsuspecting enemies. |
 Crow | Chip Damage or Control | Crow’s poison ticks help reveal enemies hiding in bushes and prevent them from healing, giving him control over tight areas. |
 Shelly | Close-Range Burst | Shelly dominates in tight corridors and bush-heavy areas, making her a great choice for ambushes and tank control. |
 Spike | Area Control or Damage | Spike’s wide spread attacks are perfect for controlling choke points and small cover zones around wall clusters. |
 Edgar | Mobility or Assassin | Edgar can quickly close gaps, jump on low-health enemies, and escape risky situations, making him very effective in fast engagements. |
 Bull | Close-Range Brawler or Tank | Bull excels in short-range fights, especially in bush-heavy corners and narrow wall sections where enemies have little room to escape. |
 Bea | Long-Range Precision | Bea can punish enemies trying to cross open areas, thanks to her high burst damage and long attack range. |
 Nita | Area Control or Versatility | Nita’s Bear and AoE attacks help control tight spaces and pressure enemies behind cover, especially near wall clusters. |
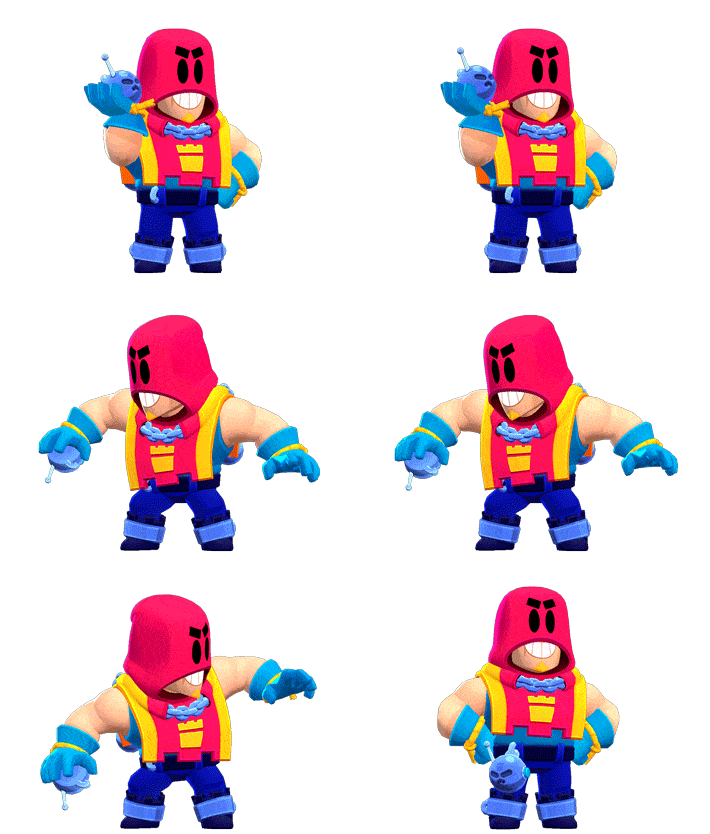 Grom | Thrower or Long-Range Support | Grom’s wall-piercing attacks make him dangerous around the scattered wall clusters, allowing him to hit enemies taking cover. |
Brawl Stars The Prey Guide: Tips
Brawl Stars The Prey map in the Hunters event features a ring-shaped spawn and a mix of open areas and tight cover spots. Smart positioning, map awareness, and the right Brawler choice are key to staying alive and collecting eliminations.
Avoid Close-Range Brawlers in the Center
Due to the spawn formations and how easily enemies can poke near the center, close-range Brawlers like Bull, Shelly, and Edgar struggle to survive early on. Unless you plan to stick to the map’s corners and play defensively, it’s best to choose a Brawler with range.
Control Sightlines with Long-Range Brawlers
Marksmen like Bea, Belle, and Piper can dominate the open spaces between wall clusters. Use long-range shots to pressure enemies as they move across open ground.
Use Bushy Corners for Ambushes
The top-right and bottom-left corners contain large bush areas perfect for sneaky ambush plays. Brawlers like Leon, Crow, or Rosa can wait in these spots for unsuspecting enemies trying to rotate or heal.
Watch Out for Throwers Near Wall Clusters
Brawlers like Grom or Barley can control wall-heavy areas with ease. If you face throwers, avoid staying behind walls for too long and use open lanes to reposition.
Brawl Stars The Prey Guide: Conclusion
Brawl Stars The Prey map offers a dynamic blend of open mid-ground skirmishes and corner-based ambush zones, making it essential to choose your Brawler carefully based on your preferred playstyle. Long-range and control-oriented Brawlers shine in the open areas, while stealthy and close-range fighters can thrive by sticking to the bushy corners and using the wall clusters for cover. Success on this map comes down to positioning, timing, and map awareness, making every elimination count in this fast-paced Hunters event battleground.
Frequently Asked Questions (F.A.Q)
❓What event uses The Prey map?
The Prey map is featured in the Hunters event in Brawl Stars.
❓What is the main layout feature of The Prey?
The Brawl Stars The Prey map has a ring-shaped spawn layout, with open center areas, scattered wall clusters with bushes, and two bush-heavy corners.
❓How important is bush control on The Prey?
Very important, especially in the top-right and bottom-left corners where large bushes provide great ambush and healing opportunities.
❓Which Brawlers work best on The Prey?
Long-range Brawlers like Bea, Belle, Piper, and Grom are strong in the open center, while Leon, Crow, and Rosa do well in the corners.
❓What’s a good general strategy for this map?
Control the center with range, use corners for ambushes, and avoid overcommitting into open areas without proper cover or visibility.

