 Search
 Account
 Discord

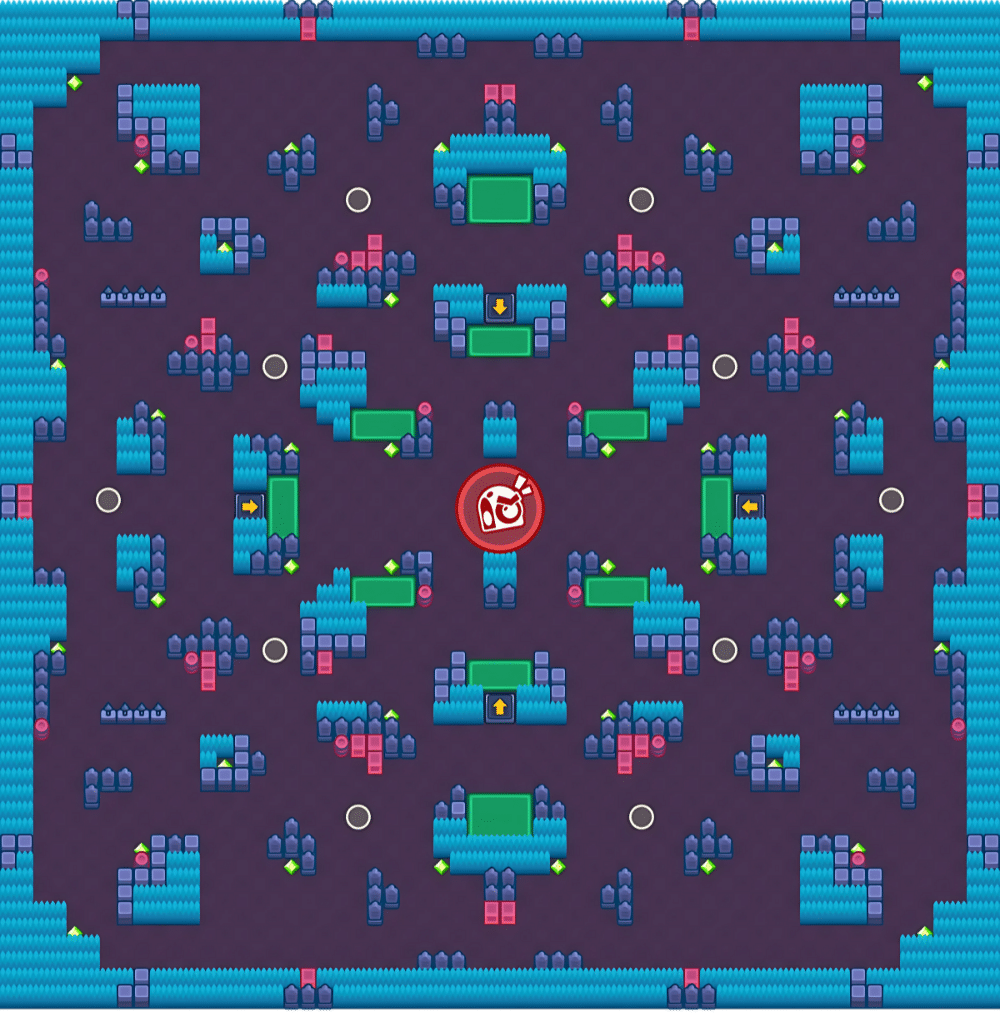

- Mortuary 01 x
- Grave Block – 104
- Tombstone – 244
- Magenta Box – 36
- Magenta Barrel – 20
- Mortuary Fence – 16
- Bush – 482
- Acid Lake – 10
- Power Cube – 40
- Launch Pad – 4
Brawl Stars Tight Stuff is a community-made map featured in the Takedown event. As the name suggests, the layout is compact and enclosed, forcing frequent player encounters and nonstop action. The limited space challenges players to stay mobile while dodging enemy fire and avoiding the boss’s attacks. Its close-quarters design rewards Brawlers with high burst damage, splash attacks, and strong mobility, making it a chaotic yet thrilling environment for collecting the most damage points before time runs out.
Brawl Stars Tight Stuff Guide: Map Layout
Brawl Stars Tight Stuff is a close-quarters Takedown map where space is limited and chaos is constant. Understanding each part of the map helps you navigate its narrow layout and maximize damage output on the boss while staying alive.
| Central Boss Zone |
|---|
 The boss spawns in the middle of the map, and most of the action takes place around it. The tight area leaves little room for escape, making timing and positioning essential when attacking or retreating. |
| Side Corridors |
|---|
 These narrow lanes surround the center and are often packed with damage orbs. They also act as quick flanking routes or safe zones to recover after a fight. Be cautious—ambushes are common here. |
| Spawn Points |
|---|
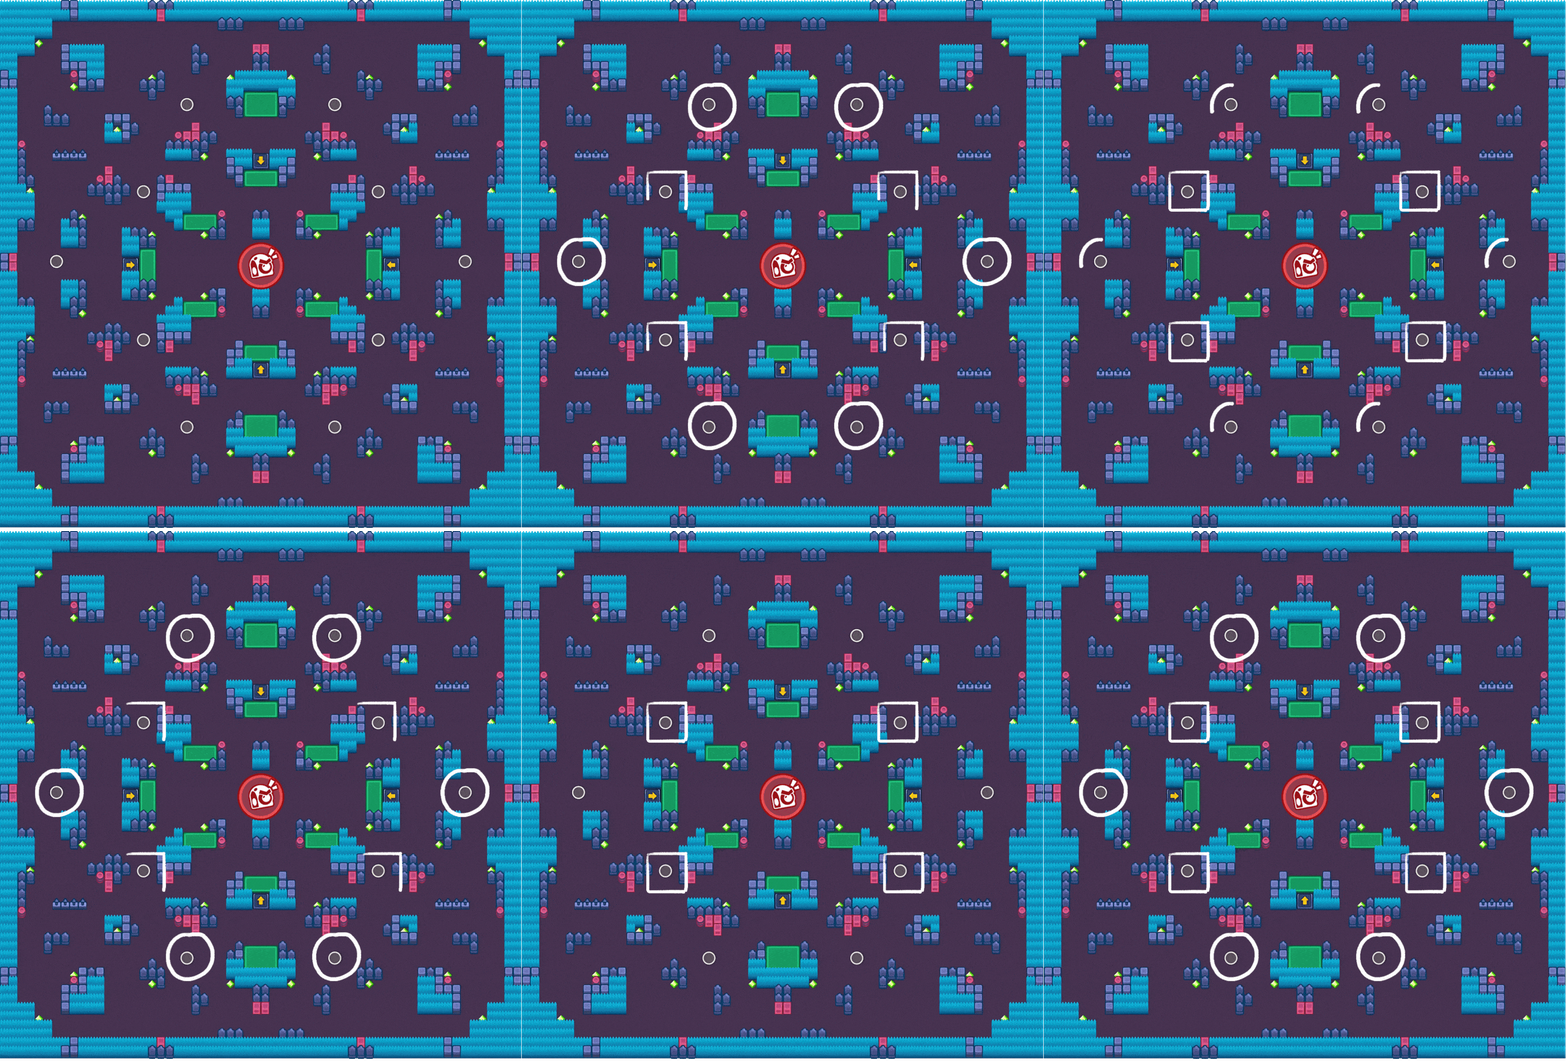 Players spawn at various edges of the map, quickly funneled into the central zone. The close proximity to the boss ensures immediate engagement, so be prepared to start dodging and attacking right away. |
Brawl Stars Tight Stuff Guide: Best Brawlers
| Brawler | Why They’re Effective |
|---|---|
 Buzz | Can chain Supers in tight spaces, stun multiple enemies, and deal high burst damage—ideal for constant clashes near the boss. |
 Fang | Thrives in close quarters with strong combos. His Super lets him quickly dash between targets and rack up damage. |
 Ash | Excellent sustained damage and Rage gain in crowded areas. Can hold space and pressure enemies consistently. |
 Otis | Can silence high-damage threats near the boss. Great at zoning and taking control of tight lanes. |
 Bo | Provides vision with his mines and has decent area control. Works well with gadgets in crowded areas. |
 Bull | Dominates close combat. Perfect for pushing into the center and bursting down the boss when safe. |
 Rosa | Strong in cluttered areas with her Super and bushes. Can tank hits and deal consistent melee damage. |
 Stu | His mobility allows him to stay in the fight longer while dodging shots and dashing through enemies and boss fire. |
 Emz | Shines in packed areas thanks to her spray damage and passive zone control. Excellent for both boss damage and crowd control. |
 Grom | A powerful thrower who can safely deal damage from behind cover. Good at punishing clustered Brawlers near the boss. |
Brawl Stars Tight Stuff Guide: Tips
Brawl Stars Tight Stuff’s compact layout and chaotic center zone demand smart positioning and situational awareness. With wide-open space, scattered lakes, and limited cover, choosing the right Brawlers—and knowing where to position them—can make the difference between dominating the damage charts or getting constantly shut down.
Spread Damage and Healing Brawlers Shine
Pam and Poco are great picks thanks to their consistent area damage and built-in healing. They thrive in crowded fights without relying on precision.
Use Lakes for Surprise Attacks
While most tanks struggle on this map, Brawlers like Darryl and Bull can hide by the lakes and ambush others or pressure the Boss unexpectedly.
Watch Power Cube Distribution
Power Cubes are evenly spread but often cluster near lakes—close to where most Boss engagements happen. Prioritize those areas early.
Beware the Edge Bushes
Long-range Brawlers should avoid getting too close to edge bushes. These spots are prime ambush zones, especially against mid-to-close range threats.
Throwers Have Limited Safe Zones
The map lacks protective wall clusters near lakes, making it risky for throwers. They must rely on distant walls, but bushes nearby make them vulnerable to aggressive Brawlers.
Brawl Stars Tight Stuff Guide: Conclusion
Brawl Stars Tight Stuff challenges players with its compact design, limited cover, and chaotic mid-fights around the lakes. Choosing Brawlers with strong area control, sustained damage, and survivability gives you an edge when contesting the boss and fending off rivals. Whether you’re ambushing from the lakeside, controlling power cube zones, or zoning enemies out of the center, mastering movement and positioning will maximize your damage output and keep you competitive throughout the match.
Frequently Asked Questions (F.AQ)
❓Is Brawl Stars Tight Stuff map good for tanks?
Not generally, but tanks like Darryl and Bull can still perform well by ambushing around the lakes.
❓Who are the best damage dealers here?
Pam, Poco, Emz, Fang, Buzz, and Ash are excellent for racking up damage in tight, clustered battles.
❓Where are most of the Power Cubes?
They’re mostly found near the lakes where the boss usually appears. Controlling those areas early is key.
❓Can throwers succeed on this map?
Only with caution. Limited wall cover near the center makes it risky, though outside areas offer some protection.
❓Are the bushes dangerous?
Yes—especially for long-range Brawlers. Avoid pushing too close to edge bushes without vision or backup.

