 Search
 Account
 Discord


- Scrapyard 01
- Pressed Block – 14
- Arcade Block – 4
- Wooden Box – 8
- Blue Barrel – 22
- Pipe Fence – 10
- Tire Stack – 7
- Bush – 126
- Acid Lake – 2
- Launch Pad – 4
Brawl Stars Mecha Match Guide: Introduction
The Brawl Stars Mecha Match stands out as one of the most dynamic and visually striking arenas in the game. Designed with a futuristic, industrial aesthetic, it offers an array of strategic opportunities and challenges that require careful planning and execution. Players are not only up against opponents but also the unique features of the map itself, making every match on the Brawl Stars Mecha Match Map an exciting, unpredictable experience. To maximize your success on this battlefield, it’s essential to fully grasp the map’s design, the different terrain elements it includes, and the various strategic zones you need to control.
The Brawl Stars Mecha Match map’s structure is built to encourage different playstyles, from aggressive brawlers who thrive in close-quarters combat to long-range snipers who prefer to pick off enemies from a distance. Understanding how to approach each area of the map and how to adapt your tactics based on your team composition and the brawlers you’re using is critical to your victory. The Brawl Stars Mecha Match Map isn’t simply about rushing to the center; it requires more thoughtful planning, including how to handle the map’s lanes, where to position your brawlers, and when to strike or retreat.
Whether you’re playing Siege, Bounty, Heist, or any other mode, the map’s layout significantly influences your strategy. The placement of obstacles, bushes, and walls creates unique advantages and challenges, as certain areas provide excellent cover while others leave you vulnerable to flanking. Additionally, the central area often becomes the focal point for intense battles and must be approached with caution, whether you’re defending or pushing forward.
This guide will dive deep into the map’s features, breaking down every aspect of the terrain and explaining how different zones on the Brawl Stars Mecha Match can be utilized to gain a competitive edge. By exploring how the map works with your brawlers’ strengths and weaknesses, you’ll gain a clearer understanding of the best ways to approach different situations and opponents. Mastering the Brawl Stars Mecha Match Map will require flexibility, coordination, and map awareness, but once you understand its ins and outs, you’ll be better prepared to make the most of every match and ultimately increase your chances of winning.
Brawl Stars Mecha Match Guide: Map Layout and Key Features
The Brawl Stars Mecha Match is distinguished by its futuristic and industrial design. It has a blend of open spaces and narrow corridors, making movement across the map both crucial and tactical. One of the most important elements of the map is the central area, often featuring a large mech or mechanical structure, which serves as a focal point. This central area can serve as both an advantage and a risk, depending on how the match is unfolding.
The Brawl Stars Mecha Match map’s layout includes plenty of walls and obstacles scattered throughout, which provide cover for ambushes or defensive plays. However, some of these obstacles can be destroyed by brawlers with explosive attacks or abilities. This can lead to shifting battle dynamics, as spaces that were once protected can open up, changing the flow of the game. The placement of obstacles is typically not symmetric, which means the approach to the center or specific objectives can vary depending on the side you’re on.
Around the edges of the Brawl Stars Mecha Match map, you’ll often find areas with more open space or occasional bushes that provide opportunities for surprise attacks or healing spots. The location and frequency of these bushes are critical for brawlers who rely on stealth and ambush strategies. Taking control of these spots early in the match can provide a significant advantage, allowing your team to set traps or force the enemy team into uncomfortable engagements.
The verticality of the Brawl Stars Mecha Match Map adds complexity, with elevated platforms providing tactical advantages like better sightlines and a safe distance from enemies. These high ground spots are ideal for long-range brawlers, allowing them to deal damage while staying out of sight. However, they can be vulnerable to mobile or ranged opponents. Knowing when and where to use the high ground effectively can give your team an edge, but it requires careful map awareness and positioning.
Brawl Stars Mecha Match Guide: Best Brawlers and Strategies
The Brawl Stars Mecha Match’s design offers a variety of opportunities and challenges, making it essential to choose the right brawlers and employ the right strategies for different scenarios. Depending on your team composition, the map’s layout, and the mode you’re playing, the choice of brawlers can significantly impact your chances of success. Below, we break down the best brawlers and strategies to use on the Brawl Stars Mecha Match to maximize your team’s performance.
Tanky Brawlers for Aggressive Pushes

Tanky brawlers who can take a lot of damage and hold the center are great for aggressive team pushes. Characters like El Primo and Frank are excellent choices because of their durability and ability to deal massive area damage. Their high health allows them to absorb damage, making them ideal for pushing forward into the central area where most of the action tends to happen. Their presence in the central zone can disrupt enemy formation, forcing opponents to rethink their positioning and making it difficult for them to secure objectives. These brawlers thrive in close combat, and their ability to control space can help maintain map dominance.
Ranged Brawlers for Long-Distance Damage

Ranged brawlers like Barley and Penny are also great picks, especially in modes where central control is key. These brawlers excel at dealing damage from a distance, using their long-range abilities to stay safe while wearing down enemies. By hiding behind cover or attacking from elevated positions, they can consistently apply pressure without exposing themselves too much. Penny’s splash damage and Barley’s area control make them strong choices for clearing out enemies hiding behind obstacles or punishing opponents who try to hold positions in the center or other strategic spots.
Defensive Brawlers for Control

For defense, brawlers like Rico and Tara are invaluable. Rico’s ability to bounce shots off walls is particularly useful on the Brawl Stars Mecha Match, where many areas are lined with obstacles and walls. This ability allows him to hit enemies hiding behind cover, turning otherwise safe spots into dangerous zones for the enemy team. Tara, with her Super that traps enemies in a black hole, can easily disrupt enemy positioning and force them to either waste their abilities or retreat. Both of these brawlers excel at defending critical zones, particularly around the central objective or key choke points, making them essential for holding back enemy pushes.
Mobile Brawlers for Flanking

In terms of mobility, brawlers such as Crow and Leon are standout picks. These brawlers have excellent speed and can quickly move around the map, making them perfect for flanking or harassing enemies in high-traffic areas. With their ability to quickly dodge attacks and move into bushes for ambushes, they can avoid direct confrontations and surprise opponents by picking off weaker or isolated brawlers. Their agility allows them to disrupt enemy formations and take advantage of opportunities to weaken the enemy team, especially when they’re trying to hold onto key positions. Their speed makes them an asset in catching opponents off guard or pressuring enemies who are focusing too much on central control.
By selecting the right brawlers for your team and employing these strategies, you can maximize your chances of success on the Brawl Stars Mecha Match Map and adapt to the ever-changing dynamics of the battlefield.
Brawl Stars Mecha Match Guide: Siege on the Mecha Match

In Siege mode on the Brawl Stars Mecha Match, the central area becomes the focal point of the battle. The large mechanical structure or mech serves as the key element for the Siege Bot spawn, making control over this area a crucial factor in determining the outcome of the match. Teams must prioritize holding the central area to ensure they can consistently secure the Siege Bot, as the bot is essential for damaging the enemy’s Ike turret. This means that brawlers who excel at controlling space and absorbing damage, such as El Primo or Frank, are valuable assets for maintaining control of the center and withstanding enemy pushes.
The Brawl Stars Mecha Match’s design, with its mixture of open spaces and narrow corridors, presents both opportunities and challenges. Tanky brawlers can use the open areas to absorb enemy fire and disrupt the opposing team’s positioning, allowing their teammates to focus on attacking the bot or defending their own. At the same time, the narrow lanes offer opportunities for brawlers with long-range attacks, such as Penny or Barley, to deal damage from a safe distance while taking cover behind obstacles. These brawlers can help clear out enemies attempting to disrupt the Siege Bot or prevent opponents from gaining control of the central area.
However, the Brawl Stars Mecha Match also features numerous walls and obstacles, which can be both beneficial and detrimental depending on the situation. Defensive brawlers like Rico or Tara can make great use of these structures. Rico’s ability to bounce shots off walls allows him to hit enemies hiding behind cover, while Tara’s Super can trap multiple enemies in her black hole, preventing them from defending or interrupting the bot’s progress. These brawlers can create a strong defensive line around the bot or the central mech, ensuring that the enemy struggles to gain an advantage.
Mobility plays a critical role in Siege on the Brawl Stars Mecha Match. Quick brawlers like Crow or Leon can use their speed to flank around the edges of the map, harassing enemies trying to control the central area or disrupt the Siege Bot. Their ability to quickly dart in and out of fights makes them effective at catching opponents off guard and picking off isolated brawlers. Additionally, their ability to move through bushes and use the map’s terrain to their advantage allows them to create chaos in the enemy’s backline, preventing them from fully focusing on the bot. In a fast-paced mode like Siege, timing, map awareness, and coordination are essential for securing victory.
Brawl Stars Mecha Match Guide: Tips and Tricks
Mastering the Brawl Stars Mecha Match in Siege mode requires more than just strong brawlers—it’s about understanding the map’s unique features and using them to your advantage. Whether you’re pushing forward, defending, or supporting your team’s Siege Bot, knowing when and where to position yourself, how to use the map’s terrain effectively, and how to anticipate enemy movements can make all the difference. Here are some essential tips and tricks to help you dominate on the Brawl Stars Mecha Match Map and maximize your team’s chances of success.
Bushes on the Side
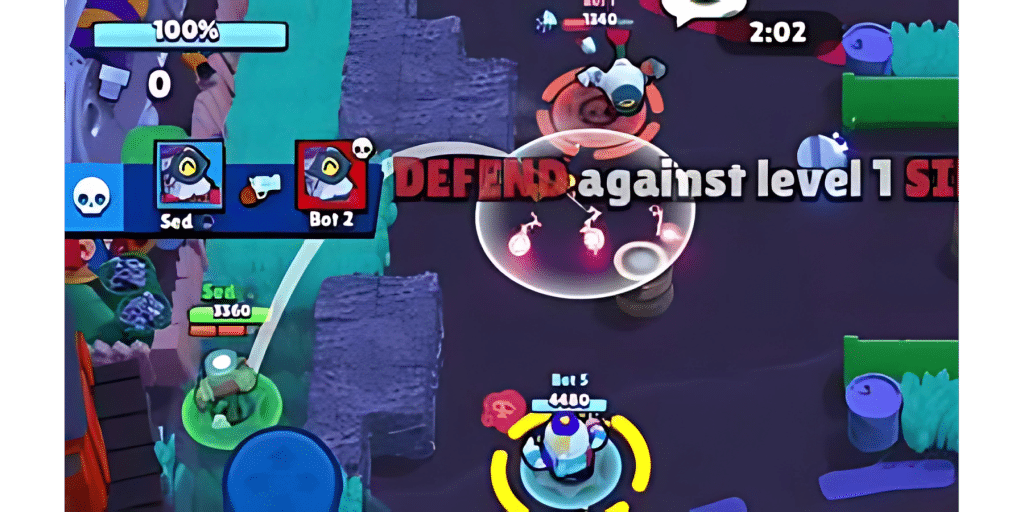
The bushes on the side of the Brawl Stars Mecha Match Map are an essential element to consider for tactical positioning. These bushes offer an excellent opportunity for flanking and ambushing enemies, as they provide cover to hide and catch opponents off guard. You can move through these bushes to sneak around the map, making it difficult for enemies to spot you, especially in high-traffic areas where they may not expect an attack. However, it’s important to stay cautious while traversing these areas. You might run into an enemy who is also trying to use the bushes for a surprise attack. Keep your eyes open and be ready to adjust your positioning quickly if you encounter any threats.
Walls in the Middle

The walls in the middle of the Brawl Stars Mecha Match Map are a key tactical feature. Having a Thrower Brawler on your team allows them to use the walls for cover while attacking over them, keeping them safe while supporting the team, especially when gathering Siege bolts. If the enemy is using the same strategy, try to control the walls on their side. Positioning yourself strategically here can give you an advantage, applying pressure and making it harder for the enemy to secure bolts or defend their tower.
Support the Siege Bot

Once the Siege Bot spawns, don’t just focus on getting bolts—make sure you’re there to support the bot and protect it as it moves towards the enemy Siege Tower. The bot can deal a lot of damage, but it’s vulnerable to attacks, so it’s essential to push back or eliminate any enemies trying to destroy it before it reaches the enemy tower. Stay close behind the bot and clear out any threats that may target it, such as enemies with long-range attacks or mobile brawlers. Once the Siege Bot reaches the enemy tower, switch your focus to attacking the tower directly. The quicker you can destroy it, the closer you’ll be to winning the game.
Intercept Enemies’ Siege Bot
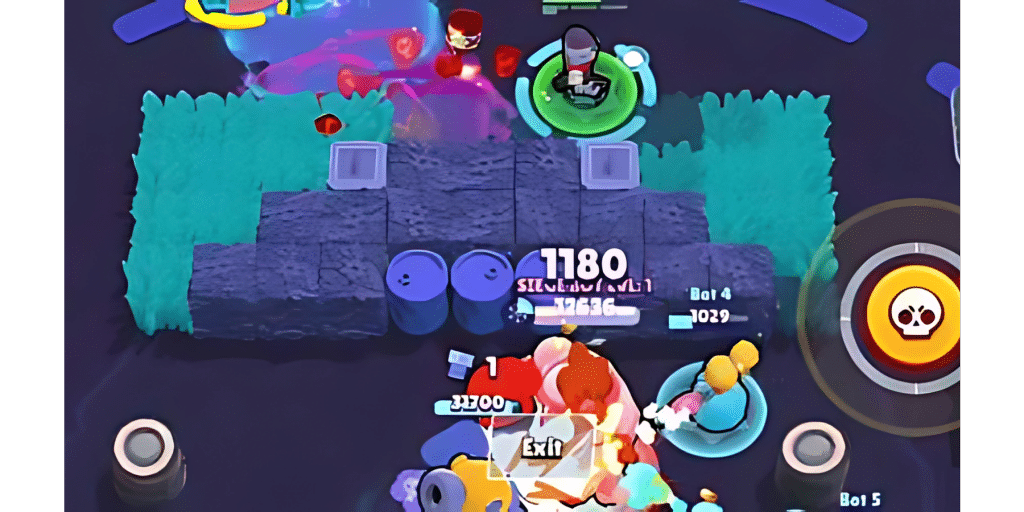
Defending your tower is just as important as attacking. When the enemy’s Siege Bot spawns, intercept it quickly and try to reduce its HP before it reaches your tower. Use tanky brawlers or defensive units to block its path and delay its progress. While defending the bot, be mindful of enemies targeting your tower directly. Focus on both the bot and the enemy brawlers, minimizing damage to your tower and preventing their offense from overwhelming you. The key is to apply pressure on both the bot and the enemies to maintain control of the match.
Brawl Stars Mecha Match Guide: Conclusion
The Brawl Stars Mecha Match is a battlefield that rewards both strategic thinking and adaptability. Its combination of open areas, narrow corridors, and elevated platforms offers a wide range of tactical possibilities. While the central zone often serves as the main point of contention, success on the map doesn’t solely depend on controlling this area. Edge control and proper positioning can be just as influential in deciding the outcome of a match. By leveraging the terrain to your advantage—whether it’s using walls for cover, hiding in bushes for surprise attacks, or holding high ground for better sightlines—you can outmaneuver and outsmart your opponents.
One of the key aspects of mastering the Brawl Stars Mecha Match Map is understanding when to push aggressively and when to hold back. Knowing when to focus on securing Siege bolts or defending against the enemy’s push can make all the difference. Patience and timing are critical, as overcommitting at the wrong moment can lead to unnecessary casualties, while waiting for the right opportunity to strike can catch the enemy off guard. The ability to adapt your tactics based on the flow of the match is crucial for maintaining control of the map and keeping your enemies on their toes.
As you continue to play on the Brawl Stars Mecha Match Map, you’ll become more familiar with its layout, learning the strengths and weaknesses of each area. With practice, you’ll refine your strategies, make better use of the terrain, and improve your ability to dominate the map. By consistently applying these strategies and adapting to each match’s dynamics, you’ll gain a significant edge over your opponents and master the Mecha Match Map.

