 Search
 Account
 Discord


- Katana Kingdom 01
- Nigiri Block
- Sushi Box
- Sushi Barrel
- Sushi
- Bush
- Lake
Brawl Stars Abracadabra is a community-created map designed for the Hot Zone event, featuring a unique and visually striking layout that blends creativity with strategic gameplay elements. Its structure encourages constant movement, with multiple choke points and open lanes that promote both offensive pushes and defensive holds. The map’s arrangement of obstacles and pathways creates opportunities for coordinated team play, as players must control designated zones while anticipating enemy flanks. Its design rewards adaptability, making it a dynamic battleground where positioning, timing, and teamwork are key to victory.
Brawl Stars Abracadabra Guide: Map Layout
Brawl Stars Abracadabra’s layout combines playful thematic elements with strategic design, blending decorative sushi-themed obstacles, natural terrain features, and tactical cover points to create a balanced battleground. Each part of the map is crafted to encourage both direct confrontations and creative flanking maneuvers, ensuring that control of the Hot Zones requires adaptability and coordination.
| Lakes |
|---|
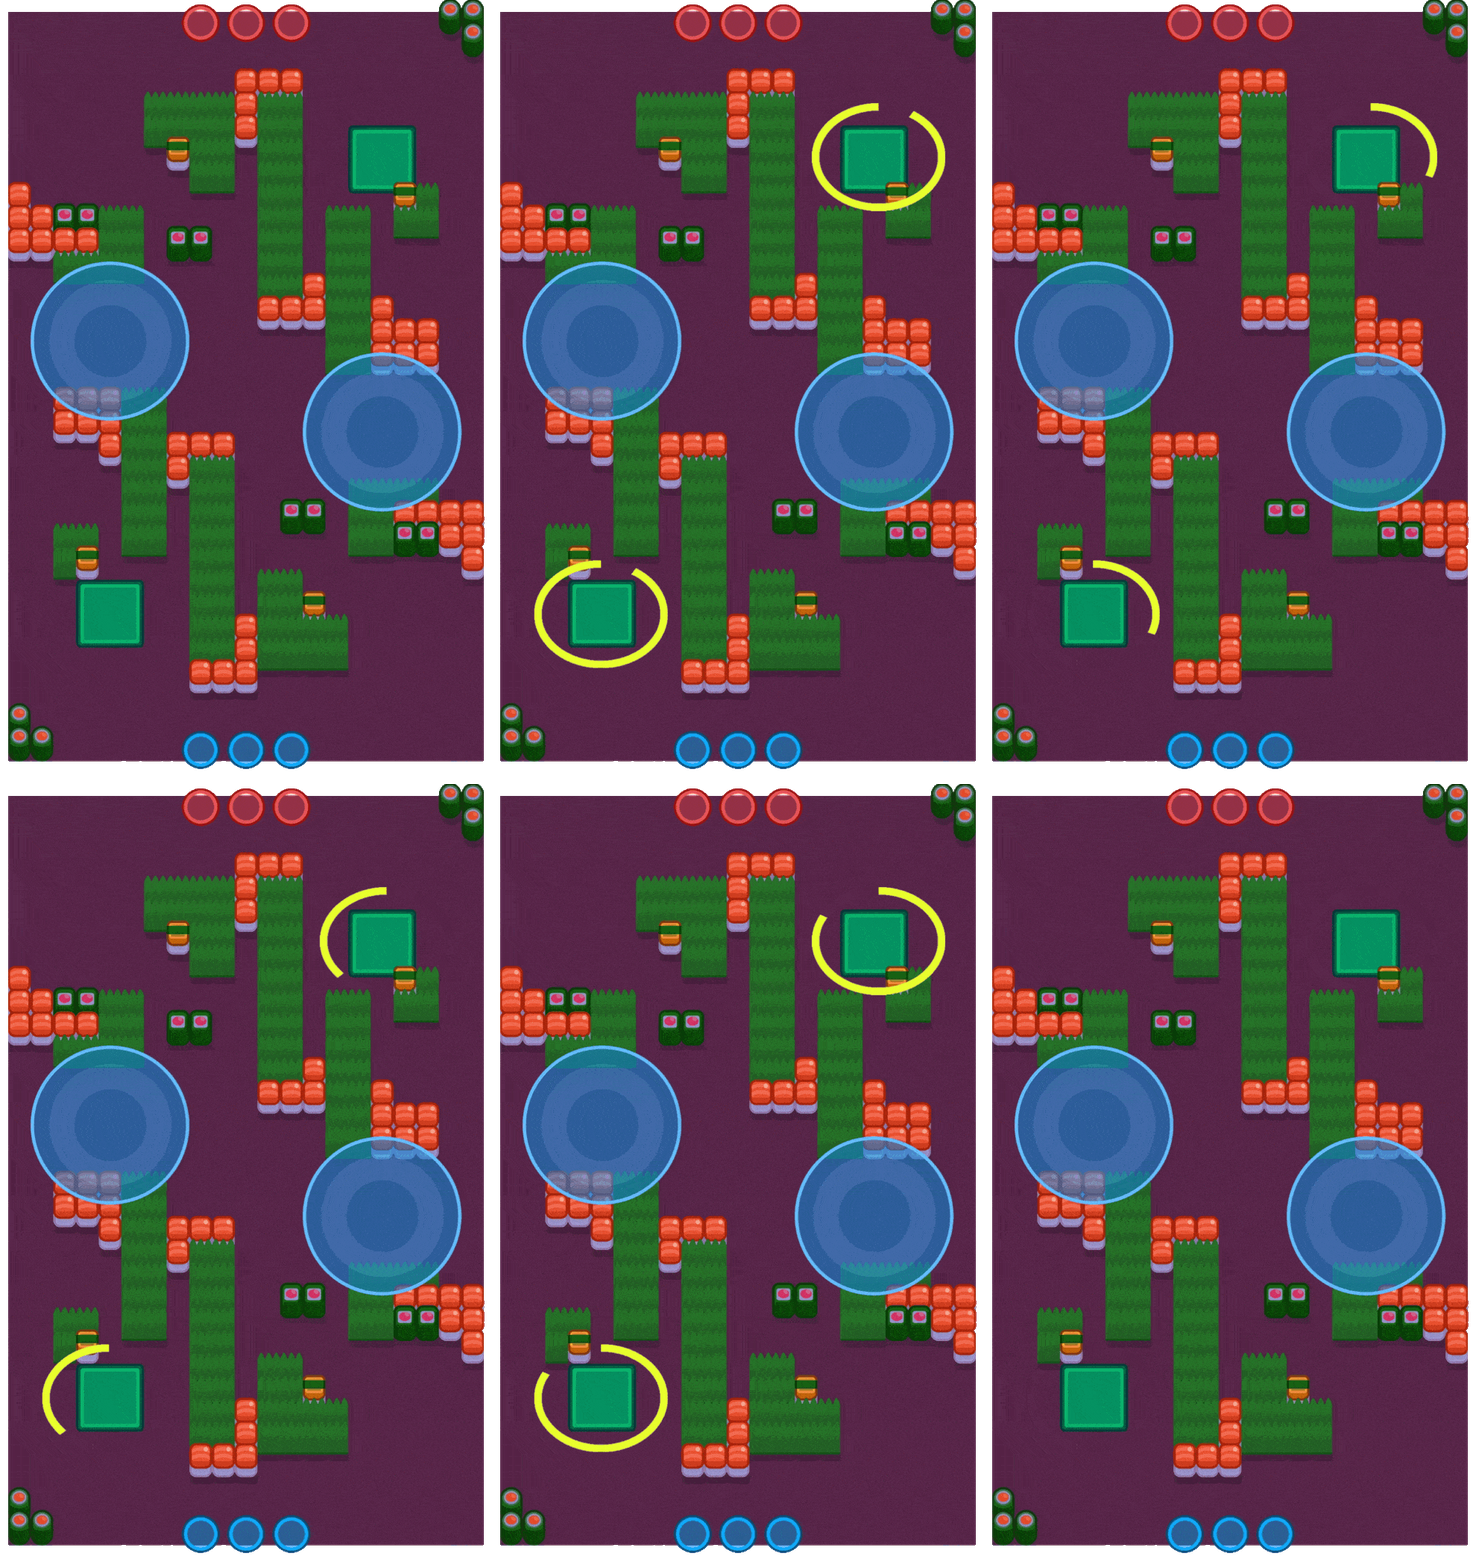 Appear as two large round blue zones in the top-left and top-right. These likely serve as natural barriers or lanes that influence movement and control points. |
| Bush Clusters |
|---|
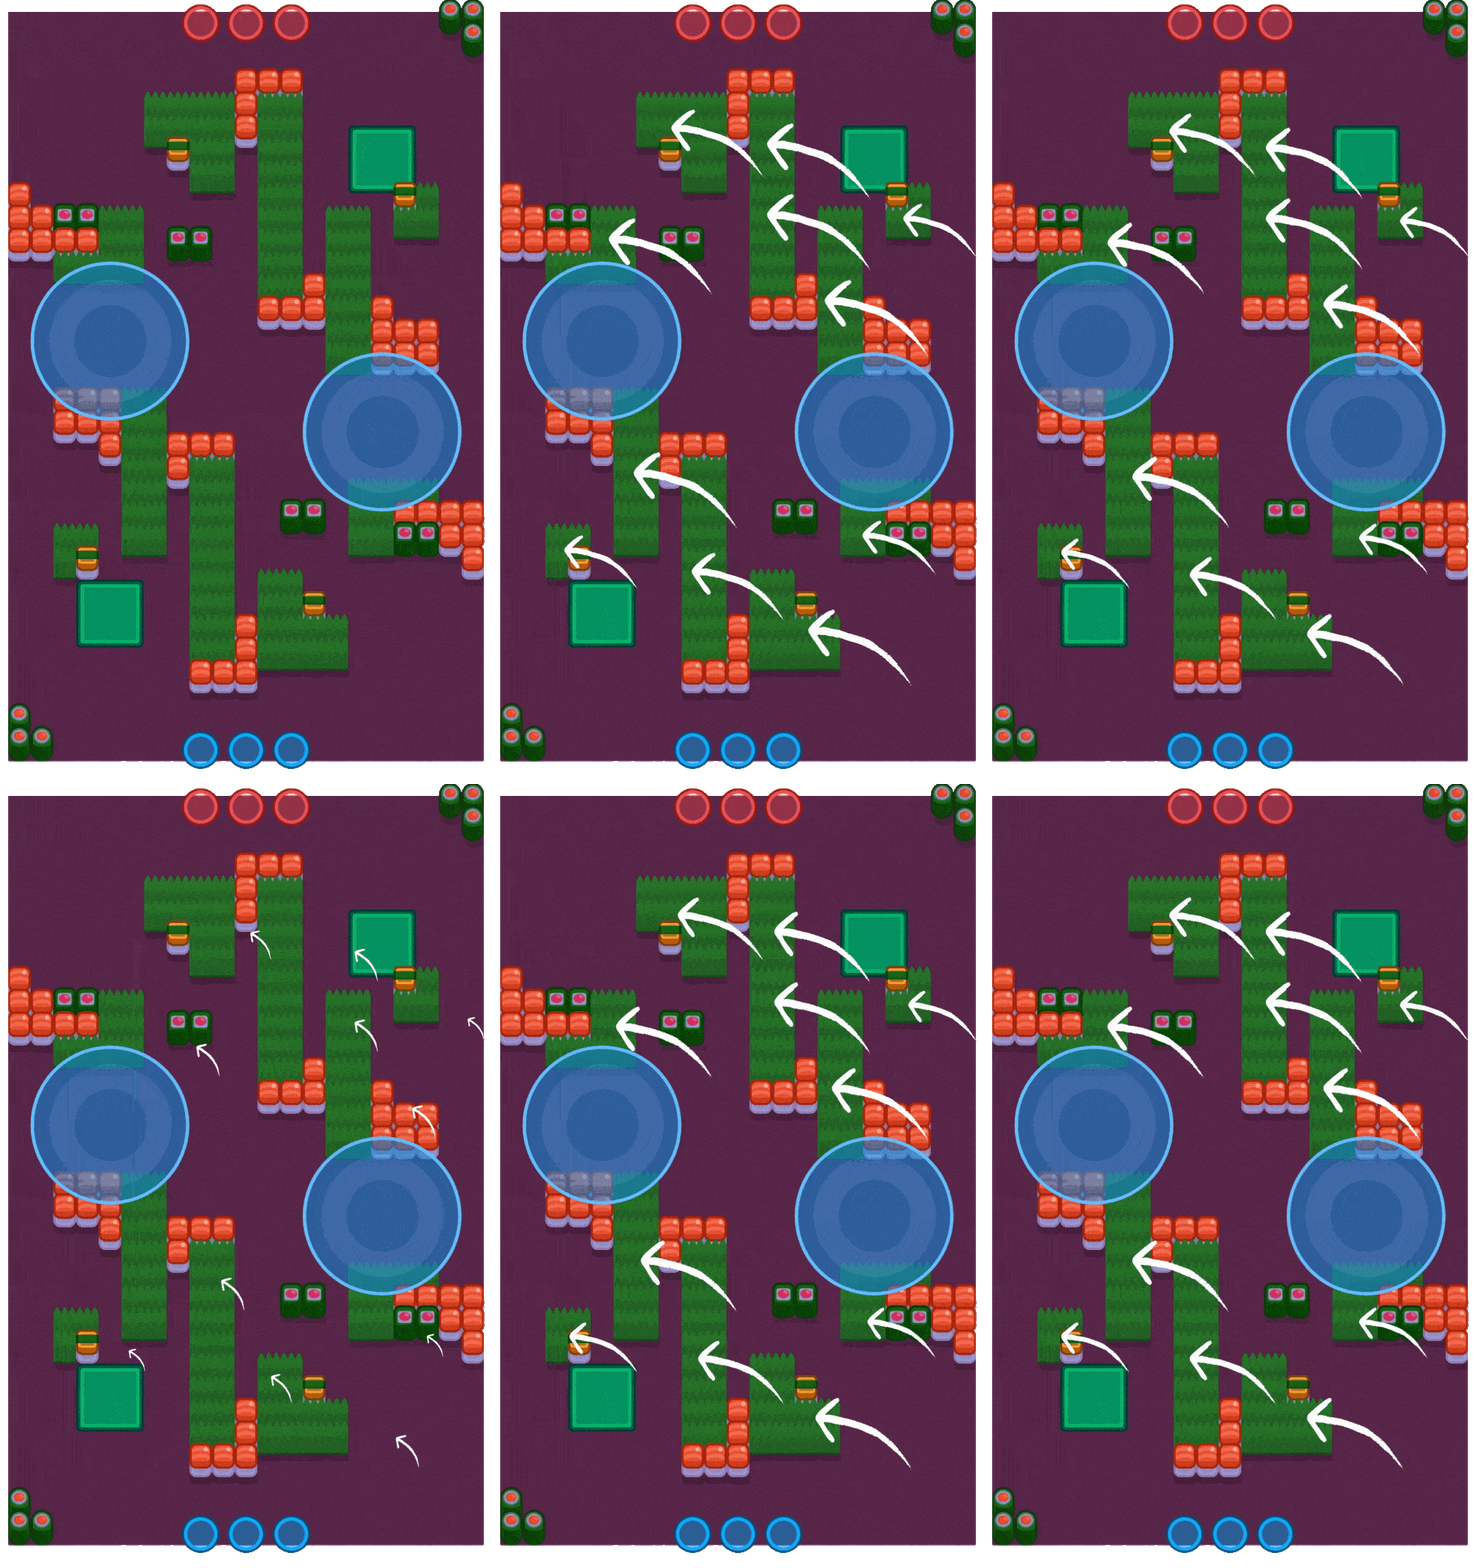 The green patches are scattered across the map, probably near the lakes or strategic corridors, offering cover for flanking or ambushes. |
| Obstacles |
|---|
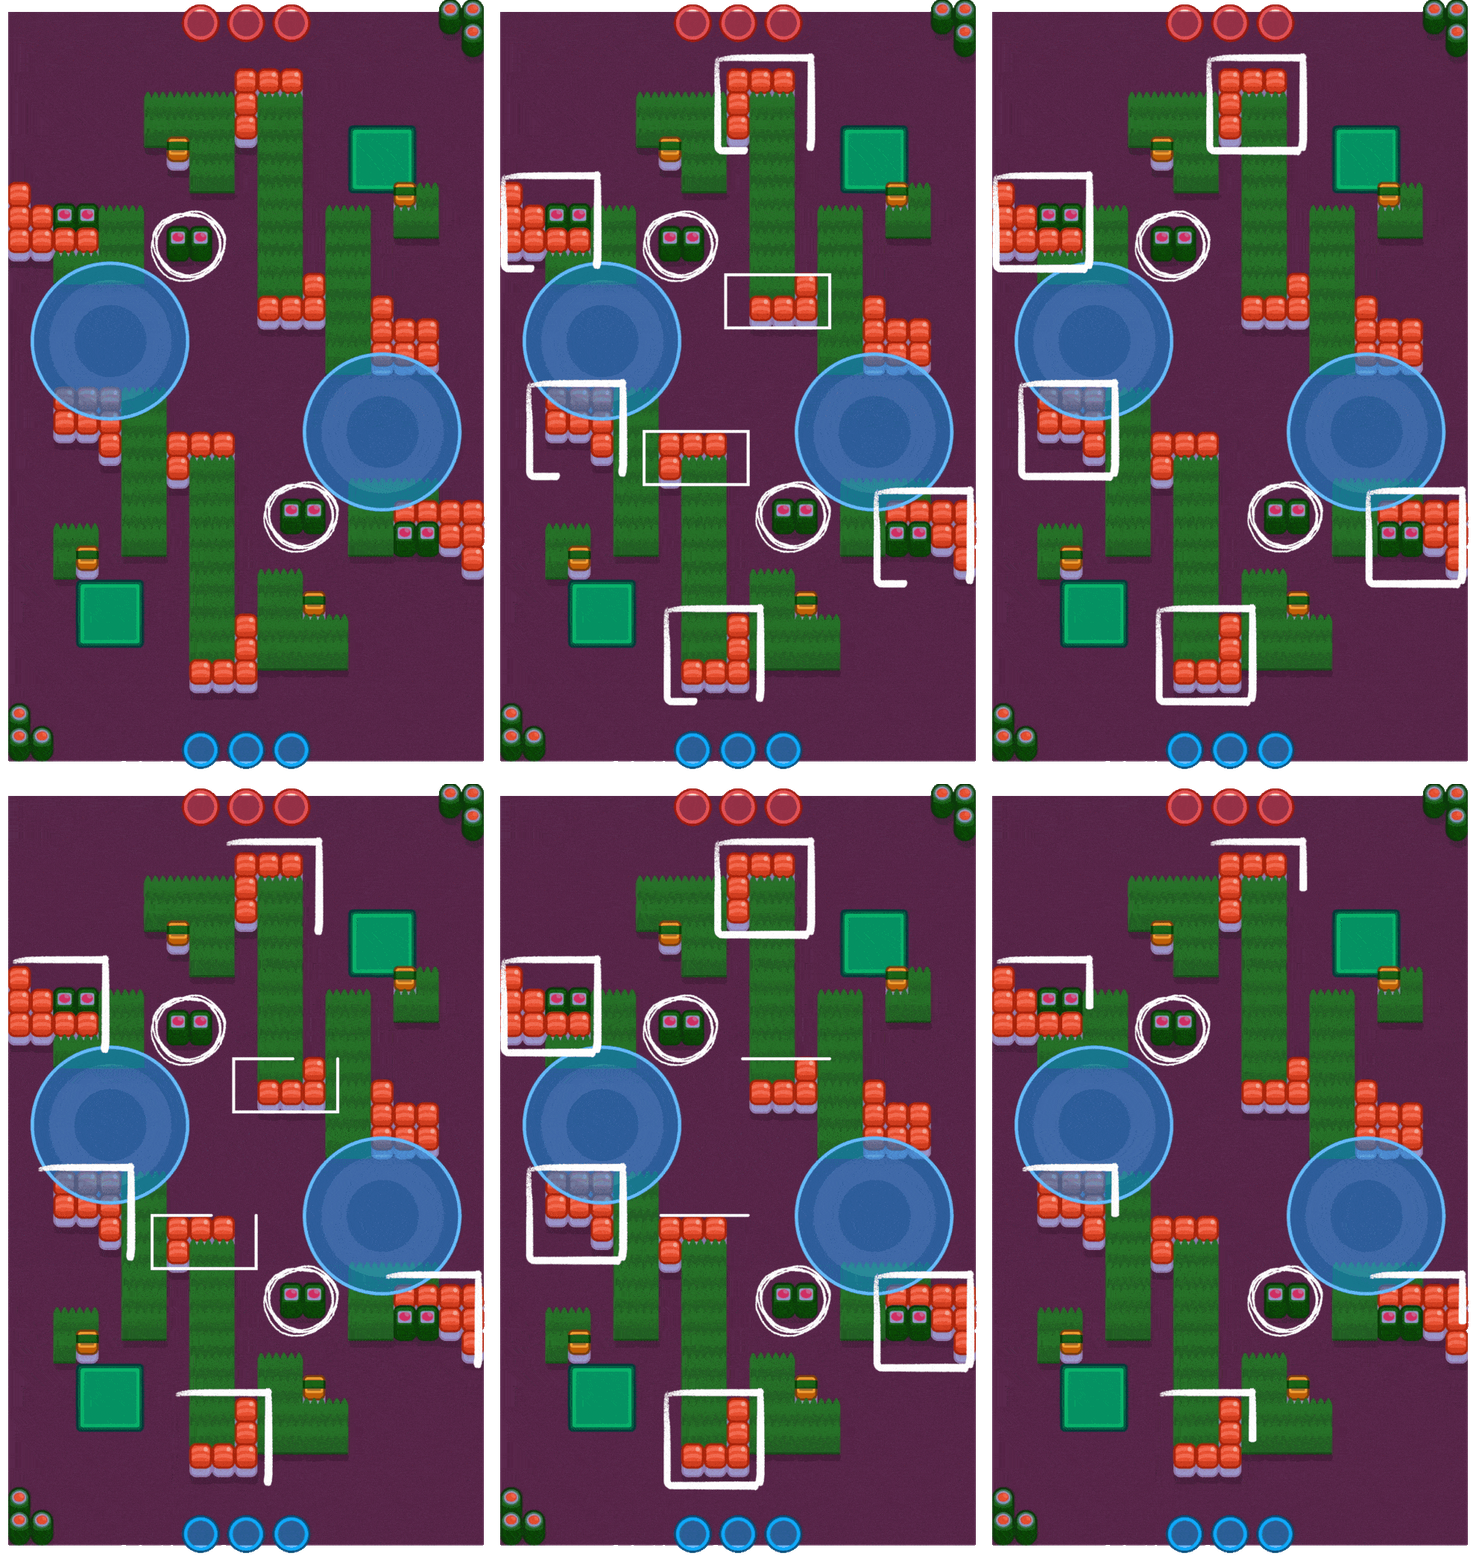 Represent obstacles (likely the orange/red blocks) that form chokepoints, control paths, or protect the Hot Zone areas. |
| Hot Zones |
|---|
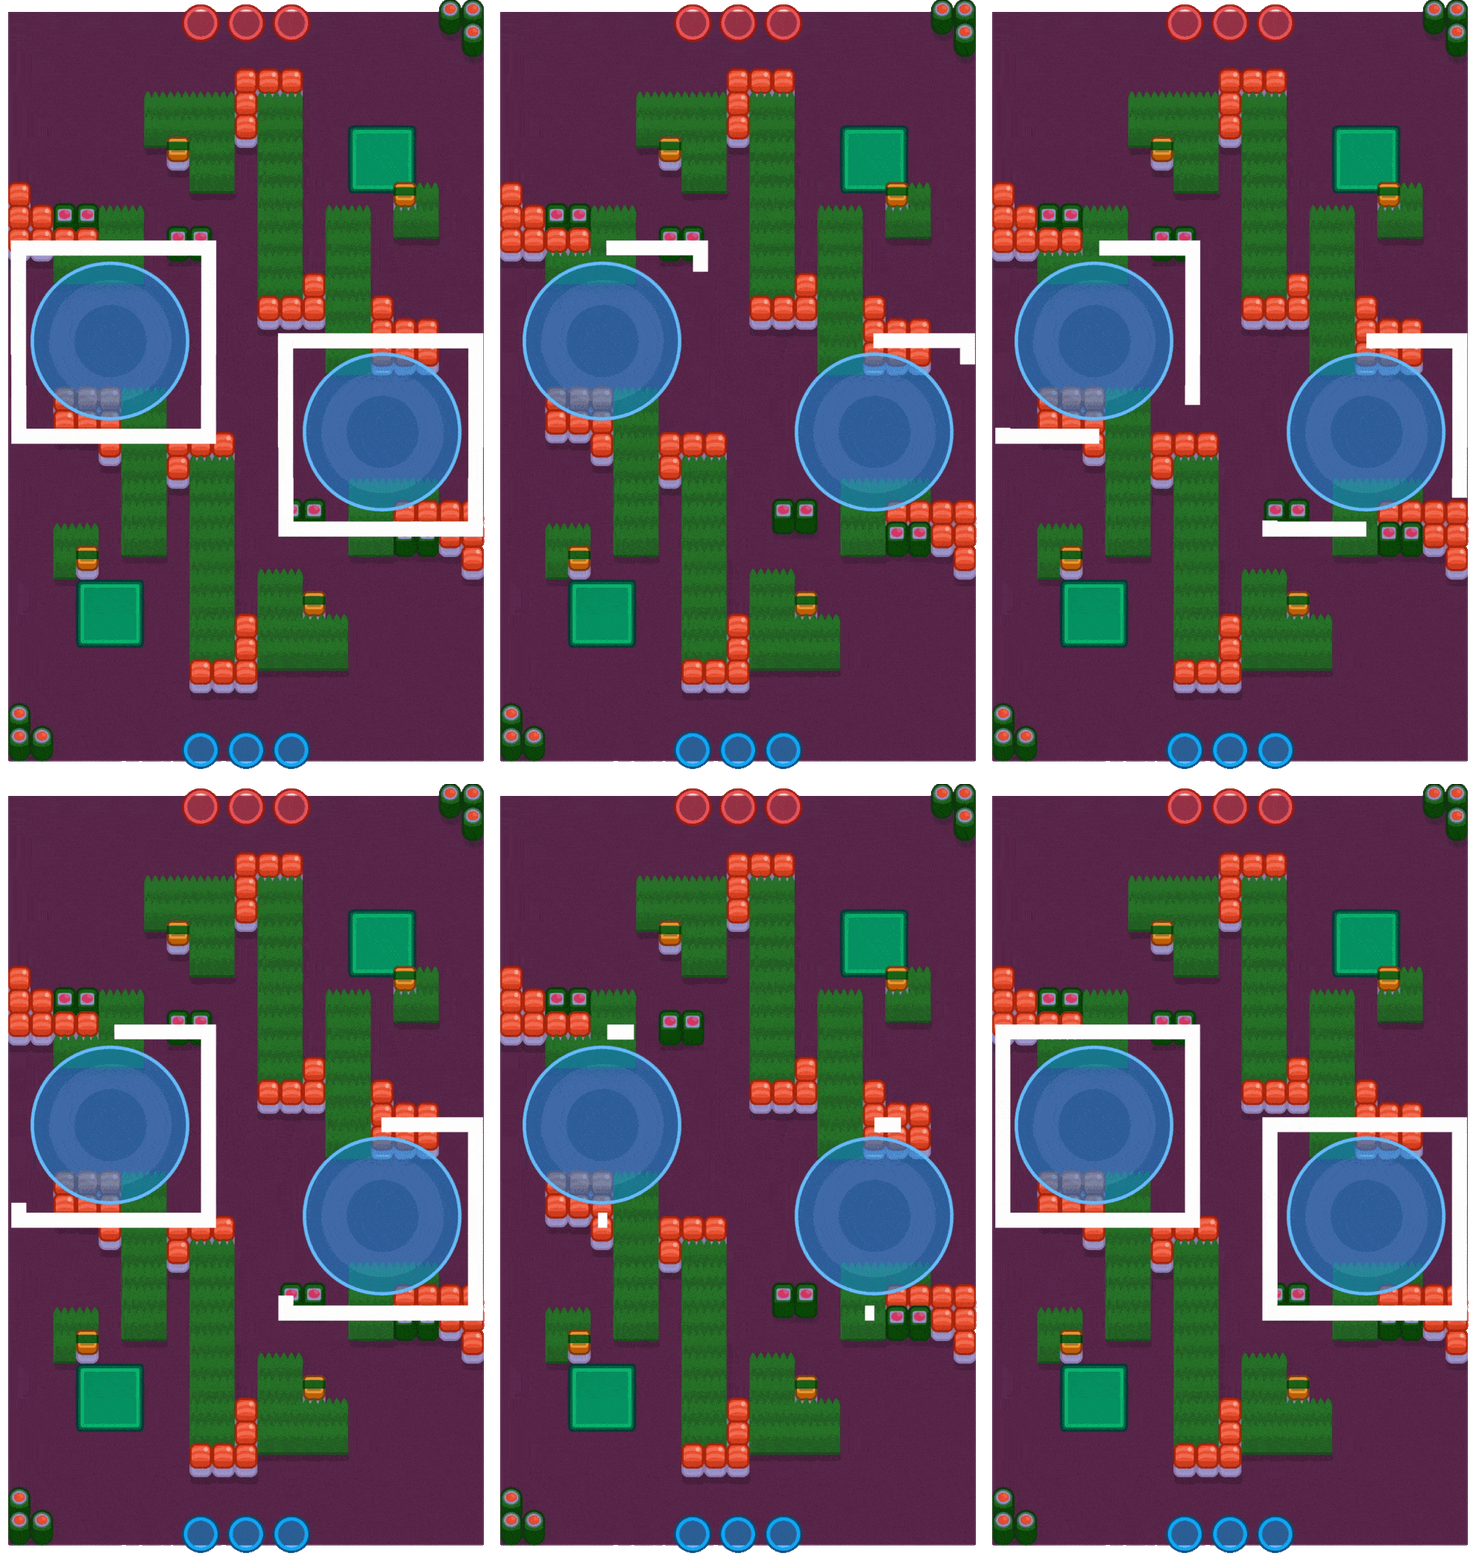 Though not marked, typical Hot Zone maps have two or more zones. Here, they might be centered around areas between the lakes or near prominent open spaces. |
Brawl Stars Abracadabra Guide: Best Brawlers
| Brawler | Role | Why They’re Strong |
|---|---|---|
 Alli | Controller & Area Denial | Excels at locking down Hot Zones with sustained area damage, forcing enemies out of control points. |
 Kaze | Assassin & Flanker | Fast mobility and burst damage allow him to slip through side lanes and eliminate key backline threats. |
 Bea | Sharpshooter & Anti-Tank | Long range and supercharged shots make her effective at shutting down tanks approaching the Hot Zones. |
 Jae-yong | Hybrid Support | Provides a mix of poke damage and utility, sustaining allies while disrupting enemy positioning. |
 Doug | Support & Sustain | Can revive allies and sustain team presence in the Hot Zones, turning fights around quickly. |
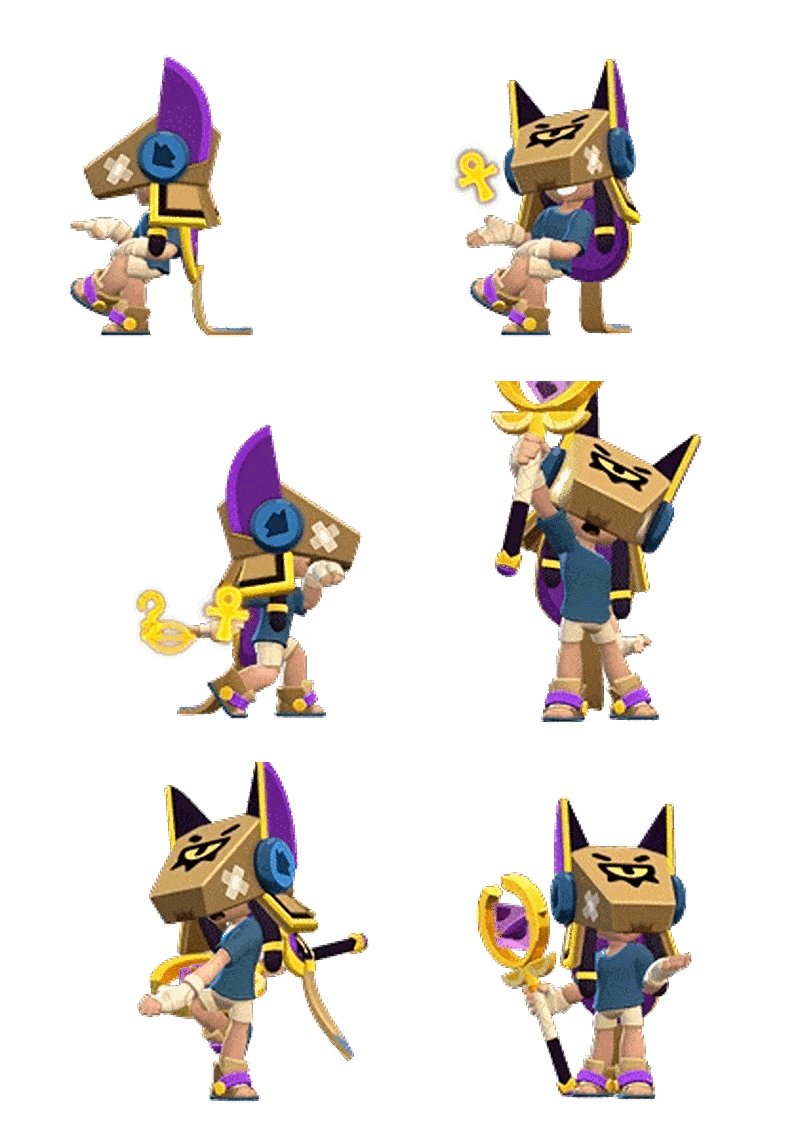 Finx | Assassin & Pressure | Agile movement and high burst damage make him effective for surprise eliminations and contesting side lanes. |
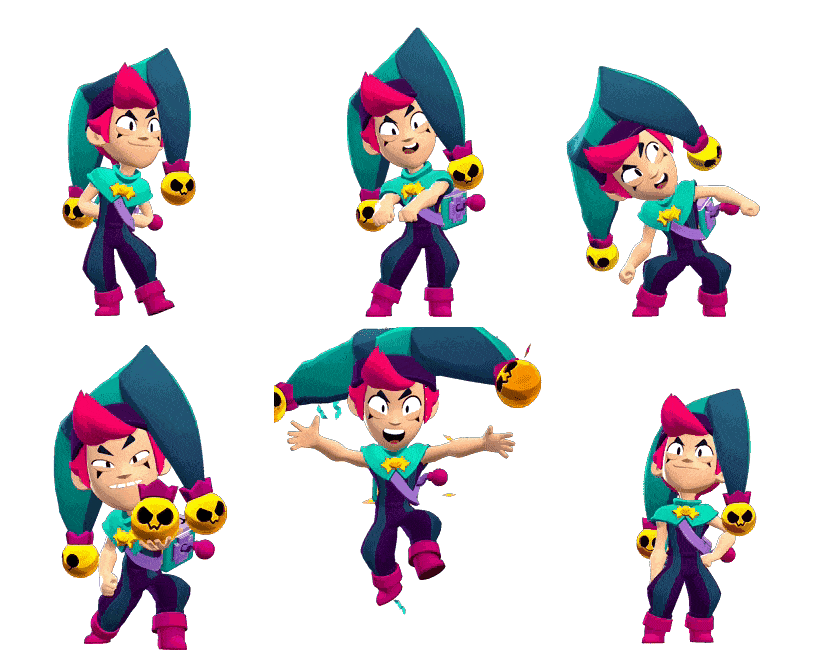 Chester | Versatile Fighter | Randomized attacks keep enemies guessing, while his unpredictability can swing control of a zone in his favor. |
Brawl Stars Abracadabra Guide: Tips
Success on Brawl Stars Abracadabra relies on smart positioning, map awareness, and effective use of the unique terrain. The sushi-themed obstacles, scattered bushes, and twin lakes create opportunities for both aggressive pushes and defensive holds. Mastering lane control, timing your rotations, and adapting to enemy movements will give your team the upper hand in securing and maintaining zone dominance.
Hold the Central Lanes
Control the middle pathways between the lakes to secure both Hot Zones. Use cover from sushi-themed obstacles to block enemy fire while contesting the area.
Use Bushes for Ambushes
The scattered bush clusters offer great concealment for surprise attacks. Hide near enemy approach routes to catch them off guard.
Push Through Side Paths
The narrow flanking lanes can bypass heavy mid control. Use them to pressure the enemy’s backline or capture zones from the side.
Zone Control with AoE
Area damage Brawlers can dominate the tight Hot Zone spaces. Position behind obstacles to deal damage while staying safe.
Coordinate Zone Swaps
If one Hot Zone is heavily defended, rotate as a team to overwhelm the other side. This forces enemies to split their defense.
Brawl Stars Abracadabra Guide: Conclusion
Brawl Stars Abracadabra map offers a balanced mix of open lanes, tight choke points, and creative cover placements that reward both strategic planning and quick adaptability. Teams that can control the central pathways while leveraging the side routes for surprise pushes will consistently maintain zone dominance. By using the lakes as natural barriers, taking advantage of bush concealment, and positioning effectively around the sushi-themed obstacles, players can outmaneuver opponents and secure victory in this lively and competitive Hot Zone battleground.
Frequently Asked Questions (FAQs)
❓What makes Abracadabra different from other Hot Zone maps?
Brawl Stars Abracadabra’s layout features two large lakes, sushi-themed obstacles, and scattered bush clusters that create unique flanking routes and defensive positions. This combination makes for a balance of open mid-lane battles and sneaky side-lane plays.
❓Which brawlers work best on Abracadabra?
Brawlers with strong area control, good lane pressure, or mobility excel here. Picks like Alli, Draco, Hank, Bea, and Gale can dominate Hot Zones while maintaining safe positioning behind cover.
❓Is mid control or side control more important?
Mid control is crucial for securing both Hot Zones, but side lanes can be used to bypass heavy mid pressure and flank enemies, making both areas important depending on team strategy.
❓How should I handle enemies hiding in bushes?
Use vision-providing gadgets, area-of-effect attacks, or chip damage to flush enemies out. Bushes near the lakes and along side lanes are common ambush spots.
❓What is the biggest mistake players make on Abracadabra?
Overcommitting to one Hot Zone without rotating to pressure the other. Good teams will exploit this by capturing the unguarded zone and forcing you to split your forces.

