 Search
 Account
 Discord


- Slugfest 01
- Slugfest 02
- Slugfest 03
- Sandstone Block – 340
- Wooden Box – 52
- Wooden Barrel – 16
- Wooden Fence – 16
- Skull – 4
- Bush – 1040
- Lake – 1
- Power Cube Box – 44
Brawl Stars Island Invasion Guide: Introduction
The Brawl Stars Island Invasion map presents a truly thrilling and diverse battlefield, offering a blend of open spaces and confined pathways that require players to be constantly aware of their surroundings. Its unique layout challenges even the most seasoned players, as it combines wide-open areas, ideal for high-intensity combat, with narrow chokepoints that encourage ambushes, strategic positioning, and tactical retreats. Whether you’re caught in a fierce firefight at the center of the map or carefully navigating through its winding side paths, every move matters, and decisions must be made quickly and decisively.
One of the key aspects that make Brawl Stars Island Invasion engaging is its dynamic nature. The map offers a variety of approaches for each game mode, forcing players to adapt. With its central zones, hidden corners, and long sightlines, the map creates a constant ebb and flow. In Heist, players must breach the enemy’s safe while handling central combat and the threat of flanks. In Bounty, controlling the center is key to gaining stars, but requires careful positioning. In Hot Zone, securing key areas while managing enemy pressure is crucial.
Success on this map isn’t just about individual skill—teamwork is a critical factor. The central area typically becomes the focal point of action in many modes, and controlling this space requires strong communication and coordination between team members. Additionally, the map’s layout makes it important to plan for both offense and defense. While some brawlers excel in aggressive roles, others thrive in providing support or holding chokepoints. Understanding the strengths of your brawlers and how they can complement each other on this map is vital. Players who understand how to use cover, position themselves effectively in chokepoints, and coordinate well with teammates will have a distinct advantage.
Whether you’re on offense, trying to push forward and complete objectives, or on defense, holding key zones and preventing the enemy from making progress, the Brawl Stars Island Invasion map requires flexibility in tactics. A well-balanced team, understanding of the map’s features, and quick decision-making will allow you to seize control of the battlefield. Each game mode brings out a different layer of strategy, meaning you must always be prepared to adapt your approach and react to the changing flow of the match. Mastering the Island Invasion map is a rewarding challenge, where precise positioning and effective teamwork will lead to victory.
Brawl Stars Island Invasion Guide: Map Layout and Key Features
The Brawl Stars Island Invasion map is known for its diverse terrain that offers a variety of opportunities for combat, making positioning and map control crucial. The map is divided into two primary zones: the central area and the outer edges. The central zone typically features open spaces where much of the action happens, while the outer edges contain winding paths and chokepoints that can be used for flanking or defensive purposes. The map also features a variety of obstacles and cover, such as walls and bushes, which provide strategic advantages and can be used to block enemy attacks or set up ambushes.
One of the key features of Brawl Stars Island Invasion is its central area, which often becomes the focal point of battle. This area is open, with limited cover, meaning that players who occupy it need to remain mobile to avoid being easy targets. The outer edges are narrower, with more cover and several strategic chokepoints that can be used for flanking or defensive positioning. Players must balance between controlling the center and securing the flanks to prevent being overwhelmed from multiple angles.
In Brawl Stars Island Invasion, success largely depends on controlling key areas and objectives. In modes like Heist, controlling the central area can be vital for pushing toward the enemy’s safe. The central area is where much of the combat will happen, especially as teams try to break through the enemy’s defenses. In Bounty, controlling the central zone becomes important to secure kills and avoid giving away easy stars. The Hot Zones, if present, are also crucial to victory and often lie near the central area, making it the most contested space on the map.
Aside from the central area, the outer paths and chokepoints can be used to gain an advantage. Controlling these paths allows players to put pressure on the enemy by either cutting off their retreat routes or ambushing them from unexpected angles. In modes like Bounty, where positioning and controlling areas matter most, holding the chokepoints can be the difference between winning and losing.
Brawl Stars Island Invasion Guide: Brawler Selection and Composition
Choosing the right brawlers for the Brawl Stars Island Invasion map is essential for adapting to its unique features and the demands of each game mode. The map’s design, which combines open areas, narrow chokepoints, and central zones, requires players to pick brawlers who can capitalize on these features. The key to success lies in selecting brawlers that complement each other, allowing your team to execute a balanced strategy that covers offense, defense, and sustainability.
Tanky Brawlers

Tanky brawlers like El Primo, Bull and Frank are essential on the Brawl Stars Island Invasion map, excelling in close combat and central area control. Their ability to absorb damage makes them invaluable in modes like Heist, where they can push forward and act as buffers for teammates. Tanky brawlers are key for holding the middle, preventing enemy advances, and dominating open combat areas with their high health and damage output. However, they rely on support from ranged or healing brawlers to avoid being overwhelmed by enemy fire or flanks.
Ranged Brawlers

Ranged brawlers such as Piper, Colt, and Brock provide valuable support from a safe distance. Positioned behind tanky brawlers, they can deal significant damage while staying protected. The Brawl Stars Island Invasion map offers plenty of cover for ranged brawlers to control key areas without exposing themselves. In modes like Bounty or Heist, these brawlers can wear down enemies from afar. Proper positioning and map awareness are crucial for avoiding vulnerabilities in tight chokepoints or open spaces where movement may be restricted.
Support Brawlers

Support brawlers like Pam, Mr. P, and Poco are vital for maintaining team health and sustaining fights over time. The Brawl Stars Island Invasion map, with its chokepoints and central areas, often leads to prolonged battles, making healing and utility critical. Pam’s healing turret can sustain teammates in the heart of the map, while Poco’s ability to heal multiple teammates at once is invaluable for keeping the frontlines strong. Mr. P provides consistent support with his turret, acting as a distraction or blocking enemy attacks. These brawlers are key to ensuring your team stays alive in tough engagements.
Synergy and Team Composition
When selecting brawlers for the Brawl Stars Island Invasion map, it’s important to prioritize synergy within your team. A balanced approach that combines tanky, ranged, and support brawlers is ideal for handling the map’s diverse challenges. Tanky brawlers should be positioned at the front, absorbing damage and engaging in direct combat, while ranged brawlers provide long-range support from behind. Support brawlers should focus on healing and providing utility to maintain the momentum of the team. Coordination and teamwork are critical; each player should understand their role and adapt to the shifting dynamics of the game. A well-coordinated team that uses their brawlers’ strengths effectively can overcome any challenge the Island Invasion map throws at them.
Brawl Stars Island Invasion Guide: Strategic Approaches and Tactics
To succeed on the Brawl Stars Island Invasion map, a balanced approach is essential. The layout of the map, with its open central area and winding side paths, requires teams to adapt their strategies for both offense and defense. The central area is a focal point in most game modes and provides a strategic advantage, especially in Heist, where controlling this space gives direct access to the enemy’s safe. However, holding the center can leave your team exposed if proper support and positioning aren’t maintained. Tanky brawlers should take the initiative, leading the charge and absorbing damage to hold the line while ranged brawlers provide damage from a distance, and support brawlers keep the team alive with healing or utility.
⭐ One of the key tactics on the Brawl Stars Island Invasion map is to control the central area, especially in modes like Heist. Tank brawlers should be the first line of defense, occupying the central zone, taking hits, and holding positions to ensure the team has a foothold in this critical area. Ranged and support brawlers should provide backup from a safe distance, dealing damage to enemies or healing teammates when necessary. However, holding the center for too long without support can leave your team vulnerable to flanks from the side paths, making mobility and positioning essential.
⭐ Flanking is a powerful strategy on the Brawl Stars Island Invasion map, particularly using the side paths. These less-traveled routes offer opportunities for sneaky attacks on enemies who are focused on the central area. It’s important to time your attack carefully—rushing too early or too late could give away the element of surprise. Team communication plays a key role in successfully executing flanks, ensuring that your team is coordinated when launching attacks. When done correctly, flanking can confuse and disorient the enemy, leading to a significant advantage for your team.
⭐ Defending key objectives such as Hot Zones or Heist safes requires strong positioning and good use of the Brawl Stars Island Invasion map’s features. Tank brawlers should hold chokepoints and block enemy advances, making it difficult for opponents to break through. Ranged brawlers provide necessary support from a distance, eliminating threats trying to push through the chokepoint. Support brawlers are critical in maintaining team health during prolonged engagements, ensuring your team can outlast the enemy and keep the defense strong. Teams that can control key areas and coordinate effectively in defense will be able to protect objectives and force the enemy into a defensive position.
Brawl Stars Island Invasion Guide: Tips and Tricks
The Brawl Stars Island Invasion map offers a dynamic and strategic environment that requires careful planning and precise execution. To succeed, players must leverage the map’s features, including Power Up Cells, crates, and bushes, to gain an advantage over their opponents. Each of these elements plays a critical role in shaping the flow of the game and provides opportunities for both offensive and defensive maneuvers. Whether you’re collecting Power Up Cells to boost your stats, strategically destroying crates for resources, or hiding in bushes to set up ambushes, understanding how to use these map features effectively is key to securing victory.
Pick Up Power Up Cells

Power Up Cells are scattered across the Brawl Stars Island Invasion map and are key to gaining an advantage. You can collect them by destroying crates or defeating enemies. Each cell boosts your brawler’s attack damage and health, making you more powerful as the match progresses. Securing these early on can give your team a strong edge, especially in the central areas. However, be cautious as enemies may try to steal them. Balancing aggression and caution is vital when collecting Power Up Cells to avoid overextending.
Crates
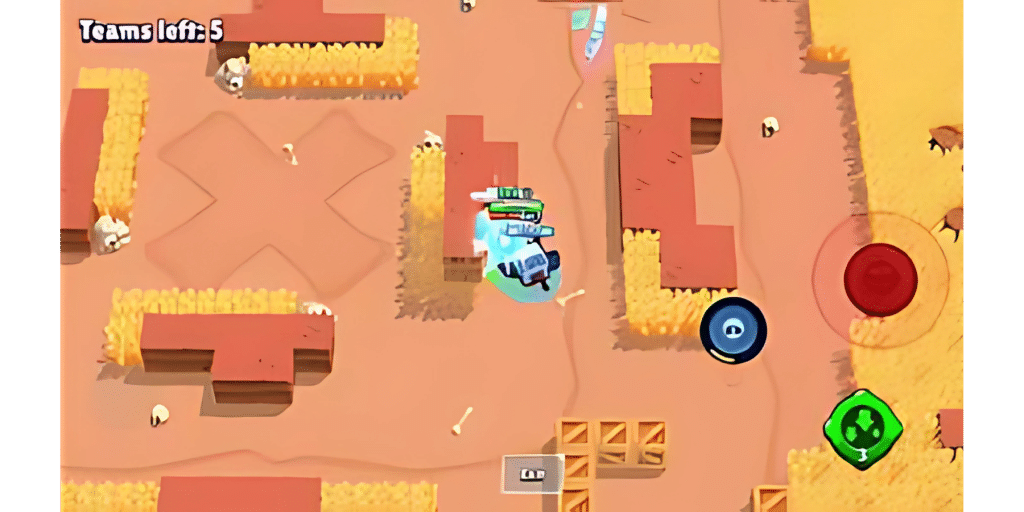
Crates are important on the Brawl Stars Island Invasion map, providing Power Up Cells and resources to strengthen your position. Most crates are near bushes, making these areas hotspots for boosting power. When destroying crates, be cautious of the noise, as it could alert enemies nearby. Stay aware of your surroundings, especially in open areas where you may become an easy target. Strategically destroying crates can either boost your team or deny enemies valuable resources.
Bushes on the Side

Bushes on the Brawl Stars Island Invasion map offer excellent opportunities for stealth and repositioning. Hide in them to wait for enemies to battle, then strike when they are weak. These bushes can also be used to evade stronger opponents or retreat when necessary. Timing your ambushes is key, as attacking when enemies are vulnerable can secure easy kills. Use these bushes for strategic maneuvers, turning the tide of battle in your favor.
Mastering the use of Power Up Cells, crates, and bushes on the Brawl Stars Island Invasion map can greatly enhance your chances of success. These features provide opportunities for both strengthening your team and gaining an edge over your opponents. By using these elements strategically, you can outplay your enemies, control key areas of the map, and secure victory for your team. Whether you’re looking to power up, ambush enemies, or deny resources, understanding the best ways to utilize the map’s features will make all the difference in your gameplay.
Brawl Stars Island Invasion Guide: Conclusion
The Brawl Stars Island Invasion map provides a rich and engaging experience that requires players to think strategically and work seamlessly with their team. With its distinct layout, offering a mix of open spaces, chokepoints, and side paths, the map encourages a variety of tactical approaches. Understanding how to leverage these map features is essential for taking control of the battlefield and outmaneuvering your opponents. The dynamic nature of the map means that your team must remain adaptable, quickly adjusting strategies depending on the situation. Whether focusing on offense, defense, or providing support, the key to victory lies in your ability to capitalize on the map’s elements while maintaining strong coordination with your team.
Effective team composition is vital for success on Brawl Stars Island Invasion. A well-balanced team with a mix of tanky brawlers, ranged attackers, and support brawlers can cover all necessary roles. Tanky brawlers, such as Bull or Frank, can take control of the central area, soaking up damage and creating space for other teammates. Ranged brawlers like Piper or Brock can offer essential support from a distance, dealing damage without putting themselves at risk. Support brawlers, such as Pam or Poco, ensure that the team stays alive during prolonged engagements by healing or providing buffs. The right combination of brawlers that complement one another’s strengths and weaknesses will enable the team to control key areas and effectively handle enemy threats.
Brawler synergy is not just about individual strength, but how well the team collaborates to achieve common objectives. Communication and coordination are crucial for executing advanced tactics like flanking or defending critical objectives. Understanding when to engage or retreat, and when to rely on a support brawler’s healing, allows the team to make the most informed decisions. When all players understand their roles and work in sync, the team’s overall effectiveness improves. This strategic flexibility, combined with effective brawler selection, is what separates winning teams from those who struggle to maintain control over the map.
An important factor in dominating the Island Invasion map is the ability to adapt to the changing dynamics of the match. As the game progresses, the central area may no longer be the focal point, and controlling side paths and chokepoints becomes equally crucial. Timing is key—knowing when to push, defend, or shift your focus based on enemy movements gives your team a significant edge. Staying flexible and ready to pivot quickly allows your team to outmaneuver opponents and maintain control of the map. Ultimately, adaptability, strategic thinking, and strong teamwork are essential for success on this map in Brawl Stars.

