 Search
 Account
 Discord


- Mortuary
- Grave Block – 24
- Magenta Box – 20
- Magenta Barrel – 8
- Rope Fence – 173
- Stump – 4
- Candle – 12
- Bush – 24
- Acid Lake – 2
Brawl Stars Middle Ground Guide: Introduction
The Brawl Stars Middle Ground map is a classic example of a balanced and well-designed battlefield that promotes both offensive and defensive playstyles. Its unique layout combines wide open spaces with strategic obstacles and choke points, offering players a variety of tactical options throughout the match. Whether you are battling for control of the center or taking advantage of the edges for surprise attacks, the Middle Ground map requires a nuanced approach to positioning and timing. It’s a map where players need to think beyond simply attacking, and instead focus on how they can use the terrain to their advantage.
The Brawl Stars Middle Ground map is intentionally symmetrical, ensuring that both teams have equal opportunities to execute their strategies. However, this symmetry also means that teams must focus on executing their plans more effectively, as the enemy will likely have similar access to resources and locations. Success on the Middle Ground map often comes down to how well a team can control key zones, disrupt enemy movements, and support each other through coordinated attacks and defense. The map is ideal for teamwork, with players needing to communicate and collaborate to overcome the opposition.
One of the most important aspects of the Brawl Stars Middle Ground map is its fluidity. The layout encourages constant shifts in the flow of the match, especially as players alternate between taking control of central areas and working the map’s edges. Whether it’s a fast-paced gem grab, intense showdown, or competitive bounty, understanding how to move between these focal points and adapt to changing situations is critical to securing victory. In essence, the Middle Ground map rewards players who are versatile, strategic, and capable of making quick decisions based on the evolving circumstances of the battle.
Overall, mastering the Brawl Stars Middle Ground map is about finding the right balance between aggression, positioning, and adaptability. The key to success lies in knowing when to push forward aggressively to take control of central areas and when to hold back and play more defensively, using cover to your advantage. By effectively controlling key zones, especially choke points and open areas, you can limit your opponent’s movement and create opportunities for strategic attacks. Using cover wisely not only protects you but also allows you to surprise enemies by peeking out and landing shots while staying safe.
Brawl Stars Middle Ground Guide: Map Layout
The Brawl Stars Middle Ground map is characterized by its symmetrical and balanced layout, with the central open area serving as the heart of most action. This central zone is crucial as it often houses objectives like gems or power-ups, making it the focal point of battles. The surrounding walls and obstacles in this area provide cover, allowing players to strategize their moves and approach carefully. While the layout offers equal access to both teams, controlling the center remains the key to success, and players must constantly fight for dominance here.
Off to the sides of the central area are key features like bushes and choke points. These areas play a vital role in the strategic flow of the game. The bushes offer cover and concealment for stealthy brawlers, providing a tactical advantage for ambushes or surprise attacks. Choke points, on the other hand, narrow movement and force teams to make quick decisions on when to engage or retreat. Properly managing these areas can give teams the edge by limiting the enemy’s mobility and dictating the pace of the match.
One of the unique aspects of the Brawl Stars Middle Ground map is the constant decision-making players must engage in about when to contest the center and when to control the edges. The dynamic flow of the match encourages a balance of aggressive pushes and defensive holds, requiring teams to adapt their strategy based on the ever-changing state of the game. In some situations, teams may need to fight for dominance in the center, while at other times, controlling the edges can provide a safer path to flank enemies or steal objectives. Finding that balance between holding the central area and using the edges to flank or outmaneuver opponents is key to success.
The symmetry of the map ensures fairness, but it also heightens the level of competition. Both teams have similar opportunities to control key areas, which means there’s a constant back-and-forth as players attempt to gain the upper hand. The key to success on the Brawl Stars Middle Ground map lies in understanding the interplay between the center and the edges. It’s not just about holding one area; it’s about using both strategically to disrupt the enemy’s movements, force them into unfavorable positions, and ultimately control the flow of the match. By leveraging both the central zone and the edges effectively, players can outsmart their opponents and gain the advantage.
Brawl Stars Middle Ground Guide: Best Brawlers
The Brawl Stars Middle Ground map is all about balance—whether it’s positioning, movement, or a mix of offensive and defensive tactics. Success on this map depends on how well your team can adapt to the different challenges posed by its symmetrical layout, open spaces, and choke points. While it offers opportunities for all types of brawlers, the key is selecting the right combination of brawlers who can dominate both the central and edge areas, as well as coordinate effectively. Here’s a look at the best brawlers for conquering the Middle Ground map.
Tanky Brawlers for Central Control

The Brawl Stars Middle Ground map’s mix of open spaces and choke points creates an ideal environment for brawlers who can control key areas or quickly maneuver between combat zones. Tanky brawlers like Bull, El Primo, and Frank excel in this map due to their high health and damage output. These brawlers are great at taking the center and absorbing the brunt of enemy attacks. By holding down the central area, they provide a solid frontline that allows ranged teammates to do damage from a distance. Their ability to deal with high-pressure situations and hold off enemy advances makes them essential for gaining control of critical objectives in the center.
Ranged Brawlers for Support and Damage

Ranged brawlers, such as Barley, Penny cand Rico, also perform well on the Brawl Stars Middle Ground map because of their ability to dish out damage from a distance while hiding behind cover. These brawlers can stay out of harm’s way and deal significant damage to enemies attempting to contest the central area or control choke points. Since the terrain offers plenty of cover, ranged brawlers can position themselves strategically to harass opponents, force them into awkward positions, or disrupt enemy pushes. By maintaining distance and controlling the flow of the match, they help their team in ways that tanky brawlers may not be able to do directly.
Mobility and Stealth Brawlers for Flanking and Surprises
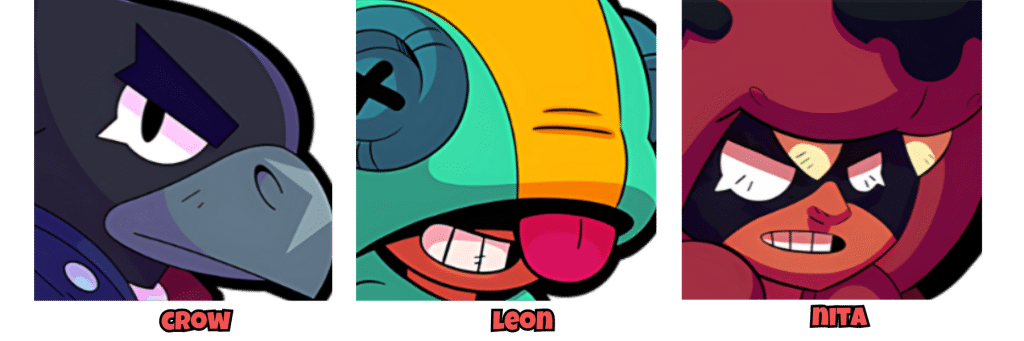
Additionally, brawlers with mobility or stealth abilities, like Leon, Crow, and Nita, are highly effective on this map. Their ability to quickly move around and use the bushes along the edges gives them an advantage when flanking or sneaking into the central area. Leon’s invisibility, in particular, allows him to outmaneuver enemies and catch them off guard, either by stealing objectives or disrupting their control of key positions. Crow, with his poison, adds another layer of pressure, weakening enemies and making it more difficult for them to execute their strategies.
Balanced Team Composition for Flexibility
A balanced team composition that includes a combination of tanky brawlers, ranged attackers, and high-mobility brawlers is essential for success on Brawl Stars Middle Ground. This mix allows teams to control both the center and the edges, offering a strategic advantage when adapting to the flow of the match. The flexibility to switch between aggressive and defensive plays will help ensure dominance on this map, giving your team the best chance of securing victory.
Brawl Stars Middle Ground Guide: Tips and Tricks for Success
To succeed on the Brawl Stars Middle Ground map, understanding the terrain and utilizing your brawlers’ strengths is essential. The layout of the map is balanced, featuring a mix of open areas, cover, and choke points, each offering unique opportunities for strategic plays. The open spaces in the center of the map allow for intense combat, where you can engage with enemies directly or lay down long-range fire. Meanwhile, the surrounding areas are filled with walls and obstacles that can be used for cover, helping to protect you from incoming attacks while you plan your next move.
Thrower and Long-Range Brawlers
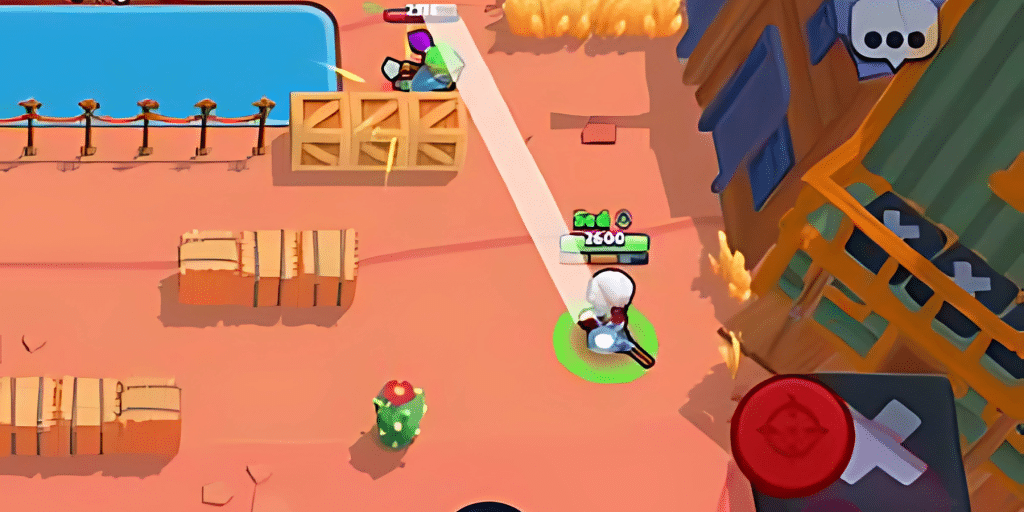
Brawl Stars Middle Ground’s open areas make it an ideal map for throwers and long-range brawlers. Characters like Barley, Sprout, and Rico can deal damage from a distance, allowing you to apply pressure while staying behind cover. Throwers can attack over obstacles, forcing opponents to either hide or move into more vulnerable positions. Long-range brawlers like Penny can harass enemies from afar, disrupting their plans without putting themselves at risk. Using these brawlers, especially when positioned strategically behind cover, lets you control the flow of the match and defend key areas like the center.
Utilizing Walls and Bushes on the Sides
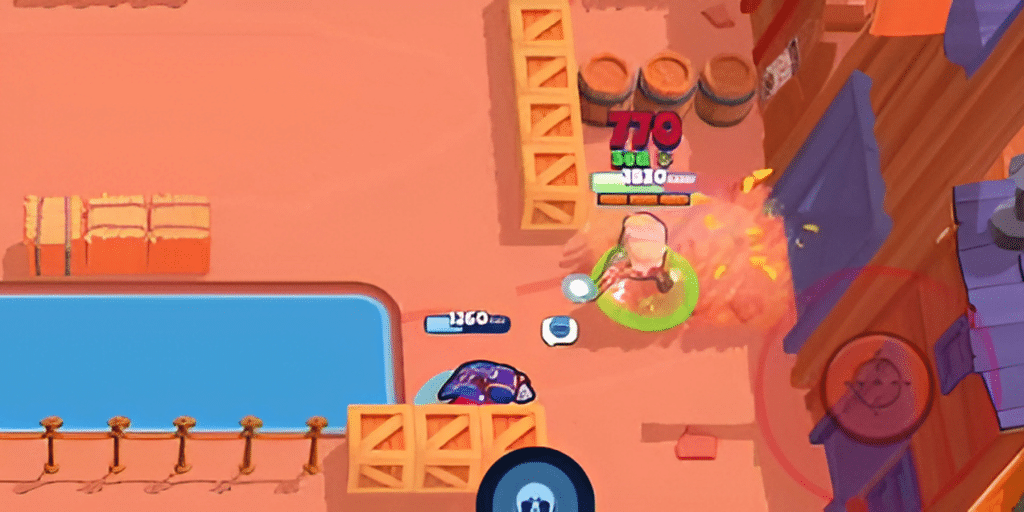
The edges of the Brawl Stars Middle Ground map feature walls and bushes that provide vital cover for flanking or avoiding attacks. These areas are perfect for stealthy brawlers like Leon or Crow, who can use the bushes to surprise enemies and gain an advantage in fights. You can also use the walls to block incoming shots, making it easier to push or retreat. However, it’s essential to be cautious, as thrower brawlers can still target these areas from a distance. Use your cover wisely and keep track of enemy positions to maximize your success when moving through these parts of the map.
In conclusion, mastering the Brawl Stars Middle Ground map requires a combination of good positioning, teamwork, and understanding the map’s unique features. The map’s layout encourages players to adapt quickly and think strategically, making the most of open areas, cover, and choke points. By utilizing long-range and thrower brawlers, you can harass opponents from a safe distance while maintaining control over key areas. Effectively using cover along the edges allows you to outmaneuver opponents, set up ambushes, and secure objectives. Stay flexible in your approach, adjusting to the flow of the match and responding to your opponents’ tactics, and your team will have a significant advantage.
Brawl Stars Middle Ground Guide: Knockout Mode

Knockout mode on the Brawl Stars Middle Ground map presents a unique challenge due to its symmetrical design and the combination of open areas and strategic cover. The map encourages intense battles in the central region, where both teams fight for control of key positions. With the game focused on eliminating enemy brawlers in each round, positioning is critical. The central zone often becomes the focal point of conflict, and players need to decide whether to push aggressively for control or hold back and wait for the perfect moment to strike. The presence of walls and obstacles throughout the map offers cover for tactical plays, allowing for defensive strategies or surprise ambushes.
In Knockout, it’s important to manage your resources carefully, as there are no respawns between rounds. Coordinating with your team to take down enemies without overcommitting can be the difference between a win or a loss. This makes it vital to control the central area while also using the edges of the map for strategic flanks. With both teams having equal access to these areas, timing and positioning will heavily influence which side can dominate the map and secure the victory.
One of the key aspects of Knockout on the Brawl Stars Middle Ground map is its balance between close-quarters combat and long-range battles. Brawlers who excel in both types of combat, such as those with area-of-effect abilities or long-range attacks, will thrive in this environment. Throwers and ranged brawlers, like Barley or Rico, can keep enemies at bay from a distance, forcing opponents to move around the map in predictable ways. Meanwhile, tanky brawlers can act as protectors, pushing forward to control key choke points and providing cover for teammates to make plays.
The match flow in Knockout on Brawl Stars Middle Ground can shift rapidly, and teams need to be adaptable. Each round introduces new dynamics, and staying in control of the central area, while preventing your enemies from regrouping, is essential. Players should be aware of their opponents’ movements and adjust their strategies accordingly. Whether it’s using cover on the side lanes to trap opponents or pushing into the center with overwhelming force, mastering the ebb and flow of Knockout mode on the Middle Ground map requires precise coordination, awareness, and timing.
Brawl Stars Middle Ground Guide: Conclusion
The Brawl Stars Middle Ground map offers a well-balanced and dynamic environment where strategy, teamwork, and adaptability are crucial for success. Its symmetrical layout provides equal opportunities for both teams, but the key to winning lies in how you utilize the terrain, control important areas, and manage the flow of the game. Whether you’re diving into the chaos of the central area or positioning yourself along the edges to flank or support, every decision you make can turn the tide of the match. A well-thought-out strategy, combined with effective communication and coordination with your team, is the backbone of success on this map.
The Brawl Stars Middle Ground map features a mix of open spaces and choke points, each demanding careful positioning and quick tactical adjustments. The use of cover is essential to surviving in the central area, especially when facing off against opponents with ranged or thrower brawlers. Understanding how to move between open areas and take advantage of the cover on the sides is key. Whether you’re holding down the middle or working the edges, maintaining flexibility in your tactics is essential. The map’s design encourages players to constantly reassess their positioning and react to the flow of battle, which means successful players must be prepared to shift strategies on the fly.
In addition to positioning, the team composition plays a vital role. Having a mix of tanky brawlers to control the center, ranged attackers to deal damage from a distance, and mobile brawlers to flank or apply pressure on the edges will help ensure that your team can handle a variety of situations. It’s also important to play with synergy—understanding your teammates’ strengths and supporting them in key moments can make all the difference. For example, having a tanky brawler push the center while a ranged brawler provides cover fire from behind can overwhelm the enemy team and force them into a defensive position.
Ultimately, mastering the Brawl Stars Middle Ground map is all about adaptability, teamwork, and strategic thinking. By understanding the map’s layout, knowing when to be aggressive and when to hold back, and making the most of cover and positioning, your team will be able to control the game and secure key objectives. With practice and a solid strategy, you can turn every match into a battle that works in your favor, dominating the Middle Ground map and pushing your team to victory.

