 Search
 Account
 Discord


- Brawlywood 01
- Movie Block – 71
- Box – 38
- Film Barrel – 8
- Cactus – 10
- Television Stand – 4
- Bush – 78
- Teleporter – 2
Brawl Stars Rattlesnake Ravine Guide: Introduction
Brawl Stars Rattlesnake Ravine is one of the most iconic and skill-driven map, especially within the Bounty game mode. It has remained a staple in competitive and casual play alike due to its distinct design and the unique challenges it presents. The map is defined by its wide-open center lane, expansive side bushes, and carefully placed cover that creates a delicate balance between offense and defense. These features make it ideal for strategic long-range engagements, where positioning and accuracy are more important than brute force.
The Brawl Stars Rattlesnake Ravine map’s layout encourages thoughtful movement and calculated aggression rather than reckless pushes. Players must constantly be aware of enemy sight lines and the threat of ambushes from the grass-covered lanes. Unlike smaller or wall-heavy maps that cater to tanks and brawlers who thrive in close quarters, Brawl Stars Rattlesnake Ravine strongly favors brawlers that can control space from afar and pressure opponents into making mistakes. It demands not just mechanical skill, but also game sense — knowing when to retreat, when to poke, and when to capitalize on a teammate’s pick.
Team coordination plays a huge role in this map’s success. Holding lanes, rotating when needed, and maintaining visibility in the bushes are critical to building and keeping a lead. In many cases, a single pick or well-timed super can swing the entire momentum of a match. That’s why understanding every part of the terrain — from the central star zone to the side flanks — can turn a decent team into a dominant one. Mastering Brawl Stars Rattlesnake Ravine isn’t just about choosing the best brawlers, but also learning how to use the map itself as a weapon.
Whether you’re sniping enemies from the backline, supporting with vision control, or coordinating flanks through the bushes, Brawl Stars Rattlesnake Ravine delivers a satisfying and deeply strategic experience for players who thrive in high-skill, long-range combat. Every movement counts on this map, and well-timed positioning often makes the difference between dominating the match or falling behind.
Brawl Stars Rattlesnake Ravine Guide: Map Layout
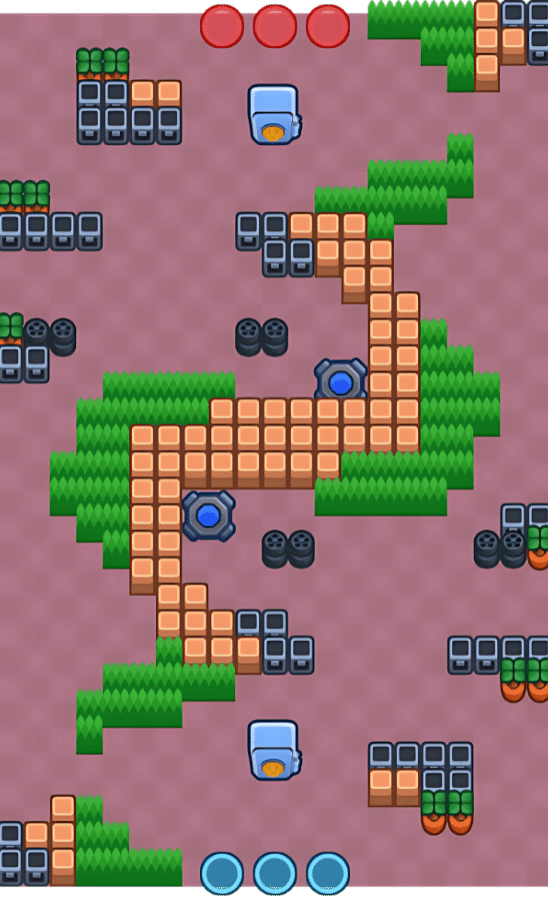
Brawl Stars Rattlesnake Ravine is designed with a balanced yet dynamic layout, divided into two symmetrical halves by a wide open central channel that runs through the map. The central lane is crucial, housing the star that provides the first point advantage to the team that captures it. However, this area is open and vulnerable, with only a few scattered walls for cover, making it a risky spot to control. The team that can hold the middle area early on gains a significant lead, but doing so requires careful positioning and support from the side lanes. As the match progresses, controlling this area while defending against side lane pushes becomes a key challenge.
On the left and right sides of the map, large patches of tall grass offer opportunities for strategic ambushes and flanking maneuvers. These bush-covered lanes provide excellent cover for brawlers who thrive on surprise attacks and outmaneuvering enemies. Players can hide within the grass to surprise opponents, control rotations, or prevent enemies from pushing through the central lane without getting caught. Dominating these areas can severely limit the opposing team’s movement, forcing them into predictable paths and opening up opportunities for coordinated attacks. Maintaining control of these bushes and pressuring the central corridor is often the deciding factor in the flow of the match.
The top and bottom edges of Brawl Stars Rattlesnake Ravine offer long sightlines and wall cover, making them ideal spots for long-range brawlers like Piper, Belle, or Mandy. These areas allow sharpshooters to deal damage from a distance while staying safe behind obstacles. The ability to control these areas lets your team suppress enemy advances and force them into unfavorable positions. Whether it’s zoning enemies out of the middle or providing cover for your teammates, snipers can excel here by punishing any missteps or poorly timed pushes from the opposition.
While the map is symmetrical, the key to success lies in controlling the middle area and one of the side lanes. A team that can consistently control both the central objective and a flank has a significant advantage. Effective use of the map’s terrain — from the bushes to the long-range shooting lanes — can shift the momentum in your favor. Teams that play smart, communicate well, and capitalize on the map’s features are the ones who will dominate in Brawl Stars Rattlesnake Ravine. Understanding when to hold ground, when to rotate, and when to apply pressure is essential to mastering this map.
Brawl Stars Rattlesnake Ravine Guide: Best Brawlers
Brawl Stars Rattlesnake Ravine’s open layout with expansive sightlines and strategic cover makes it a map where long-range brawlers can thrive. The broad sightlines create opportunities for these brawlers to engage enemies from a safe distance, exerting pressure while minimizing their own risk. Here’s a breakdown of the best brawler choices for different roles on this map:
| Long Range Brawlers |
| Long-range brawlers, such as Piper, Belle, and Brock, are among the top-tier picks for Brawl Stars Rattlesnake Ravine due to their ability to consistently deal damage from a distance. These brawlers can control space, push enemies back, and force opponents to adopt defensive positions. Their presence on the map often dictates the pace of the match, as they can influence engagements without exposing themselves to direct confrontations. Utilizing these brawlers effectively requires strategic positioning and an understanding of the map’s layout to maximize their range and impact. |
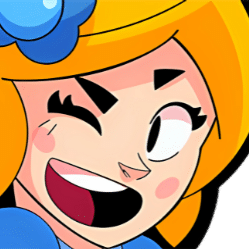 | Piper excels in long-range engagements due to her high burst damage, especially when she stays at a distance. Her damage boost at long range allows her to quickly eliminate enemies who try to take cover or approach. However, her low health means she must rely on her range advantage to stay alive. |
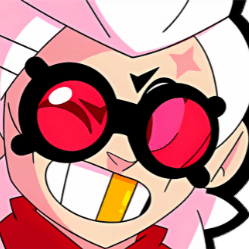 | Belle offers a unique advantage with her bounce shots, which can target multiple enemies at once. This is especially effective when the opposing team clumps together, allowing Belle to punish multiple targets in one shot. Her Super can also create a massive threat, forcing enemies to reposition or risk being caught by her chain attack. |
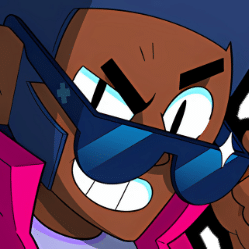 | Brock brings a high-damage, wide-area presence with his rockets. His Super can destroy enemy cover, making it easier for his team to maintain control over the map. The threat of his rockets disrupts enemy positioning and forces the opposition to play more cautiously, giving your team the upper hand. |
| Mid-Range Brawlers |
| While long-range brawlers dominate the Brawl Stars Rattlesnake Ravine map, mid-range brawlers like Bea and Nani can still be highly effective when used strategically. These brawlers require precise positioning and awareness, as their optimal range is closer than that of snipers, but they still offer significant damage potential. By carefully managing their positioning, they can punish enemy mistakes and capitalize on their burst damage, making them valuable assets in controlling key areas. Additionally, their ability to apply pressure in mid-range combat can force enemies into unfavorable positions, helping to create openings for teammates. |
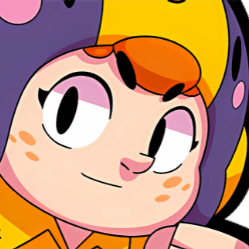 | Bea can be a potent control brawler on Brawl Stars Rattlesnake Ravine due to her ability to slow enemies with her attacks. Her slow effect can severely limit an enemy’s mobility, helping her team maintain control of lanes and prevent aggressive pushes. However, Bea’s reliance on staying at a safe distance makes positioning critical. |
 | Nani offers high burst damage that can quickly punish enemies who try to get too close or engage in aggressive flanks. Her ability to deal significant damage with her Super can be a game-changer, especially in mid-range duels. But, like Bea, Nani needs to avoid getting too close to the enemy and must capitalize on her range advantage to avoid being overwhelmed. |
| Tanks and Melee Brawlers |
| While long-range brawlers dominate the Brawl Stars Rattlesnake Ravine map, mid-range brawlers like BTanks and melee brawlers typically struggle in Rattlesnake Ravine due to the map’s open nature. These brawlers rely on close-range engagements, which are difficult to pull off in such an exposed environment, especially against long-range brawlers who can keep them at bay. However, tanks and melee brawlers can still be viable in specific situations if used cleverly in coordination. By utilizing the bushes and unpredictable movements, these brawlers can surprise opponents and create openings that allow them to engage in close combat successfully. |
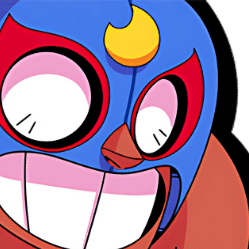 | El Primo is a powerhouse melee brawler who can make a significant impact on Rattlesnake Ravine, but only if used strategically. His ability to leap across the map with his Super allows him to quickly close the gap between him and long-range brawlers, disrupting their positioning and forcing them into defensive stances. |
 | Frank, with his powerful crowd control and high health pool, can be a valuable asset in Rattlesnake Ravine, especially when supporting his team. His Super, which stuns enemies in a large area, can be game-changing if timed correctly, allowing his team to push or eliminate long-range brawlers who get too close. Frank’s reliance on close-range engagements means he needs to be supported by teammates who can create openings for him. |
| Throwers |
| While long-range brawlers dominate the Brawl Stars Rattlesnake Ravine map, mid-range brawlers like Throwers such as Tick and Sprout can shine in Brawl Stars Rattlesnake Ravine, particularly because of their ability to control choke points and deny enemy pushes through key areas, such as the bush lanes. Their zoning capabilities make them excellent choices for breaking up enemy formations and preventing aggressive moves. Tick’s mines can obstruct enemy paths and force them to take a more cautious approach, while Sprout’s ability to create barriers with his Super can block off critical areas, denying enemy movement and creating space for his team to push. |
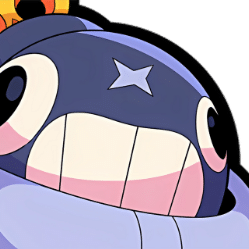 | Tick excels at controlling narrow spaces and breaking up enemy pushes with his mines. He can force enemies to move or face significant damage. However, Tick is vulnerable to being caught out of position, so he needs to play carefully from behind cover. |
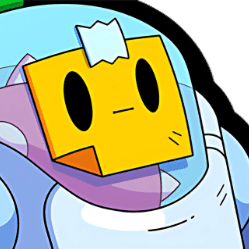 | Sprout offers a similar advantage with his ability to create barriers and control the map’s flow. His Super can block off key pathways or deny space to the opposing team, and his shots are effective for dealing with enemy brawlers who try to rush forward. Like Tick, Sprout needs to stay out of the open and use cover to stay safe. |
In summary, Brawl Stars Rattlesnake Ravine heavily favors long-range brawlers, with snipers like Piper, Belle, and Brock being the ideal choices for most engagements. However, mid-range brawlers like Bea and Nani can still have a strong impact if used strategically, while tanks and melee brawlers require careful coordination and flanking to be effective. Throwers, with their zoning abilities, can also control key areas, especially if they are kept safe behind cover. Understanding the map’s dynamics and adapting your brawler choice accordingly is key to success on Rattlesnake Ravine.
Brawl Stars Rattlesnake Ravine Guide: Best Game Modes
Brawl Stars Rattlesnake Ravine’s layout and features make it an ideal map for certain game modes, where positioning, long-range engagement, and strategic use of cover are key to success. The map’s open terrain and wide sightlines significantly influence gameplay, creating opportunities for teams to control space and dictate the pace of the match. Here’s a look at the best game modes suited for Rattlesnake Ravine:
Bounty

Brawl Stars Rattlesnake Ravine is most commonly played in Bounty, and it’s one of the best maps for this mode. The open spaces and long sightlines favor long-range brawlers, rewarding players who can maintain distance and poke at enemies without taking unnecessary risks. Securing the first star provides a crucial lead, often shifting the momentum of the match. From there, teams typically rotate to the edges, controlling high ground and picking off enemies who overextend or attempt to flank through the bush lanes. This map rewards careful positioning and precise attacks, making Bounty matches slower-paced and more tactical. Team coordination is key, with an emphasis on survival, zoning, and engaging only when favorable.
Heist

Heist is also effective on Brawl Stars Rattlesnake Ravine due to its layout, which allows for strategic pushes and strong defense. The wide lanes and cover support both offensive and defensive strategies, with teams needing to control space while attacking the enemy’s safe. Long-range brawlers can pressure from a distance, while tanks or melee brawlers can flank through the bushes to catch enemies off guard. The balance between attacking and defending is critical, and teams must protect their safe while damaging the enemy’s. Heist matches on this map encourage calculated positioning and timing to break through defenses.
Brawl Stars Rattlesnake Ravine is most suited for Bounty and Heist, where the strategic use of terrain, long-range brawlers, and calculated engagement tactics can make a significant impact. Bounty matches tend to favor teams that can control the map’s edges and play carefully to secure stars, while Heist offers opportunities for both offensive and defensive strategies. Both game modes highlight the tactical nature of Rattlesnake Ravine, making it a map that rewards teams with good coordination, patience, and strategic awareness.
Brawl Stars Rattlesnake Ravine Guide: Tips and Tricks
Brawl Stars Rattlesnake Ravine is a map that requires careful positioning, strategic thinking, and coordination to gain the upper hand. Whether you’re defending or attacking, understanding the layout and utilizing the map’s features effectively can make all the difference in securing victory. Here are some key tips and tricks to help you dominate the map and outplay your opponents.
Two Paths on the Side
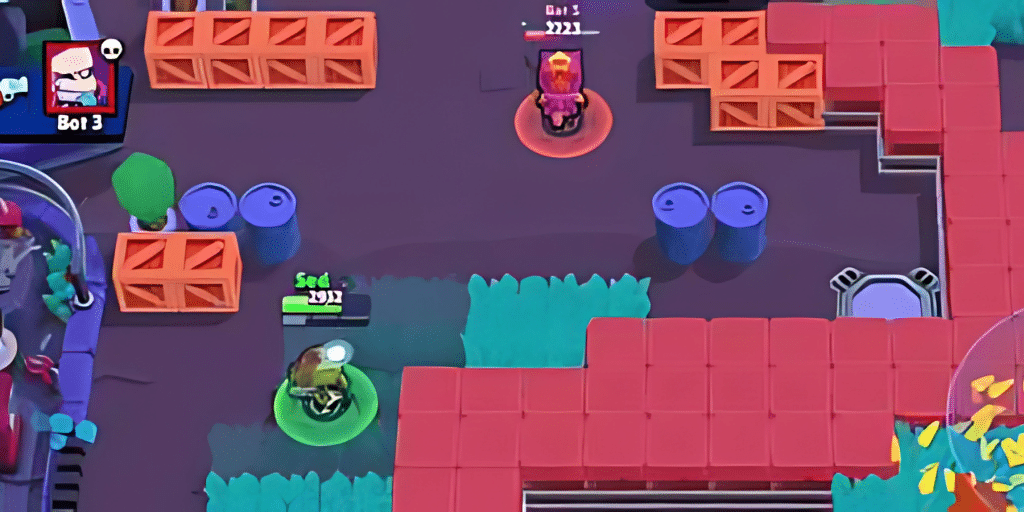
Brawl Stars Rattlesnake Ravine features two main paths leading to each team’s safe, and controlling these routes is essential for success. Make sure to position at least one member of your team on each side to prevent enemies from advancing unnoticed. If one side wins, it opens up the opportunity for your team to push through and secure the victory. The team that controls both paths will have a significant advantage, as they can easily force the opposing team to retreat and defend their safe, allowing for more opportunities to attack or control the map.
Teleporters in the Middle
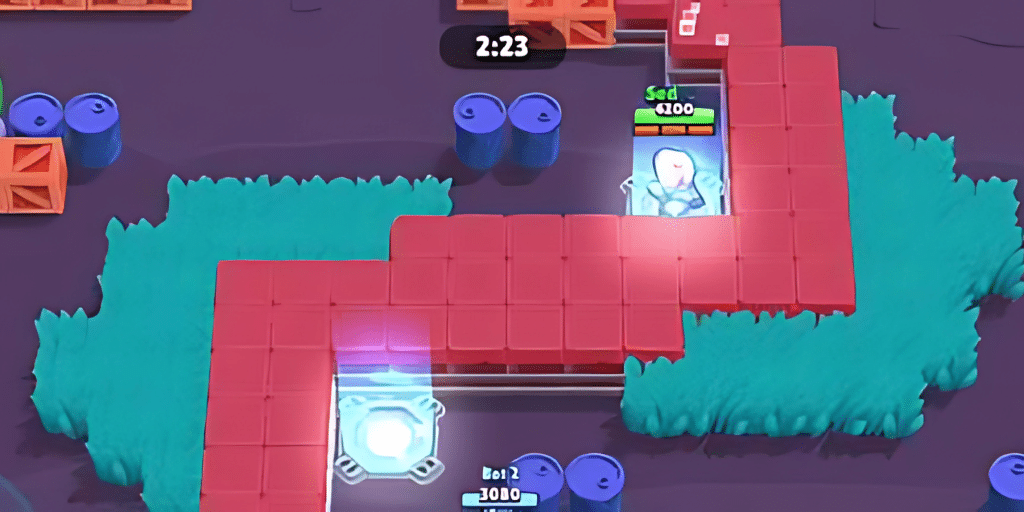
The teleporters located in the middle of the map provide a unique opportunity to quickly cross the wall and reach the other side. This can be a game-changer when trying to surprise the enemy or escape a dangerous situation. However, be cautious—your enemies can also use these teleporters, and they may be waiting for you on the other side. Always stay aware of the potential for an ambush, and use the teleporters strategically to avoid being caught off guard. If possible, try to outsmart your opponents by using the teleporters unpredictably, or coordinate with your team to prevent enemies from taking advantage of this fast route.
Use Super on the Safe

One effective way to deal extra damage to the enemy’s safe is to use your Super directly on it. Brawlers with long-range or area-of-effect Supers can inflict significant damage from a distance, but even brawlers with short-range Supers can be effective if you use the right positioning. To get closer to the enemy’s safe without being spotted, make use of the bushes located near the safe. These offer cover and allow you to approach without being exposed. Timing is critical—when the enemy is distracted or positioned poorly, this is your chance to unleash your Super and maximize the damage to the safe.
By mastering the features of Brawl Stars Rattlesnake Ravine and utilizing strategic positioning, teleporters, and Supers effectively, you can greatly increase your chances of victory. Always be mindful of the map’s layout and the opportunities it presents for both offense and defense. With careful planning and coordination, you can outplay your opponents and take control of the match.
Brawl Stars Rattlesnake Ravine Guide: Conclusion
Brawl Stars Rattlesnake Ravine is a map that tests your patience, precision, and positioning, offering a challenging experience for players of all skill levels. While it heavily favors long-range brawlers who can take advantage of its wide sightlines, success ultimately relies on smart team coordination and decision-making. Every lane and strategic point on the map is crucial—losing control of even one can quickly shift the momentum in favor of your opponents. Understanding the map’s flow, managing space effectively, and knowing when to engage or retreat are vital for securing consistent victories. With proper positioning and awareness, players can gain a significant edge over the competition.
With its balanced terrain, diverse cover options, and a high skill ceiling, Brawl Stars Rattlesnake Ravine remains a fan-favorite map for players who thrive on tactical gameplay and outsmarting their foes. To consistently perform well, mastering the sightlines, managing the grass zones, and choosing the right brawlers to complement your strategy are all key to success. Those who can adapt to the map’s layout and work well with their team will dominate this classic battlefield, securing victories and leaving their mark on the game. Whether you’re a sniper or a strategist, Rattlesnake Ravine offers plenty of opportunities for skilled players to shine.

