 Search
 Account
 Discord


- Stunt Show 01
- Wall – 64
- Bush – 54
Brawl Stars Tiger Leap is an official map designed for the Volley Brawl event. It features a fast-paced layout that emphasizes quick rotations, reactive defense, and strategic zone control around the volleyball net. With a symmetrical design and open lanes leading into key control zones, Tiger Leap encourages both aggressive plays and coordinated team setups. Its balance of cover and open space makes it suitable for a wide variety of Brawlers, from throwers to assassins and area controllers.
Brawl Stars Tiger Leap Guide: Map Layout
Brawl Stars Tiger Leap map features a mix of diagonal spawns, limited corner bushes, and a wide open midfield. Understanding how to position and rotate through each section is key to gaining control and maintaining pressure on your opponents.
| Spawn Zone |
|---|
 Spawns are placed diagonally across from each other, each tucked behind arced fences. These provide minor protection at the start, helping teams prepare for early engagements or reposition safely. |
| Corner Bushes |
|---|
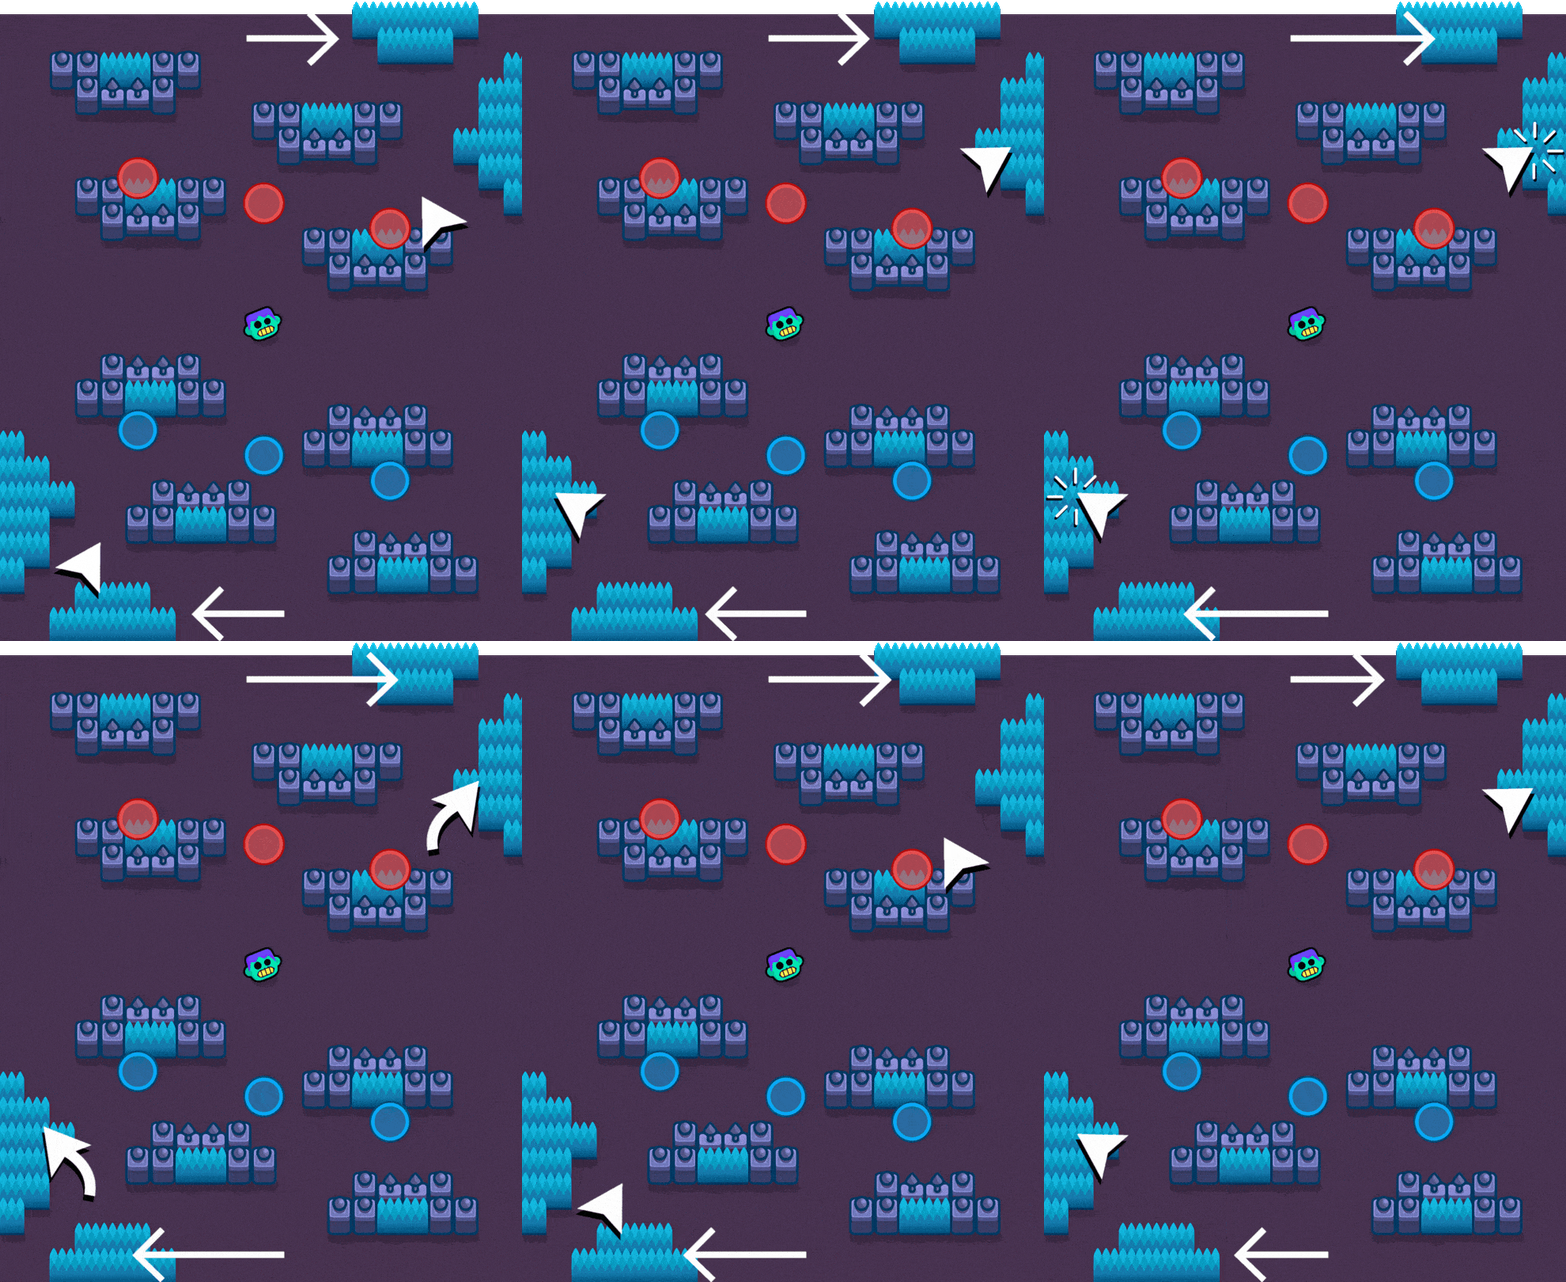 Small clusters of bushes are located near the map’s corners. While limited in number, they offer some ambush potential or quick recovery options for low-health Brawlers. |
| Open Midfield |
|---|
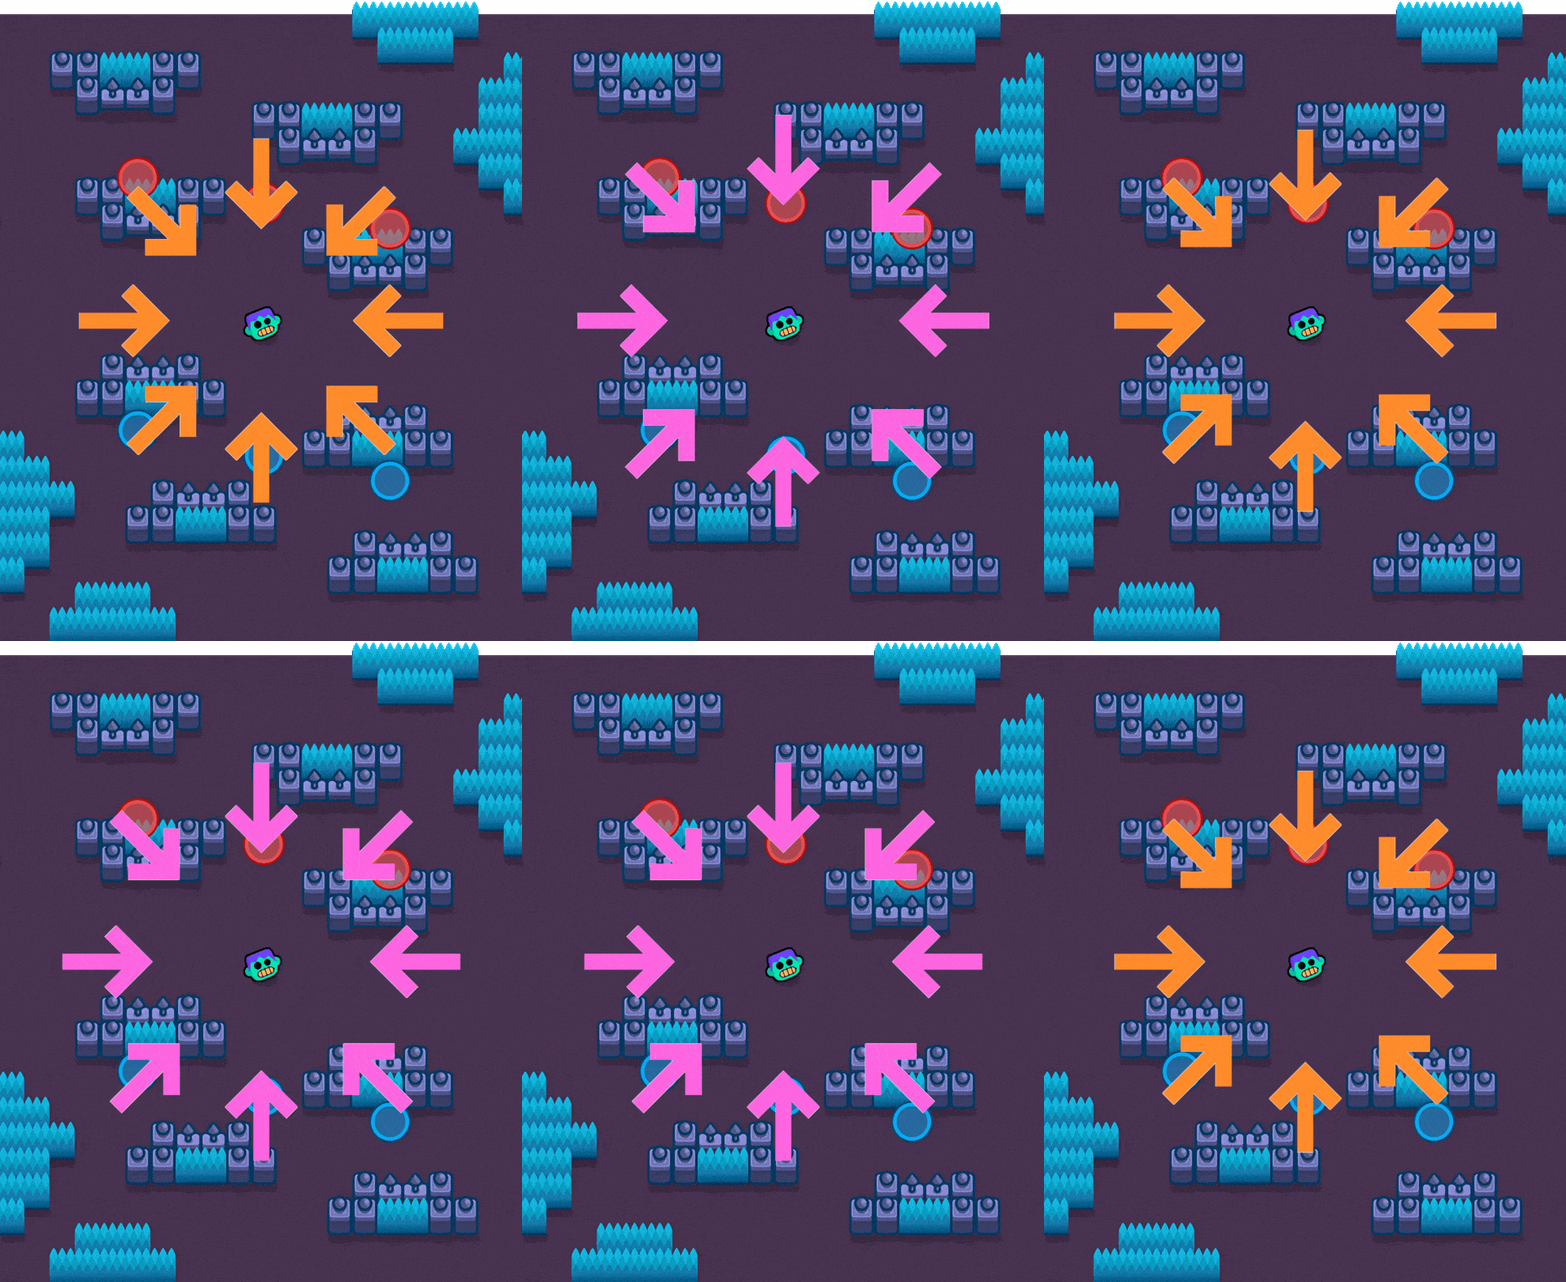 The majority of the map is open and lacks heavy cover, favoring long-range Brawlers and open combat. This layout encourages direct fights and makes sneaky approaches more difficult. |
Brawl Stars Tiger Leap Guide: Best Brawlers
| Brawler | Why They’re Effective |
|---|---|
 Belle | Dominates long sightlines with her bouncing shots and can mark enemies for easy follow-up by teammates. |
 Brock | High burst damage and long range make him perfect for open fields; his gadgets help control midfield. |
 Piper | Excels in wide-open areas with massive damage from afar; ideal for punishing enemies crossing midfield. |
 Rico | Can bounce shots around fences and corners for area control and poke damage near the spawn zones. |
 8-Bit | High damage and long-range turret help control wide spaces; excels in holding midfield and spawn lanes. |
 Janet | Strong mid-to-long range control and mobility with her Super; fits the open layout and pressures well. |
 Bo | Great vision utility with his Super Totem and mines; bush control in corners plus solid range for midfield. |
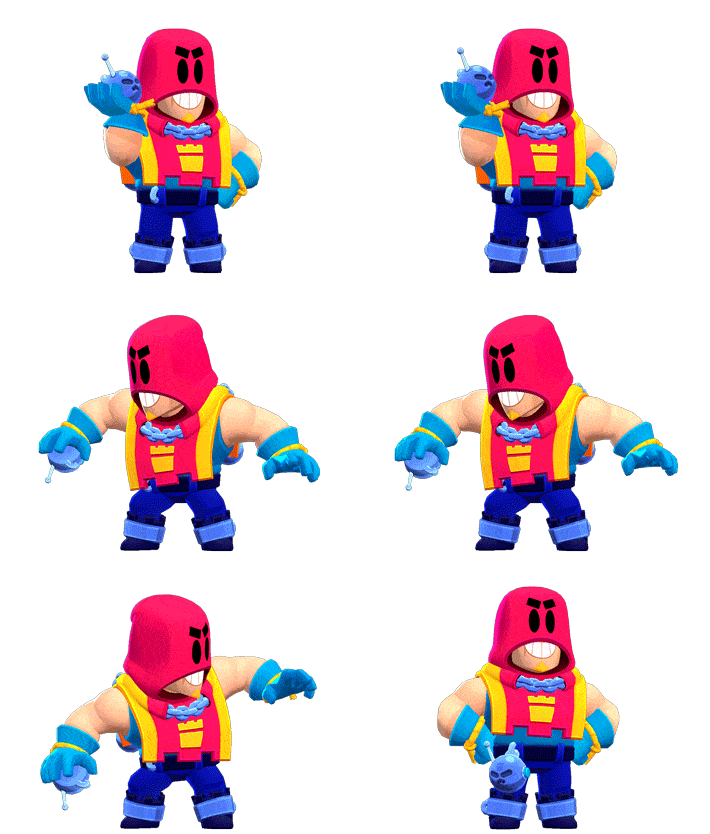 Grom | Thrower who excels with open angles and cover near spawns; hard to approach and great for zoning. |
Brawl Stars Tiger Leap Guide: Tips
The unique fencing formation and open zones in Brawl Stars Tiger Leap map demand a mix of smart lane control, mobility, and quick flanks. Below are useful tips to help you play smarter and counter the challenges this map presents.
Take Advantage of the Fencing
The fencing layout offers strong cover for throwers like Sprout, who can completely block lanes with their Super. Heavyweight Brawlers also benefit from the tight spacing and can dominate close fights around these fences.
Control the Center Carefully
The center of the map is often the most contested area. After passing the ball, use the sides to rotate and flank enemies, avoiding direct mid-lane congestion.
Buzz’s Map-Wide Grapple Utility
Buzz can use his Super to grapple across most of the map. As a defender, he can intercept passes or reposition quickly to pressure enemy ball carriers.
Support from Behind the Fences
Throwers can stay safe behind the arced fences and provide supportive chip damage. However, be cautious—heavyweight Brawlers can close the gap and eliminate them quickly.
Use High-Mobility Brawlers for Defense
Speedy Brawlers like Stu, Mortis, Mico, Fang, El Primo, Edgar, Darryl, Kit, Bull, Gale, Kenji, Max, Crow, and Buzz are valuable in late-game scenarios when the ball lands behind walls. Use them defensively to reach the ball quickly and prevent last-second goals.
Brawl Stars Tiger Leap Guide: Conclusion
Brawl Stars Tiger Leap map’s combination of open space and strategic fencing encourages a dynamic playstyle. Whether you’re using throwers for lane denial, heavyweights for zone control, or fast-moving Brawlers for defense and recovery, success comes down to smart rotations, positioning, and teamwork. Mastering map awareness and capitalizing on movement abilities can often be the difference between a well-timed save or a last-second loss.
Frequently Asked Questions (F.AQ)
❓What’s the key strategy for Brawl Stars Tiger Leap map?
Use flanks and fencing to your advantage. Avoid straight-up mid fights and rotate through sides after passing the ball.
❓Which Brawlers benefit most from the arced fences?
Sprout, Tick, and other throwers can safely deal damage behind cover. Buzz and other grapplers also benefit from the vertical coverage.
❓Are speed Brawlers really necessary?
Yes! In the late game, balls can land in hard-to-reach spots. Fast Brawlers like Max, Buzz, or Mortis can save goals no one else can.
❓Should I use heavyweights?
Definitely. Heavyweights like Bull, El Primo, and Jacky are great for holding pressure and pushing enemies off the ball in tight zones.
❓What role does Buzz play best?
Buzz is excellent as a defender. His Super lets him grapple to intercept passes, pressure throwers, and reposition quickly across the map.

