 Search
 Account
 Discord



- Jungle 01
- Moss Block – 40
- Jungle Block – 6
- Wooden Barrel – 2
- Log Fence – 14
- Stump – 4
- Bush – 88
- Lake – 4
Brawl Stars Temple of Boom is a community-created map featured in the Hot Zone event. Known for its symmetrical design and enclosed layout, the map emphasizes tight control over key areas and fast-paced zone clashes. With narrow choke points, walls separating each Hot Zone, and limited flank routes, it promotes strategic positioning and team coordination. Players must balance aggressive pushes with solid defense to maintain control of the zones and secure victory.
Brawl Stars Temple of Boom Guide: Map Layout
| Open Central Path |
|---|
 The middle lane of Temple of Boom is relatively open, offering a direct route between the two Hot Zones. While it’s the fastest path to rotate or apply pressure, it also leaves players vulnerable to long-range shots and area control Brawlers. It’s often used for quick pushes or flanks when the enemy is focused elsewhere. |
| Dual Zones |
|---|
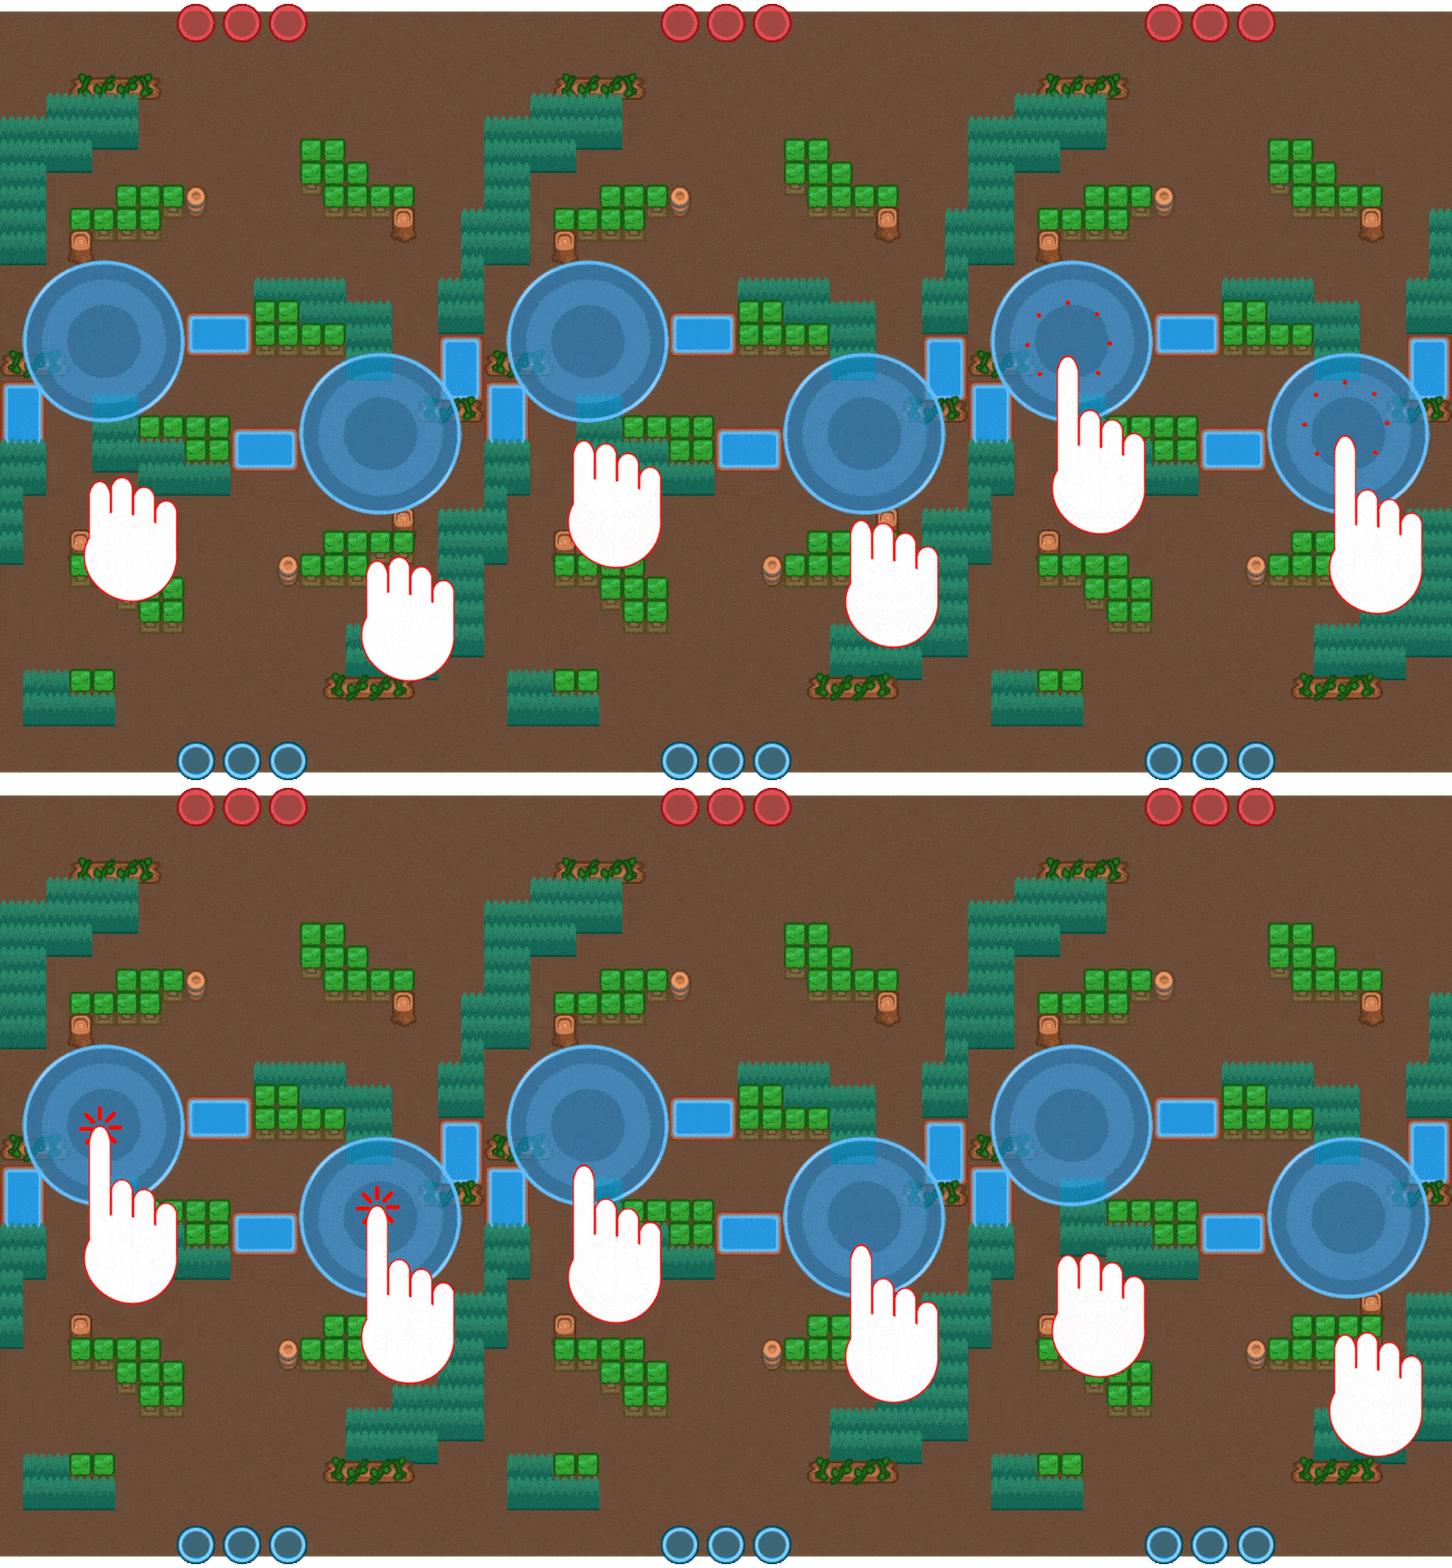 Temple of Boom features two Hot Zones placed side by side but separated by a central wall structure. Teams must split their focus and coordinate efforts to either control both zones at once or rotate efficiently to defend and capture. This dual-objective setup demands strong area denial and synergy between teammates. |
| Curved Bush |
|---|
 A defining feature of the map, the curved bushes are located near the outer edges of each Hot Zone. These bushes are ideal for ambushes and hiding, allowing melee or stealthy Brawlers to surprise enemies entering or contesting the zone. Controlling this area is crucial for catching opponents off guard and maintaining pressure. |
Brawl Stars Temple of Boom Guide: Best Brawlers
| Brawler | Role | Why They’re Effective on Temple of Boom |
|---|---|---|
 Ash | Aggressive Controller | Can dominate both zones with rage and AoE damage, especially with support. |
 Pam | Zone Support | Her turret provides healing and zone control, making her great for holding ground. |
 Sandy | Utility Support | Super can cover both zones with invisibility, enabling sneaky control and flanks. |
 Bo | Vision Controller | His mines control tight choke points, and his totem helps allies cycle Supers. |
 Carl | Versatile Fighter | Great mobility and damage lets him contest either zone and escape bad situations. |
 Spike | Area Denial | Spammable attacks and slowing gadget make it hard for enemies to stay in zone. |
 Rosa | Bush Control Tank | Thrives in the curved bushes near the zones, using her Super and gadgets for durability. |
 Griff | Zoning Damage | His wide attack spread and Super shred grouped enemies quickly inside zones. |
Brawl Stars Temple of Boom Guide:Tips
Mastering Brawl Stars Temple of Boom requires more than just strong Brawlers—it takes smart tactics and zone awareness. These tips will help you take control of the map, counter enemy strategies, and dominate both Hot Zones with the right plays.
Control Center with Mr. P
Use Mr. P to guard the central path. Once you secure the right zone, place his Super behind enemy walls to maximize turret protection.
Use Spread Attackers in Left Zone
Brawlers like Gene, Poco, Gale, and Frank can control the left zone effectively by attacking from bushes and applying wide pressure.
Sharpshooters Excel in Right Zone
Brawlers like Penny thrive in the right zone. Place her turret behind the yellow arcade blocks to safely deal consistent damage.
Aggressive Brawlers: Center or Top Left
Short to mid-range Brawlers can take aggressive roles from center or top left, depending on zone control and enemy positioning.
Control Brawlers Should Anchor Center
Brawlers like Jessie or Sandy are ideal for mid control, especially when both zones are contested. Their Supers offer lasting control.
Watch Center-Right Bushes
Keep an eye on the bushes in the center-right zone. A sneaky Frank could easily slip through and dominate the zone if unchecked.
Sprout to Block Entrances
Use Sprout’s Super to block key zone entrances or exit paths, disrupting enemy movement and defending captured zones effectively.
Poco with Da Capo for Healing Pressure
Poco is a great center pick. His Da Capo Star Power allows him to attack while healing teammates—play aggressively and stay close to allies.
Leon’s Super Mind Game
Leon can walk into bushes while activating his Super, tricking enemies into thinking he’s invisible, giving him time to heal and bait out ammo.
Brawl Stars Temple of Boom Guide: Conclusion
Brawl Stars Temple of Boom is all about controlling tight spaces and splitting enemy focus between two Hot Zones. Whether you’re locking down the map with control Brawlers, sneaking through curved bushes, or anchoring zones with healing and tankiness, success comes from constant presence and team coordination. Adapt your positioning based on the enemy comp, and always fight for zone control.
Frequently Asked Questions (F.A.Q)
❓Should I control both zones or focus on one?
If your team has strong control Brawlers, try to split pressure. Otherwise, it’s often better to secure one zone and defend it solidly.
❓Who should stay in the curved bushes?
Brawlers like Rosa, Leon, and Sandy perform well here, using concealment for healing, ambushing, or zoning.
❓Are throwers good on this map?
Yes, but situational. Barley or Sprout can control the zones, but they need support from tanks or control Brawlers.
❓Should I break walls in this map?
In moderation. Opening walls can expose the enemy, but too much destruction makes your own team vulnerable.
❓What’s the best team composition for this map?
One tank or bruiser, one support or healer, and one control/zoning Brawler typically works best for balanced zone pressure.

