 Search
 Account
 Discord


- Slugfest 01
- Slugfest 02
- Slugfest 03
- Sandstone Block – 531
- Cactus – 26
- Bush – 75
- Lake – 5
Brawl Stars Keep Safe Guide: Introduction
The Brawl Stars Keep Safe map offers a unique and challenging environment that requires a balance of offense, defense, and strategic positioning. The layout is designed to keep players on their toes, with a mix of open spaces and areas with cover, making it an exciting map to play. At the heart of this map is the central objective: protect your own safe while attempting to damage the enemy’s. Teams must work together, utilizing their brawlers’ strengths, to control key zones on the map while defending against enemy advances. The dynamic nature of Keep Safe means that success hinges on quick thinking, strategic decision-making, and effective teamwork.
The central area of the Brawl Stars Keep Safe map plays a critical role, particularly as the match progresses. This open space is crucial for both offense and defense, and teams will often fight for control over it. The key challenge is balancing your focus between defending your own safe and attacking the enemy’s safe. The map’s layout encourages both close-quarters combat and ranged attacks, so players must adjust their strategies based on their brawler’s strengths and the situation at hand. Effective use of the central area will often determine the outcome of the match, making it important for teams to push forward but also maintain strong defensive positions.
Brawl Stars Keep Safe features a range of cover options that give players opportunities to ambush opponents, block enemy shots, or make quick retreats. These obstacles—like walls, barrels, and other structures—provide crucial opportunities for players to hide, heal, or prepare attacks. Mastering the use of these cover spots is essential for success. For instance, defending brawlers can take cover behind walls while they fend off attackers, or attackers can use these cover points to get close to the enemy safe without being spotted. The combination of open areas and well-placed cover makes positioning and timing even more important, as players can gain a tactical advantage by making the best use of the map’s features.
Finally, understanding which brawlers are most effective on the Brawl Stars Keep Safe map is essential for winning matches. Brawlers with high mobility, like Leon or Shelly, can be used to quickly move between lanes and surprise enemies, while tanks like Bull or El Primo can help control the center or push through enemy lines. Ranged brawlers, such as Piper or Brock, can excel in holding back enemies from a distance while keeping their safe protected. Support brawlers, like Barley or Penny, are also vital in controlling areas and dealing consistent damage over time. Choosing the right brawlers based on the map’s layout, your team’s needs, and the evolving game state is a key part of mastering Keep Safe.
Brawl Stars Keep Safe Guide: Map Layout and Terrain
Brawl Stars Keep Safe’s map features a unique layout that balances open lanes, strategic cover, and crucial points around the central safe. The safe, located near the center of the map, acts as the focal point for both offense and defense. Surrounding it are various obstacles, such as walls and barrels, providing essential cover for players. These obstacles serve to protect players from enemy attacks, allowing for strategic positioning and the ability to heal, set up ambushes, or make surprise attacks. Controlling the area around the safe is vital for success, as it ensures that your team can both defend your own safe and attack the enemy’s.
The outer lanes offer more open spaces, ideal for ranged brawlers who excel at dealing damage from a distance. While these lanes provide a lot of room for maneuvering, they also leave players exposed to enemy attacks. Brawlers like Piper or Brock can make the most of these long lanes, picking off opponents while staying behind cover. However, the exposure in these lanes makes players vulnerable to being outflanked or targeted by enemies who manage to close the distance. Players must stay aware of their surroundings, constantly checking the map for enemy movement to avoid being caught off guard.
The middle area of Brawl Stars Keep Safe is where most of the intense action takes place. With its denser cover and more confined spaces, this area becomes the main battleground for teams. Both sides will fight to control the middle, as it’s key to launching attacks or defending the safe. The central location makes it ideal for brawlers who can either engage in close combat or make quick tactical retreats. Success in this area depends on positioning, timing, and the ability to read the flow of the game. Quick decisions on when to push, defend, or retreat can have a significant impact on the outcome of the match.
Overall, Brawl Stars Keep Safe’s map layout requires players to think strategically about how they approach each engagement. The open lanes favor ranged brawlers, while the central area offers opportunities for close-quarters combat and tactical plays. Understanding the layout and using cover effectively will give players a significant advantage. Balancing offensive and defensive actions, as well as adapting to the constantly changing terrain, is key to mastering this map and securing victory.
Brawl Stars Keep Safe Guide: Brawler Choices
Selecting the right brawlers is essential for maximizing your success on the Brawl Stars Keep Safe map. This map presents a unique combination of open lanes and strategic cover, meaning your team must be equipped to handle both offensive pushes and defensive holds. To excel, a balanced team that can adapt to various roles is crucial.
Ranged Brawlers for Long-Distance Damage

Ranged brawlers like Piper, Brock, and Rico are great choices for Brawl Stars Keep Safe due to their long-range damage and ability to use cover effectively. These brawlers excel in the open lanes, where they can stay safe from close-range threats while applying consistent pressure. Piper’s burst damage and long-range shots let her control outer lanes, while Brock’s rocket barrage deals heavy damage to both brawlers and objectives from behind cover. Rico’s bouncing shots make him perfect for hitting multiple targets, especially in open spaces or around corners, disrupting enemy pushes.
Tank Brawlers for Close-Range Combat

For players who prefer close-quarters combat, El Primo, Bull, and Frank are ideal picks. These tanky brawlers are well-suited to protecting your safe or pushing into enemy territory. Their ability to absorb damage and engage in close-range fights allows them to dominate the central area and prevent opponents from advancing. Tank brawlers are especially effective when defending the safe, as they can act as barriers between the enemy and your objective.
Support Brawlers for Area Control
Support brawlers like Barley and Penny play an important role on Brawl Stars Keep Safe, particularly in game modes like Siege. Their ability to control space and deal area-of-effect damage makes them excellent for defending key areas, preventing enemy advances, and applying pressure from a distance. These brawlers can create a significant obstacle for the enemy team, especially when positioned well in the central area or near choke points.
Mobile Brawlers for Quick Attacks and Ambushes

Mobile brawlers like Leon and Shelly excel on Brawl Stars Keep Safe due to their agility and speed. These brawlers can quickly dart between lanes, use cover to their advantage, and execute surprise ambushes or quick escapes. They are great for adapting to the fast-paced nature of the map and can efficiently navigate between offense and defense. Their mobility makes them excellent choices for flanking enemies, collecting gems in Gem Grab, or securing objectives in tight situations.
Mid-Range Brawlers for Versatility and Balanced Control
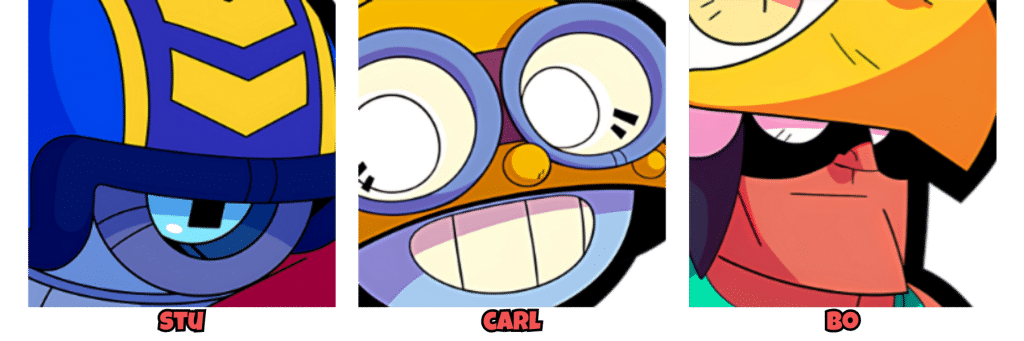
Mid-range brawlers, such as Carl and Bo, provide a balanced approach to the Brawl Stars Keep Safe map. They can handle both the open lanes and tight spaces effectively, offering versatility in any given situation. These brawlers are well-suited for controlling the central area and holding off enemy pushes. Their attack range allows them to deal damage while maintaining safety behind obstacles, making them ideal for defending key areas and supporting teammates from a distance. The flexibility of mid-range brawlers is especially valuable when adapting to the various challenges the map presents across different game modes.
Brawl Stars Keep Safe Guide: Robo Rumble on Keep Safe
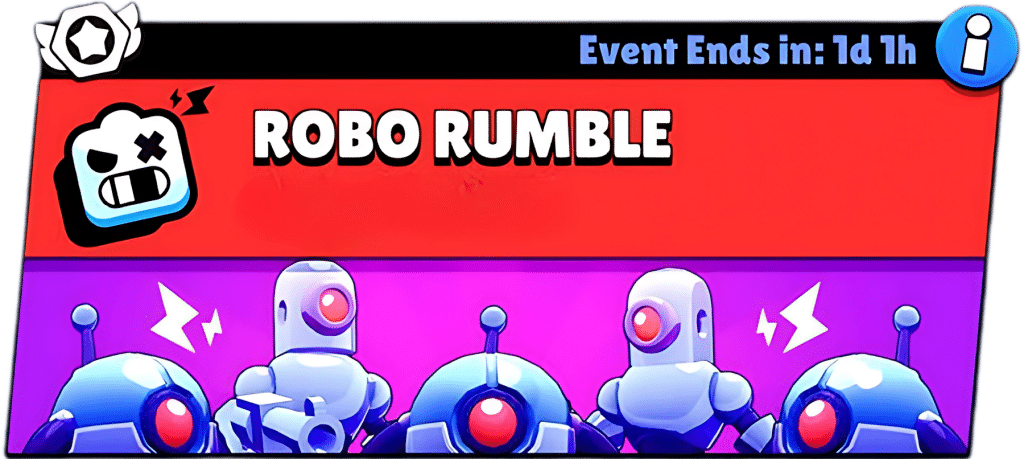
In the Robo Rumble event on the Brawl Stars Keep Safe map, players must work together to defend against waves of robotic enemies that become progressively stronger. The map layout plays an important role in the defense strategy. The central area offers valuable cover, with walls and obstacles that can be used to block incoming robots and provide strategic positions for brawlers to hold their ground. However, the outer lanes are more exposed and often where robots may approach in larger groups, requiring players to constantly be aware of their surroundings and adapt their positioning.
The event forces players to balance both offense and defense. To survive the onslaught of robots, brawlers with area-of-effect (AoE) attacks, like Barley, Penny, and Dynamike, are crucial to clearing out groups of weaker robots efficiently. These brawlers can hide behind walls and launch their attacks from a safe distance, preventing robots from overwhelming the team. On the other hand, brawlers like El Primo and Bull can act as frontline tanks, absorbing damage and pushing the robots away from key choke points, ensuring the team stays protected. These tanks are also effective at clearing out any straggler robots that may try to sneak through.
One of the most important aspects of Brawl Stars Keep Safe is positioning. The central area often becomes the focal point for robot attacks, and teams should prioritize controlling this space to prevent robots from flooding in. However, players shouldn’t ignore the outer lanes, as they can also be routes for robots to flank the defending brawlers. Defenders should spread out and cover different lanes to prevent the team from being overwhelmed in one area. Teams should work together to clear out robot waves quickly while ensuring that no single lane is left too exposed, which could lead to robots sneaking in.
Lastly, teamwork and coordination are crucial to surviving the event. Since the robot waves get progressively stronger, maintaining focus on both offense and defense is key to making it through longer rounds. Brawlers should communicate, support one another, and adjust their tactics based on the type and number of robots approaching. For example, if a wave contains many high-health robots, tanks should step forward to absorb the damage, while AoE brawlers clear them out from the back. Properly managing the central area and outer lanes, combined with efficient brawler roles and coordination, can help teams push through the Brawl Stars Keep Safe event successfully.
Brawl Stars Keep Safe Guide: Key Strategies
The Brawl Stars Keep Safe map presents a unique challenge that requires players to think strategically and adapt their tactics to different game modes. With its blend of open lanes, tight spaces, and strategic cover around the safe, the map tests both offensive and defensive strategies. Whether you’re playing Robo Rumble, understanding how to control key areas, make coordinated attacks, and leverage the map’s terrain will help you secure victories. Below are some key strategies to help you succeed on this dynamic and fast-paced map.
⭐ Control the Central Area: The central area of Brawl Stars Keep Safe is crucial for both offense and defense. Controlling this space allows you to easily defend against enemy pushes and launch your own attacks toward the enemy’s safe. Position yourself strategically in this area, utilizing obstacles for cover and avoiding getting caught out in the open.
⭐ Use the Walls and Obstacles for Ambushes: The Brawl Stars Keep Safe map has various walls and obstacles scattered around the central area. Use these to your advantage by hiding behind them to surprise enemies or heal up. Waiting in the bushes and using stealth tactics to ambush opponents can be very effective, especially if they are attempting to push toward your safe.
⭐ Coordinating Attacks and Defenses: Teamwork is key. For attacking teams, it’s vital to make coordinated pushes toward the enemy’s safe while controlling the lanes and the central area. Defenders need to block enemy brawlers from advancing and protecting their own safe by utilizing tanks to absorb damage or using control brawlers to control space with area-of-effect attacks.
⭐ Adapt to the Map’s Layout for Each Game Mode: Depending on the game mode, adapt your strategy to make the most of the map. In Gem Grab, you need to fight for control of the center to secure gems. In Bounty, sharpshooters can use the outer lanes to deal damage from a distance. In Siege, focus on building the Siege Bot while also defending from enemies who are attempting to push the lanes and control the center. Understanding the unique aspects of each mode will help you win more consistently on this map.
⭐ Focus on Area Control in Heist and Robo Rumble: In Heist, you must carefully manage the area around the safe to prevent the enemy from reaching it. Similarly, in Robo Rumble, controlling the lanes and central area is essential to stop robots from overwhelming your team. Use brawlers who can cover both close-range and long-range combat, as well as tanks who can absorb hits and keep robots at bay.
⭐ Use Ranged Brawlers for Long-Distance Attacks: Ranged brawlers like Piper, Brock, or Penny excel in Keep Safe by dealing damage from a safe distance while staying behind cover. These brawlers are especially useful in Heist and Bounty, where they can attack from the open lanes without being easily targeted. In defense, their ability to control space from afar can be essential to preventing enemies from getting too close to the safe.
By following these key strategies, players can optimize their gameplay on Brawl Stars Keep Safe, adapt to the map’s layout, and execute successful plays in any game mode. Effective positioning, teamwork, and understanding of each mode’s objectives will help ensure that you stay one step ahead of the opposition.
Brawl Stars Keep Safe Guide: Conclusion
Brawl Stars Keep Safe is a map that truly rewards strategy, positioning, and teamwork. With its unique combination of open lanes, central cover, and narrow passages, players are constantly challenged to think on their feet. The key to victory lies in controlling the right areas, such as the central space around the safe, while defending your own safe from enemy pushes. Teams must not only focus on securing their own objectives but also work together to disrupt the opponent’s plans by applying pressure from multiple angles. Understanding the map’s layout and terrain is essential for making the most of every opportunity, whether it’s defending against enemy attacks or launching a surprise push toward the enemy safe.
To master Brawl Stars Keep Safe, teams need to carefully select brawlers that complement the map’s features and work well with the chosen strategy. Brawlers with mobility, area control, or long-range capabilities can make a huge difference in the game. Additionally, adapting your playstyle to suit the mode you’re playing will help you navigate the dynamic environment of Keep Safe. Whether it’s Gem Grab, Heist, Bounty, or Siege, having a coordinated team that communicates well and adapts to the constantly shifting landscape is crucial for securing a win. By focusing on positioning, timing, and synergy, you can turn Keep Safe’s challenges into advantages and increase your chances of victory.

