 Search
 Account
 Discord


- Starr Toons 01
- Turquoise Block -48
- Pink Block – 14
- Cheese Box – 12
- TNT Barrel -20
- Bush – 101
Brawl Stars The Great Divide is a community-created map featured in the Hot Zone event. This map is designed with a strong focus on area control and strategic positioning. It features two separated Hot Zones positioned on opposite sides of the map, divided by a central barrier or obstacle-heavy area that players must cross to contest both zones. Its layout encourages split-team strategies, flanking maneuvers, and tactical pushes as each team fights to control and hold the zones for as long as possible.
Brawl Stars The Great Divide Guide: Map Layout
Brawl Stars The Great Divide has unique split layout and focused objective areas, teams must balance defense and offense while adapting to the map’s shifting dynamics as the battle progresses.
| Central Obstacle |
|---|
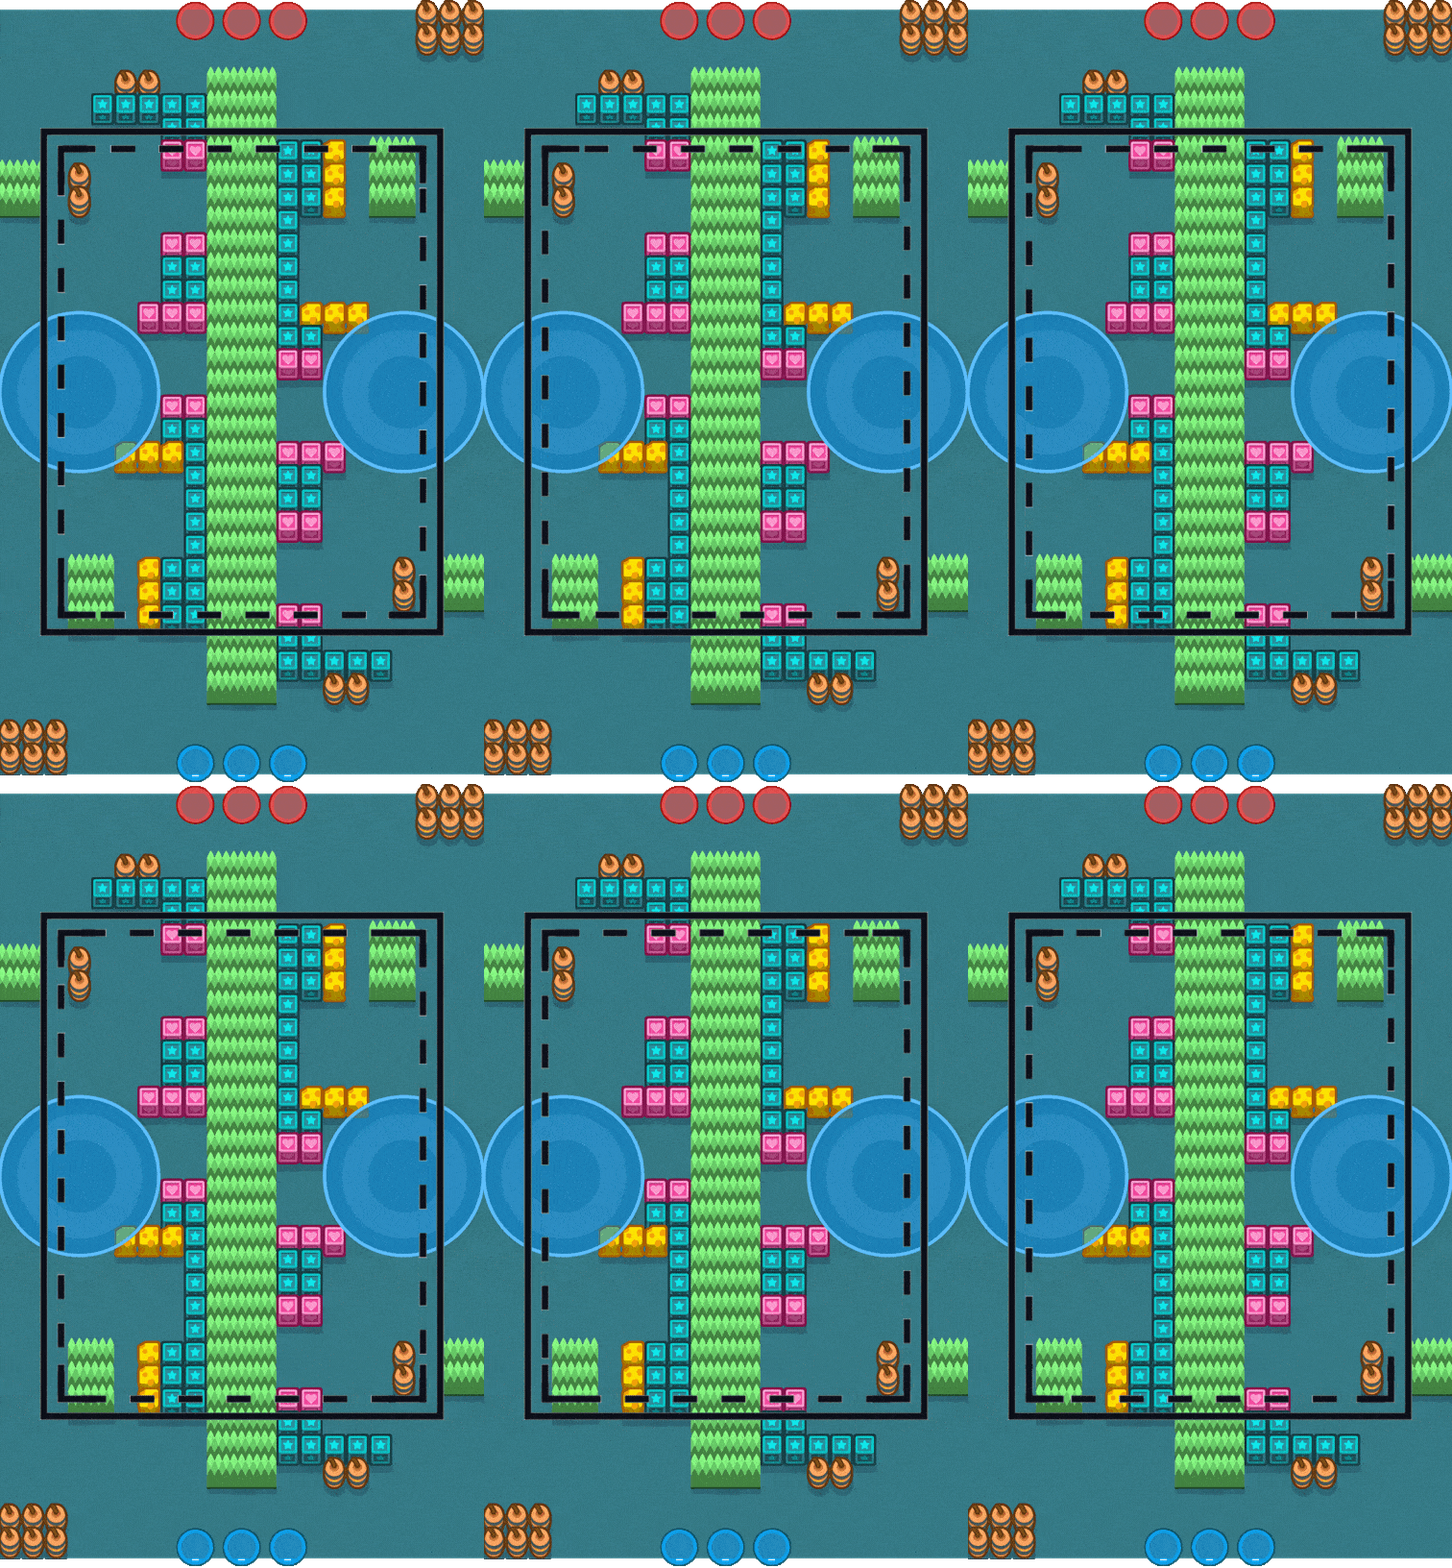 A large central wall runs through the middle of the map, dividing it into two separate halves. This barrier limits direct movement and forces players to choose their attack and defense routes carefully. |
| Dual Hot Zone Areas |
|---|
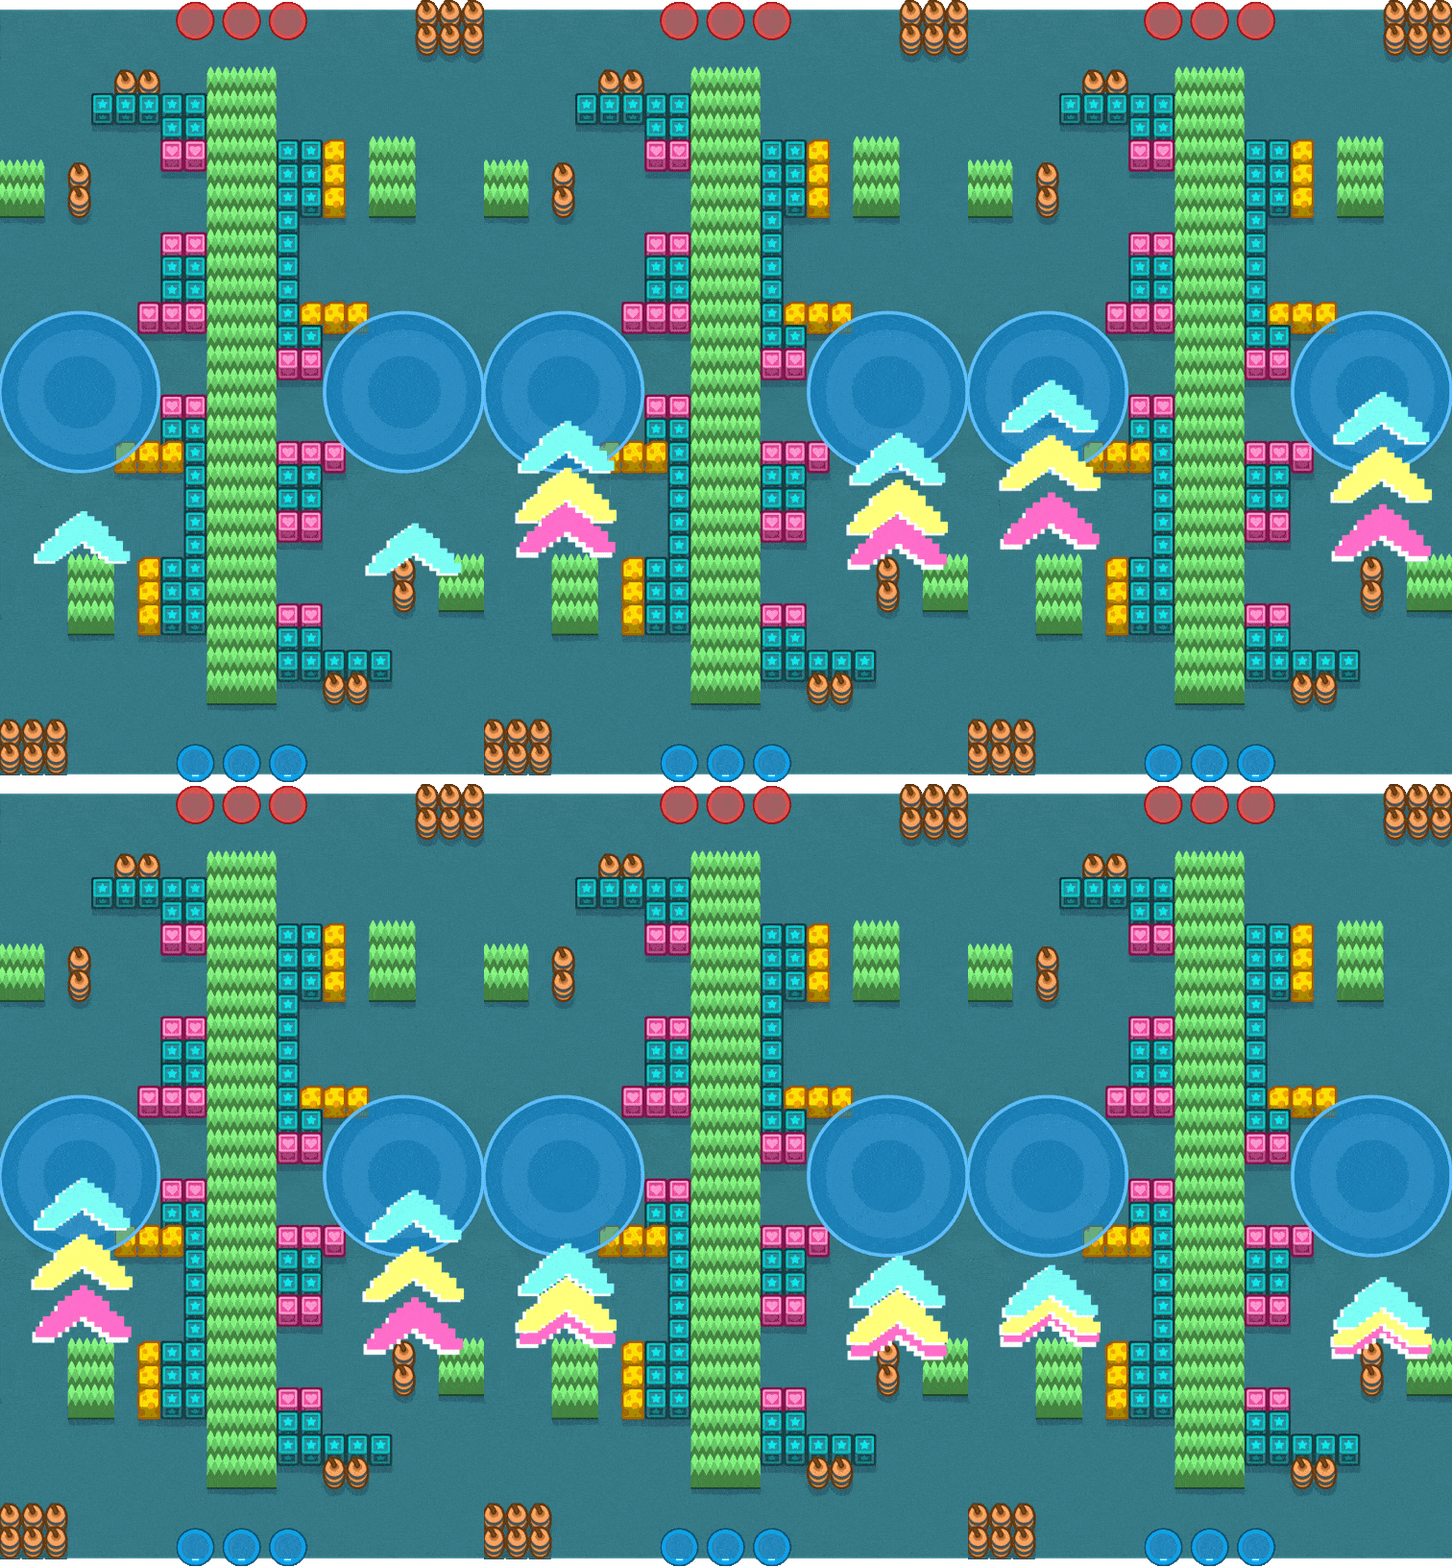 Each side of the map contains a dedicated Hot Zone, where teams must occupy and hold control to earn points. Success often depends on defending your zone while coordinating team pushes toward the enemy’s zone when possible. |
| Mix of Open and Covered Areas |
|---|
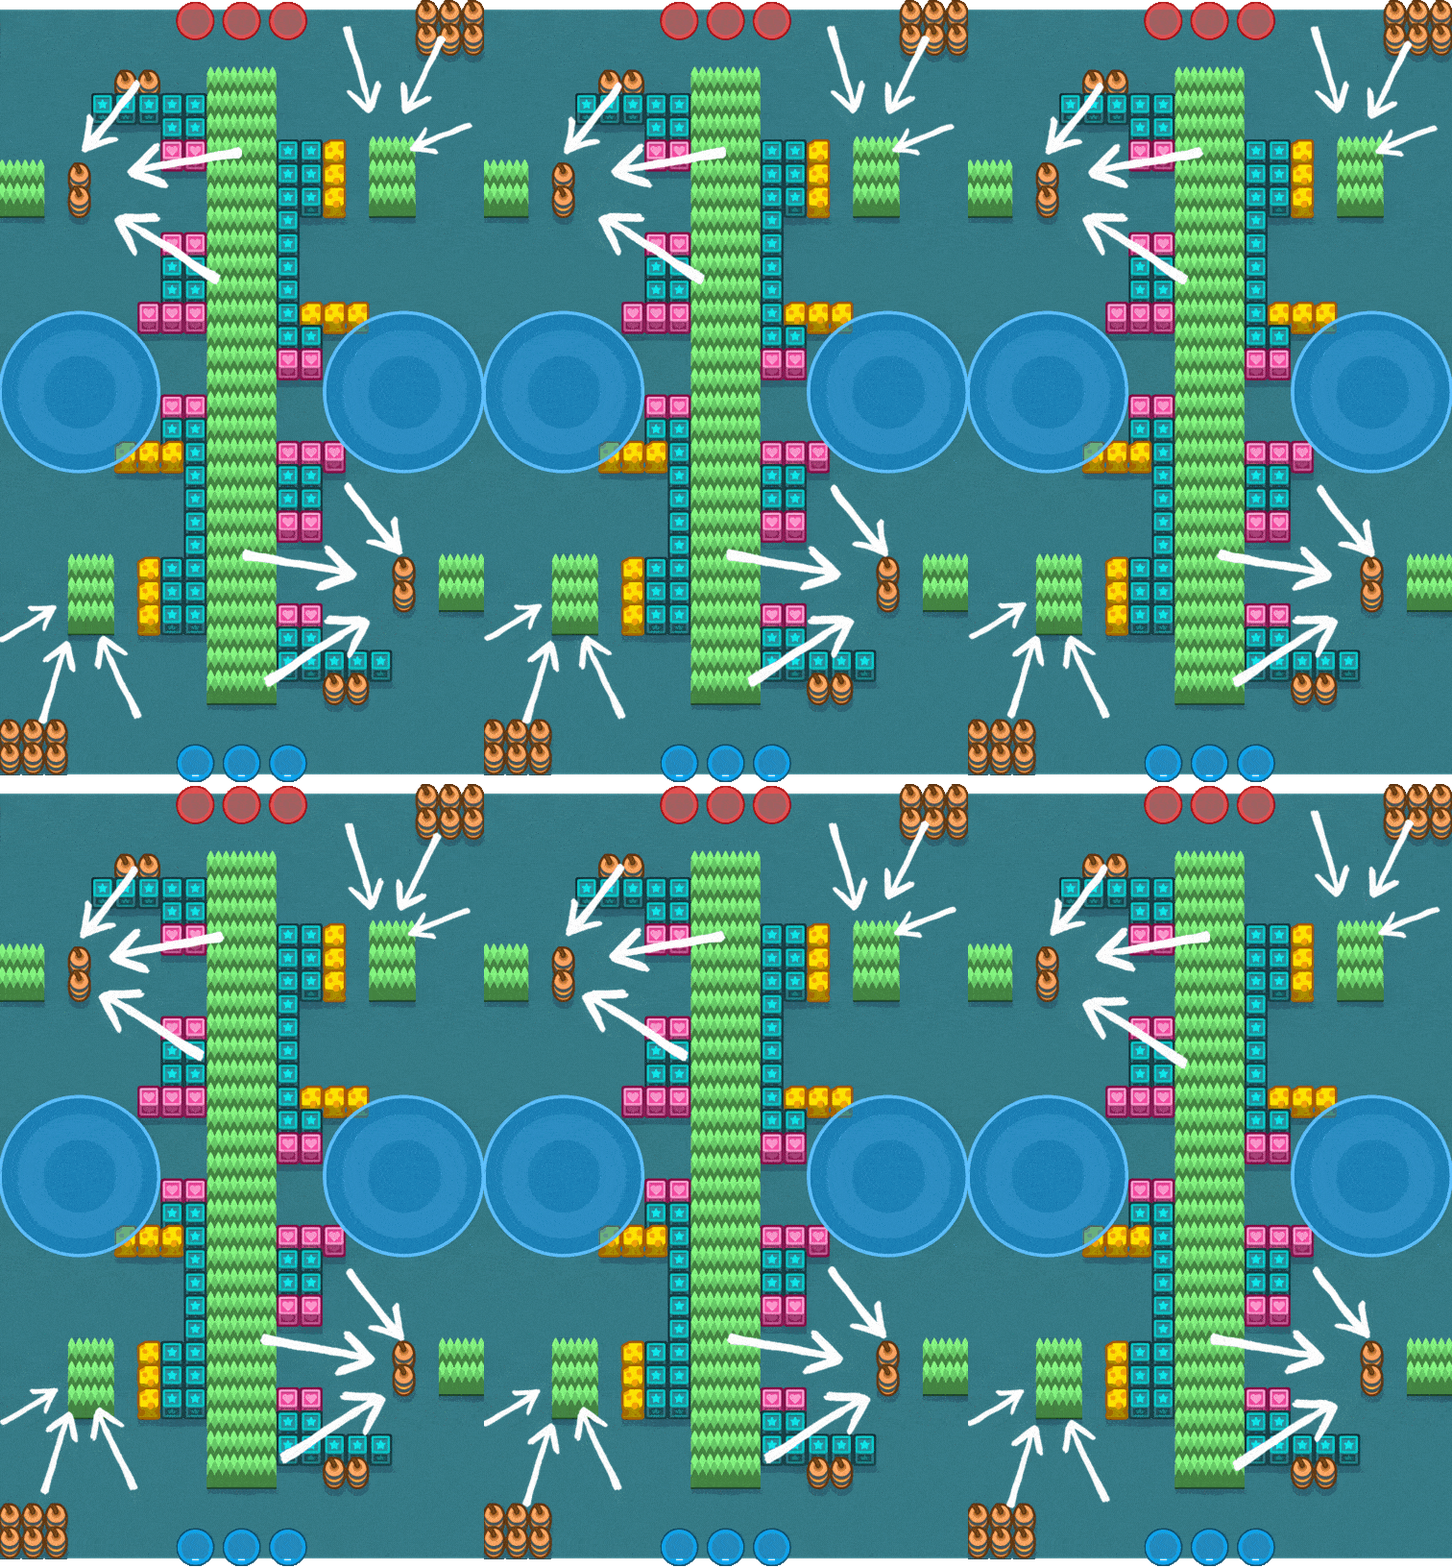 The map includes a blend of open spaces and scattered cover, such as walls and bushes, giving players multiple options for attack, defense, and ambush setups. Proper use of these areas is key to gaining an advantage over opponents. |
Brawl Stars The Great Divide Guide: Best Brawlers
| Brawler | Role | Strength |
|---|---|---|
 Sandy | Area Control and Team Support | Sandy’s Super creates a large sandstorm that provides both healing and invisibility, making it perfect for controlling Hot Zones and surprising enemies across the divided map. |
 Ash | Aggressive Zone Controller | Ash’s high durability and rage mechanic allow him to hold zones effectively, especially in close-range fights common on this map. |
 Pam | Sustain and Area Control | Pam’s healing turret and wide spread attacks help her and her teammates stay alive while controlling the zone for longer periods. |
 Spike | Area Denial and Control | Spike’s area control with his Super can block enemies from entering the Hot Zones, and his basic attack is great for punishing grouped enemies. |
 Otis | Ability Shutdown | Otis can silence key enemy Brawlers trying to push into or hold the zones, giving your team a chance to retake control. |
 Bibi | Knockback and Mobility | Bibi’s knockback ability helps push enemies out of the Hot Zones, while her mobility allows for quick rotations between lanes. |
 Poco | Team Healing and Zone Presence | Poco can keep teammates healthy with his wide-range healing, making it harder for opponents to clear your team from the zone. |
 Buzz | Initiation and Close-Range Control | Buzz’s Super allows for fast engagements, catching enemies off guard near the zone, especially behind the central wall where visibility is limited. |
Brawl Stars The Great Divide Guide: Tips
Brawl Stars The Great Divide map demands smart positioning and timing. With its central wall and split Hot Zones, players must carefully choose when to defend, push, or reposition. Utilizing cover and controlling space effectively can make the difference between victory and defeat.
Use the Central Wall for Cover
The large wall in the middle can be used as cover when pushing toward the enemy’s Hot Zone or defending your own. Use it to block enemy fire while advancing, or as a quick escape route when under pressure.
Disrupt Enemies with Supers
Super abilities that knock enemies away or clear obstacles are especially useful here. Use them to push opponents out of the Hot Zone or create space for your team to secure or retake control.
Coordinate Team Pushes
Due to the map’s split layout, coordinating team pushes is critical. Send one or two teammates to pressure the enemy zone while keeping control of your own. Balanced offense and defense often win the match.
Brawl Stars The Great Divide Guide: Conclusion
Brawl Stars The Great Divide map offers a unique Hot Zone experience that emphasizes tactical positioning, team coordination, and smart use of cover. The central wall creates natural separation between the two zones, forcing teams to balance between defending their own area and making calculated pushes into enemy territory. Success here often comes down to controlling space, using Supers effectively, and maintaining constant zone presence. With the right strategy and Brawler composition, teams can dominate both sides of the map and secure a decisive victory.
Frequently Asked Questions (F.A.Q)
❓What event is The Great Divide map used for?
The Great Divide is featured in the Hot Zone event in Brawl Stars, where teams compete.
❓What is the main challenge on this map?
The main challenge is the large central wall that splits the map into two sides, making it harder to transition quickly between offense and defense while still controlling your Hot Zone.
❓What strategies work best on this map?
Focus on holding your Hot Zone, coordinating pushes into the enemy zone, and using Supers that can displace enemies or create space. Good teamwork and timing make a big difference here.
❓How important is the central wall during gameplay?
The central wall is crucial for cover, ambushes, and repositioning. It can be used both for defending your own zone and for staging safe pushes into the enemy’s zone.

